Installation and User Guide of Board
Ideas of Interaction
19
Calibration
The users have to ‖calibrate‖ in their first time of using the interactive whiteboard in order to control the
computer accurately. Users don’t need to calibrate in following times if the position of the interactive
whiteboard and projector didn’t change, users have to calibrate in this case of positions and resolution of
computer and projector changed.
Although a default calibration is automatically assigned to users’ interactive whiteboard, we recommend
that users complete the calibration process by themseves to ensure the greatest level of tracking precision.
Users may also want to re-calibration on occasion, especially if the interactive whiteboard is accidentally
jostled and the projected image becomes misaligned. After the correct calibration, the cursor will appear
directly beneath your fingertip, and track finger closely or tool contact made anywhere on the NHBoard
interactive whiteboard surface. After the connection among your PC, the interactive whiteboard, and the
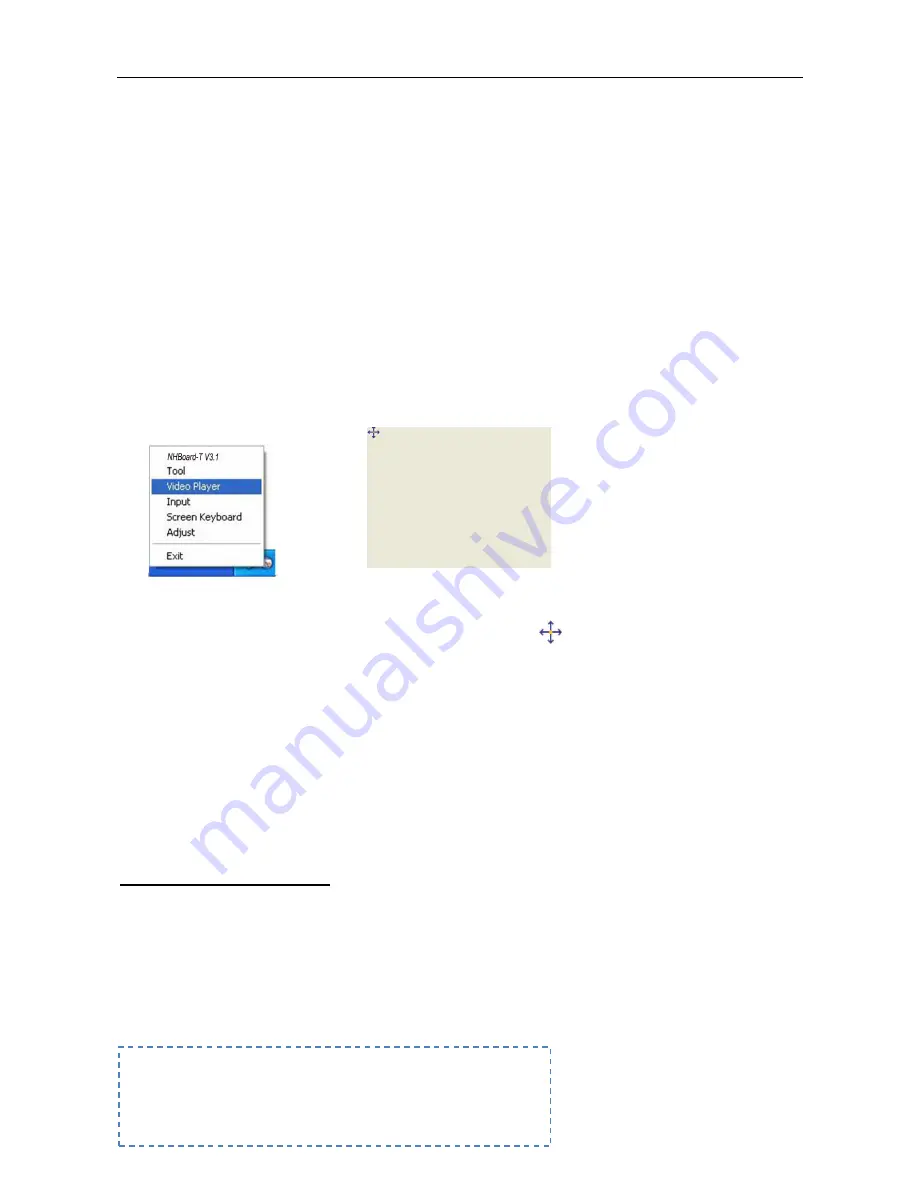
projector (complete installation of NHBoard-T V3.1 software), select the ―Adjust‖ option at the bottom right
corner of NHBoard interactive whiteboard to activate it.
The calibration process is a simple procedure of clicking 9 points ―
‖ on the whiteboard with your finger
or stylus one by one (While calibrating, make sure your finger tip be vertical to the whiteboard, and restart
the position if the click is wrong). You can exit the calibration by pressing the ―Esc‖.
Press firmly in the small yellow square in the center of each Red Cross that appears in the orientation
screen. If you neglect to do this, the NHBoard-T V3.1 driver will not track your finger or stylus tool correctly.
If you want to redo the entire orientation procedure, press the Esc key on the keyboard.
Using in guide
NHBoard-T V 3.1 Toolboxes
As you explore NHBoard-T V3.1, you’ll encounter a range of toolboxes. Each toolbox has its different
purpose, enabling you to access key editing functions or specific features. In this part, we’ll introduce you
to each of the NHBoard-T V3.1 toolboxes.
1.
Home Toolbox
2.
View Toolbox
3.
Insert Toolbox
4.
Screen Toolbox


