


Chapter 1. Introduction
8001009 Cellometer® Auto T4 User Manual Rev C
5
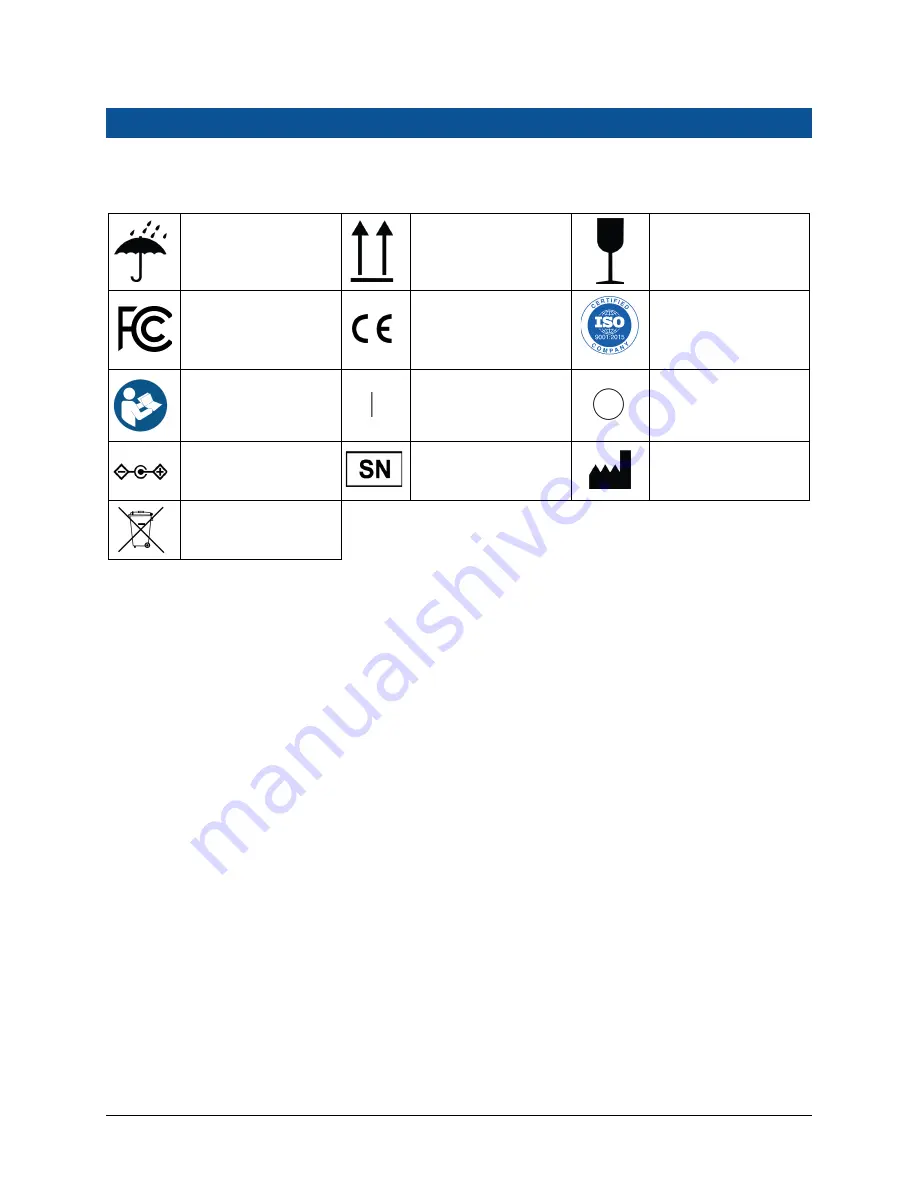
GLOSSARY OF SYMBOLS
The following international symbols may be displayed on the shipping container, on the Cellometer Auto T4 device
label or in this user manual.
Keep Dry ISO0626 per
EN ISO 15223-1. Located on
shipping container.
This End Up ISO0623 per
EN ISO 15223-1. Located on
shipping container.
Fragile, Handle with Care
ISO0621 per EN ISO 15223-1.
Located on shipping
container.
FCC Part 15 Supplier
Declaration of Conformity.
Located in user manual.
Declaration of Conformity to
Medical Device Directive
93/42/EEC. Located on SN
label and in user manual.
ISO 9001:2015 Certified
Follow Instructions for Use.
Located in user manual.
On—Power Connection to
Mains. Located on
instrument’s Power Switch.
Off—Power Disconnection
from Mains. Located on
instrument’s Power Switch.
Polarity DC Power
Connector IEC 60878.
Located on SN label.
Serial Number ISO2498
per EN ISO 15223-1.
Located on SN label.
Manufacturer ISO3082 per
EN ISO 15223-1.
Located on SN label.
WEEE per EN50419.
Located on SN label.
Summary of Contents for Cellometer Auto T4
Page 1: ......
Page 6: ...Table of Contents 8001009 Cellometer Auto T4 User Manual Rev C vi ...
Page 12: ...Chapter 1 Introduction 8001009 Cellometer Auto T4 User Manual Rev C 6 ...
Page 16: ...Chapter 2 Equipment Safety 8001009 Cellometer Auto T4 User Manual Rev C 10 ...
Page 26: ...Chapter 5 Operation 8001009 Cellometer Auto T4 User Manual Rev C 20 ...
Page 36: ...Chapter 6 Software GUI Elements 8001009 Cellometer Auto T4 User Manual Rev C 30 ...
Page 46: ...Chapter 8 Counting and Analysis Workflow 8001009 Cellometer Auto T4 User Manual Rev C 40 ...
Page 56: ...Chapter 9 Cell Types 8001009 Cellometer Auto T4 User Manual Rev C 50 ...
Page 66: ...Chapter 13 Nexcelom Support 8001009 Cellometer Auto T4 User Manual Rev C 60 ...
Page 70: ...Appendix A Consumables 8001009 Cellometer Auto T4 User Manual Rev C 64 ...
Page 72: ...Appendix B Declaration of Conformity 8001009 Cellometer Auto T4 User Manual Rev C 66 ...