Scanner Appliance Tour
Changing the Network Configuration
45
Changing the Network Configuration
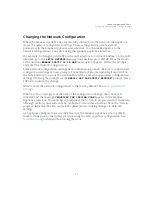
When the Scanner Appliance has successfully connected to the network, the Appliance
stores the network configuration settings. These settings will appear as default
parameters in the Scanner Appliance user interface. You can make updates to the
network configuration at any time using the Scanner Appliance interface.
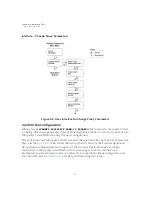
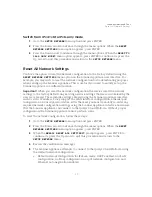
For example, to change from DHCP on the LAN interface to a static IP address on the LAN
interface, go to the
SETUP NETWORK
menu option and then press ENTER. Press the Down
arrow until the
ENABLE STATIC IP ON LAN
menu option appears. Follow the prompts
and enter the static IP configuration.
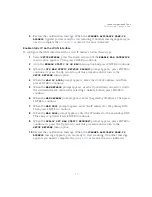
Some network configuration settings have confirmation prompts. Be sure to confirm new
configuration settings at these prompts. For example, if you are updating from DHCP on
the LAN interface to a static IP on the LAN interface, enter the appropriate configuration
settings following the prompts. At the
REALLY SET LAN STATIC NETWORK?
prompt, press
ENTER to confirm the change.
Want to reset the network configuration to the factory default? See
When a scan is in progress at the time of the configuration change, the scan task is
canceled and the message
CANCELING THE ONGOING SCAN
appears in the Scanner
Appliance interface. This message is a reminder that a scan in progress will not complete,
although partial scan results may be available. To avoid this situation check the “scan in
progress” indicator (S1 LED) on the front panel prior to making changes to network
settings.
An appliance configuration error indicates that the Scanner Appliance was not able to
make a connection to the Qualys platform using the new appliance configuration. See
for help with resolving the issue.
Summary of Contents for QGSA-5120-A1
Page 1: ...Scanner Appliance User Guide December 20 2021 ...
Page 6: ...Preface 6 ...
Page 58: ...Troubleshooting Where can I find the model number and serial number 58 ...
Page 60: ...Appendix A Product Specifications 60 ...
Page 62: ...Appendix B Software Credits 62 ...
Page 64: ...Appendix C Safety Notices 64 ...


