FXS Gateway Overview
- 43 -
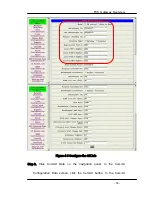
Figure 3-6 Enable the IP sharing function
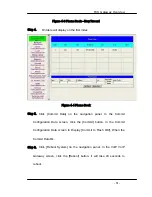
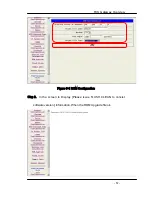
Step 9. Click [Commit Data] on the navigation panel. In the Commit
Configuration Data screen, click the Commit button. In the Commit
Configuration Data screen to Display [Commit to Flash OK!], When the
Commit Data Ok.
Step 10. Click [Reboot System] on the navigation panel. In the VoIP Gateway
screen, click the [Reboot] button. It will take 40 seconds to reboot.
Step 11. Close the current browser windows and launch your web browser
again. Enter the new IP address in the Location or Address field.
Summary of Contents for 1AFXS
Page 2: ...Version 3 0 May 2004...
Page 17: ...FXS H 323 Gateway User Manual XV...
Page 18: ...FXS Gateway Overview 1 Part I VoIP Gateway Overview...
Page 40: ...FXS Gateway Overview 23 and WAN ports...
Page 41: ...FXS Gateway Overview 24 Part II Web Configuration with VoIP Gateway...
Page 49: ...FXS Gateway Overview 32 Figure 2 3 Network Interface Screen...
Page 120: ...FXS Gateway Overview 103...
Page 137: ...Command with FXS Gateway 120 Part III Command with VoIP Gateway...
Page 138: ...Command with FXS Gateway 121 This part gives information on commands to use...


