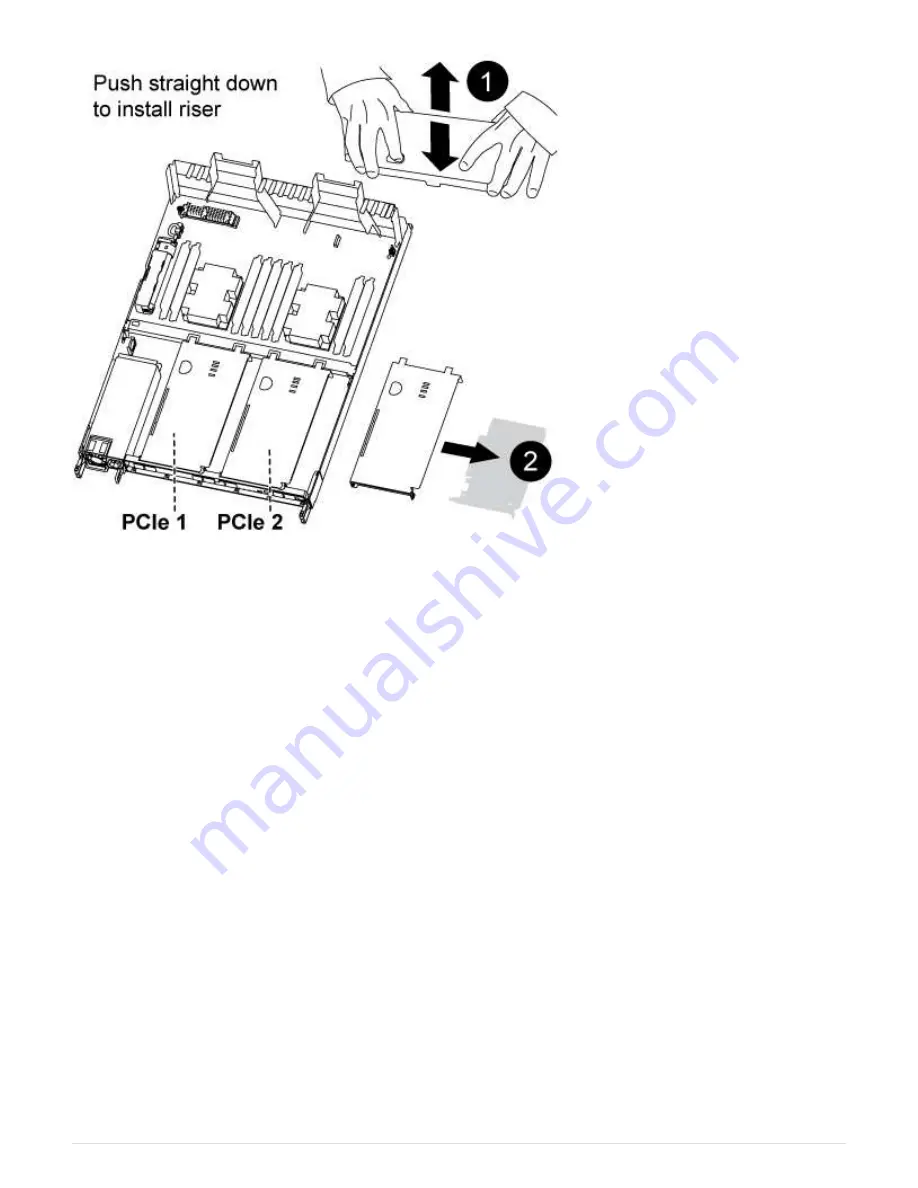
1. Remove the cover over the PCIe risers by unscrewing the blue thumbscrew on the cover, slide the cover
toward you, rotate the cover upward, lift it off the controller module, and then set it aside.
2. Remove the riser with the failed PCIe card:
a. Remove any SFP or QSFP modules that might be in the PCIe cards.
b. Place your forefinger into the hole on the left side of the riser module and grasp the riser with your
thumb.
c. Lift the riser straight out of the socket and set it aside.
3. Replace the card in the riser:
a. Place the riser on a stable surface, and then turn the riser so that you can access the PCIe card.
b. Place your thumbs just below the bottom edge of the PCIe card on either side of the socket, and then
gently push up to release the card from the socket.
c. Slide the card out of the riser and set it aside.
d. Align the replacement card bezel with the edge of the riser and the outside edge of the card with the
alignment guide on the left side of the riser.
e. Gently slide the card until the card connector aligns with the riser socket, and then gently push the card
down into the socket.
4. Reinstall the riser in the controller module:
a. Align the riser over the opening so that the front edges of the riser are directly over the openings on the
riser bay.
b. Aligning the back edge of the riser so that the pins on the underside of the riser are over the holes in
the sheet metal at the back riser bay.
c. Apply even downward pressure to seat the riser straight down into the socket on the controller module.
65


