27
4. Using the VIEWER
USB-A function
When the USB memory inset into the projector, the USB-A function can project pictures stored in the USB memory.
The projected content of USB-A function
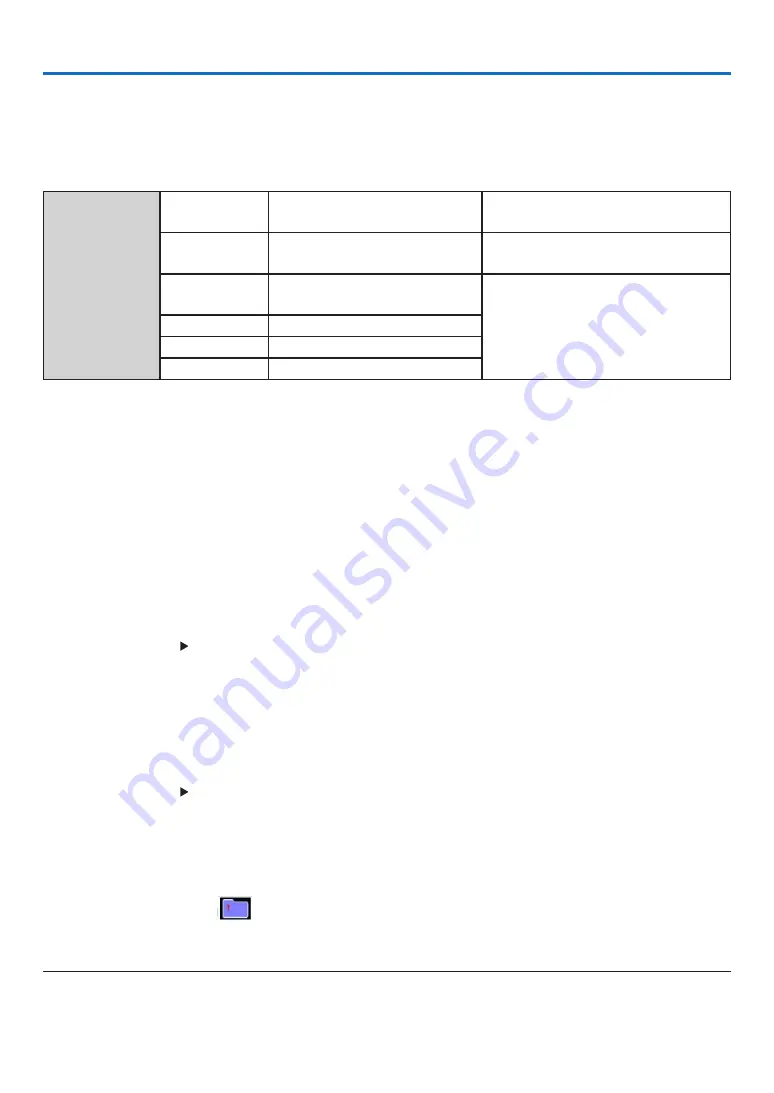
USB-A function supports the following picture files.
Maps
Extension
name
Format
Description
jpg/jpeg
Baseline encoder 24
Progressive RGB24 bit
Max resolution: 10000x10000
Max resolution: Panel Resolution
bmp
1.4.8 bit palette-based
RGB24,32 bit
Max resolution: 1280X800
png
24, 48-bit True Color
gif
1,4,8-bit palette-based
tiff
Display USB-A screen
When the USB memory inset into the projector, the USB-A function can project pictures stored in the USB memory.
1) Press SOURCE button on the remote control or INPUT on the top control, then select the input source of [USB-A].
2) Insert the USB memory into the USB Port (Type A) directly.
• Press the ENTER button to display standby screen instanly, while the USB memory icon display in the lower
left corner of the screen.
• When the USB memory is independent of the partition, it will display more than one USB icon.
3) Press
▲ ▼
button to switch required items.
• The root directory of the USB memory is displayed in a thumbnail.
Play image
Only one image show on the screen when you play it.
1) Press
button to select a image.
2) Press the ENTER or
button.
• Full screen display
3) Press the ENTER button.
• Press the ENTER button to return the thumbnail.
Play slide
Turn on set slide in the USB-A menu to play the file, other files in the same folder can play automatically.
1) Press
button to select a file.
2) Press the ENTER or
button.
• Full screen display
3) Press the ENTER button.
• Press the ENTER button to return the thumbnail.
The termination of USB-A
The slide show mode in the USB-A menu is set to a special setting, all images in the same folder can play automatically.
1) Press
button to select
, displayed in the left corner of the screen.
2) Press the ENTER button.
3) Unplug the USB memory directly.
NOTE:
• Only USB memory up to FAT32 (32GB) can be read.
• When you insert a USB memory, please make sure insertion direction to avoid damaging the port.


