Test the EXIFU Card
8
XN120 EXIFU Guide
3- Test the EXIFU
1
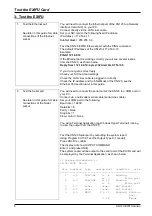
Test the Ethernet port
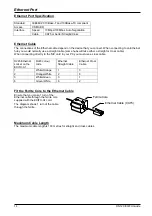
See later in this guide for cable
connections of the Ethernet
socket.
You will need to connect the Ethernet port of the XN120 to a Network
Interface Card (NIC) on your PC.
Connect directly via the LAN cross cable.
Set your NIC card to the following fixed IP address.
IP Address = 172.16.0.11
SubNet Mask = 255.255.0.0
Test the XN120 EXIFU Ethernet port with the PING command.
The default IP address of the XN120 is 172.16.0.10
Example.
PING 172.16.0.10
If the Ethernet port is working correctly you will see several replies
from the XN120, as shown below.
Reply from 172.16.0.10: bytes=32 time=2mS TTL=30
If you do not get a correct reply:
Check your NIC card and settings
Check the LAN cross cable is plugged in correctly
Check the IP address and Sub Net Mask of the XN120, see the
Ethernet Port section later in this guide.
2
Test the Serial port
See later in this guide for cable
connections of the Serial
socket.
You will need to connect the serial port of the XN120 to a COM port on
your PC.
Connect via a null modem serial cable (serial cross cable).
Set your COM port to the following:
Baud rate = 19200
Data bits = 8
Parity = None
Stop bits = 1
Flow control = None
You will a Terminal Application (eg Windows HyperTerminal) running
to view the output from the XN120.
Test the XN120 Serial port by outputting the system report.
Using Program 90-13-01 set the Output Type to 1 (serial)
Press HOLD to confirm.
The display will show OUTPUT COMMAND
Enter 1 and press HOLD
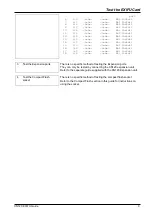
The system report will be output to the serial port of the EXIFU and will
be displayed by the Terminal Application, as shown below.
<< System Information >>
14/02/2004 04:34
slot location type assign port condition note
----------------------------------------------------
1 1-1 008/308 1- 8 Running
1- 3 Trunk port
2 1-2 008/308 9- 16 Running
4- 6 Trunk port
3 1-3 -none- -none- Not Install
4 1-4 -none- -none- Not Install
5 1-5 BRIU 17- 20 Running Station
port
7- 14 Trunk


