16
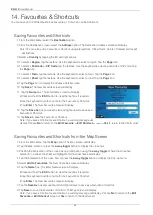
iCN 510
| User Manual
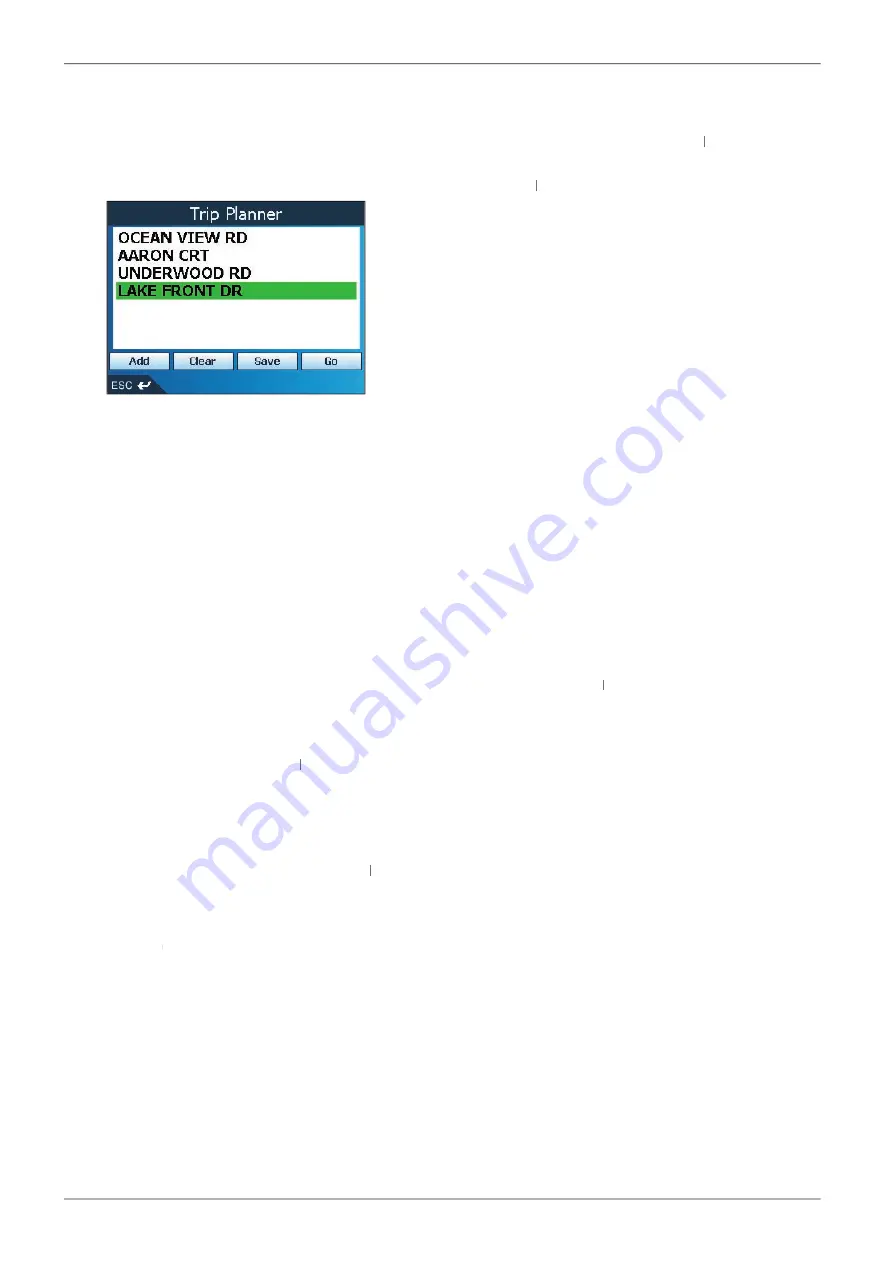
Multiple Destination Points with the Trip Planner
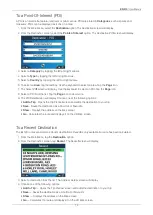
You can use the Trip Planner to set multiple destination points for your trip. Your route will be calculated to go
via each of these points in the specifi ed order. Destination points can be added via the
Trip Planner
screen or by
Planner
Planner
selecting
Show Details
from the pop-up menu on the
Map
screen, then
Add to Trip
.
1. From the
Main Menu
, tap the
Trip Planner
option. The
Trip Planner
screen will display.
Planner
Planner
2. Tap
Add
. The
Destination
screen will open.
3. Tap
Address
. The
Destination Address
screen will open.
Note: You can also add destination points using intersections, Cities/Towns, Points of Interest and recent
destinations.
4. Select a
Country
by tapping the left and right arrows.
Country
Country
5. To select a
Region
, tap the textbox. Use the keyboard to select a region. Tap the
Page
icon.
6. To select a
Postcode
, or
ZIP Code
, tap the textbox. Use the keyboard to select a postcode or ZIP code. Tap
the
Page
icon.
7. To select a
Town
, tap the textbox. Use the keyboard to select a town. Tap the
Page
icon.
8. To select a
Road
, tap the textbox. Use the keyboard to select a road. Tap the
Page
icon.
9. Tap the
Page
icon to display the
Address-Details
screen.
10. Tap
Add to Trip
. The destination point is added to your trip. The
Trip Planner
screen will display.
Planner
Planner
• To add another destination point, go to step 2.
11. To move a destination point up or down, tap the point. The
Address Details
screen will display.
• Tap
Move
. The
Trip Planner
screen will display with the selected destination point highlighted.
Planner
Planner
• Use the
4-way toggle
to move the destination point up or down the list.
• Tap the destination point.
12. To delete a destination point, tap the point. The
Address Details
screen will display.
• Tap
Delete from Trip
. The
Trip Planner
screen will display with the selected destination deleted.
Planner
Planner
13. Choose one of the following options:
•
Add
- Opens the
Destination
screen to add a destination point.
•
Clear
-
Clear
Clear
Deletes all destination points
•
Save
- Opens the
New Favourite
screen to save the trip as a Shortcut or Favourite
•
Go
- Calculates the route and displays it on the
3D Map
screen.
Using the Map screen to Plan a Route
You can plan a route directly from the
Map
screen using the Popup menu.
1. From the
Main Menu
, tap the
Map
option. The
Map
screen will display.
• Move round the
Map
screen using the
4-way toggle
• Zoom using + and - on the
Zoom/Brightness
button.


