


8 |
P a g e
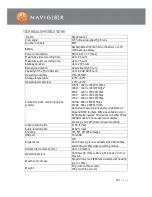
Use the
<
and
>
keys to move to the
system setup
interface.
Use the
+
and
–
keys to move to the date field and press OK
Use the
<
and
>
keys to move between fields while using
the
+
and
–
keys to adjust the time/date values.
Each value will turn blue once selected.
Finally press OK and then the
M
key to exit.
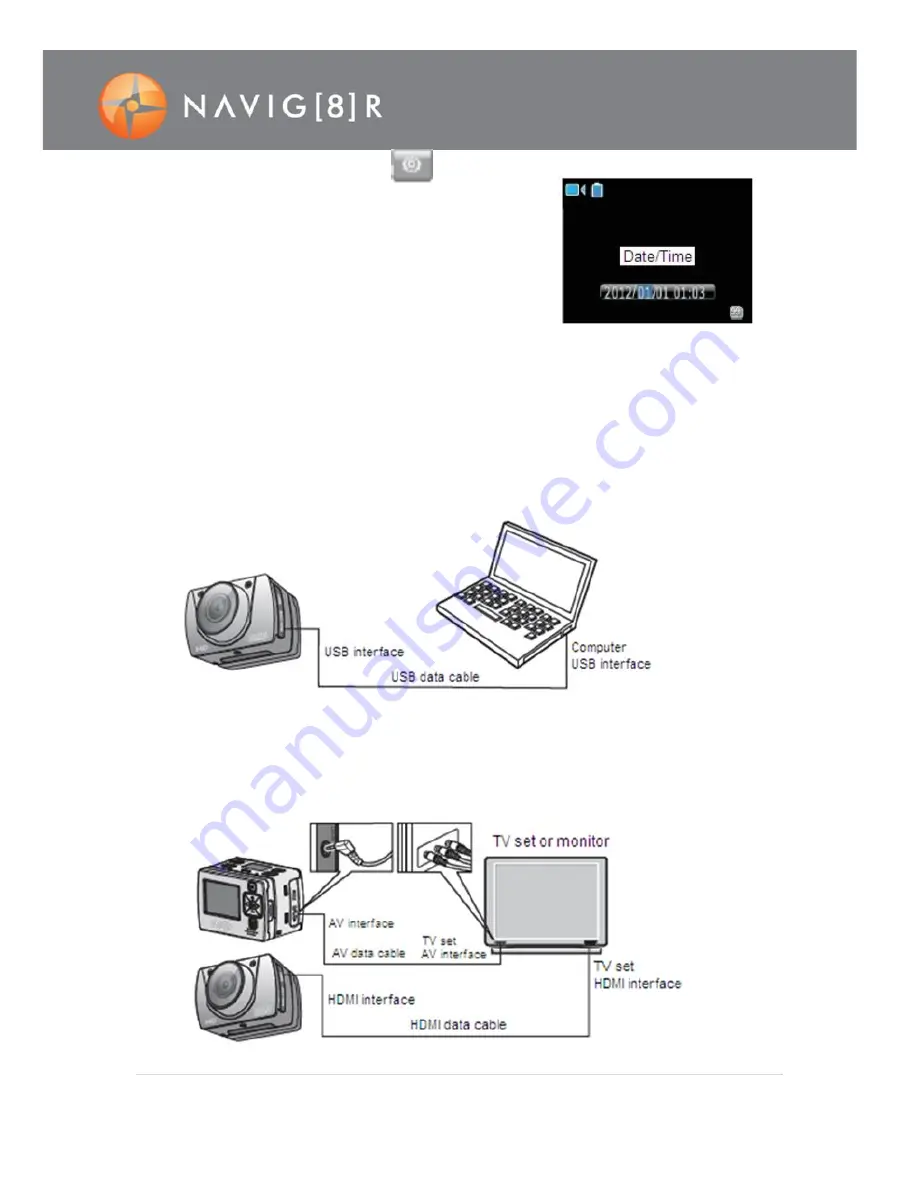
STORAGE AND PLAY OF A FILE
Connecting a USB Data Cable
You can copy the recorded files to a computer for storage or playback by using a USB data cable
supplied. You can also remove the Micro SD card and access the data using a card reader. Video
playback software such as “VLC” is recommended for playing recorded files. Otherwise you may
need to download the relevant codec to enable Windows Media Player to function.
Note: Turn your NAVSPORTPRO on to transfer data. When finished turn your NAVSPORTPRO off
before disconnecting the cable.
Connecting with a HDMI Cable or an AV Cable
You can play recorded files on a TV or monitor that supports Composite (yellow RCA plug) or
HDMI connections.


