7 |
P a g e
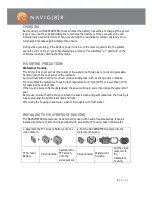
Note 1: To remove the TFT screen, press the PUSH release button and gently remove it.
Note 2: You can test the gasket by closing the case without the camera inside and
submersing it completely in a bowl of water for a few minutes. Remove the case from the
water, dry off the exterior with a towel, and then open the case. If the interior is dry, the
camera and case will be safe for use under water.
Note 3: Only three buttons are required for recording video and images: the Shutter Button
for both Video and Camera the stop button.
INSTALLING THE REMOTE CONTROLLER
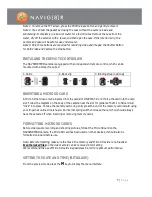
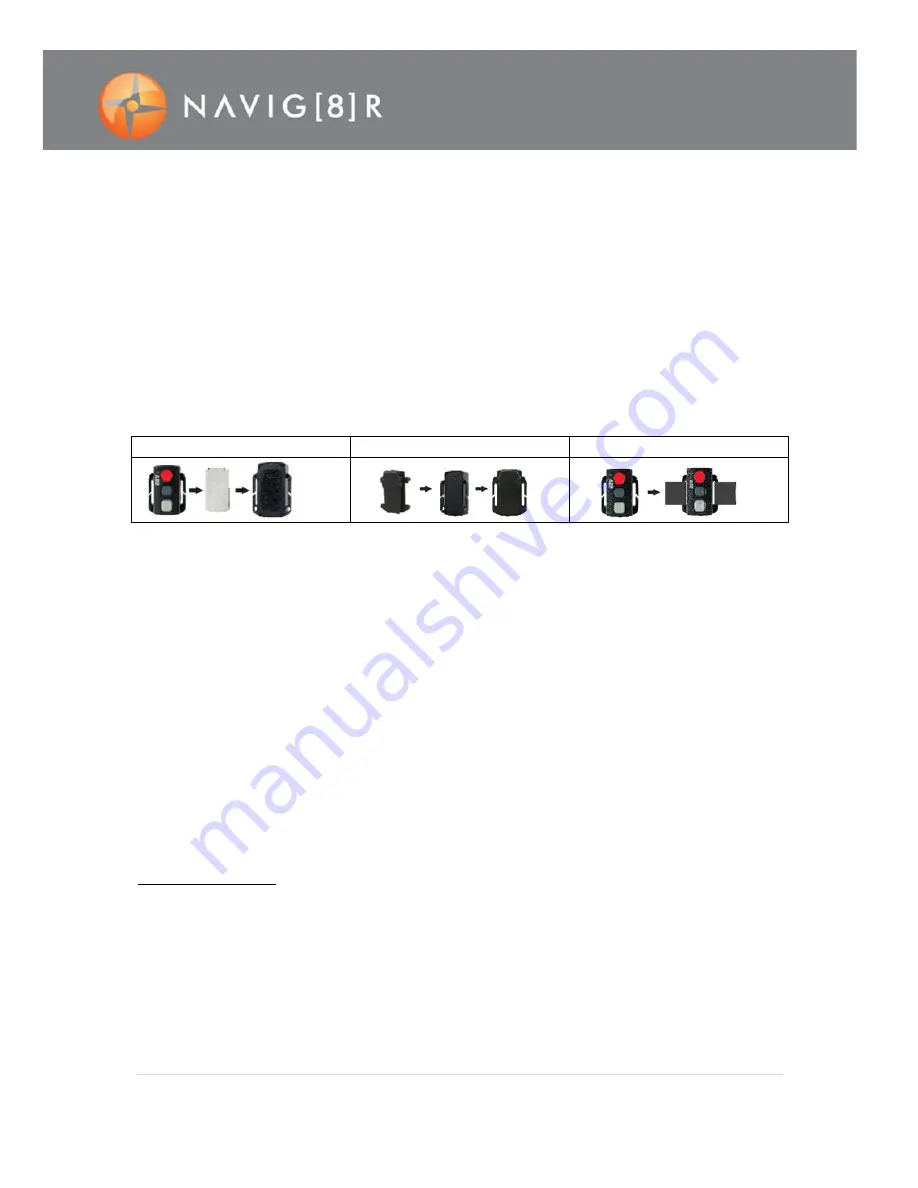
The NAVSPORTPRO camera is equipped with an independent remote control, which can be
mounted with a strap if required.
1. Velcro
2. Back clip
3. Binding strap (optional)
INSERTING A MICRO SD CARD
A Micro SD Card can only be inserted into the card slot ONE WAY. Do not force the card into the card
slot. Follow the diagram on the body of the camera near the slot for guidanceThe Micro SD card will
“click” into place. To take the memory card out, gently press the end of the memory card inward using
your fingernail until a click is heard. An internal spring will then release the card. You should always
have the camera off when inserting or removing memory cards.
FORMATTING MICRO SD CARD’S
Before video/audio recording and shooting pictures, format the Micro SD card on the
NAVSPORTPRO camera. If a Micro SD card has been used on other devices, it should also be
formatted on-board before use.
Note: Before formatting, make sure the files in the memory and Micro SD card are not needed.
Even the locked files on the video camera can be removed in formatting
We recommend the use of Micro SD cards in speed class 6 or 10 for optimum performance.
SETTING THE DATE AND TIME (INITIAL USE)
From the preview mode press the
M
key to display the menu interface.


