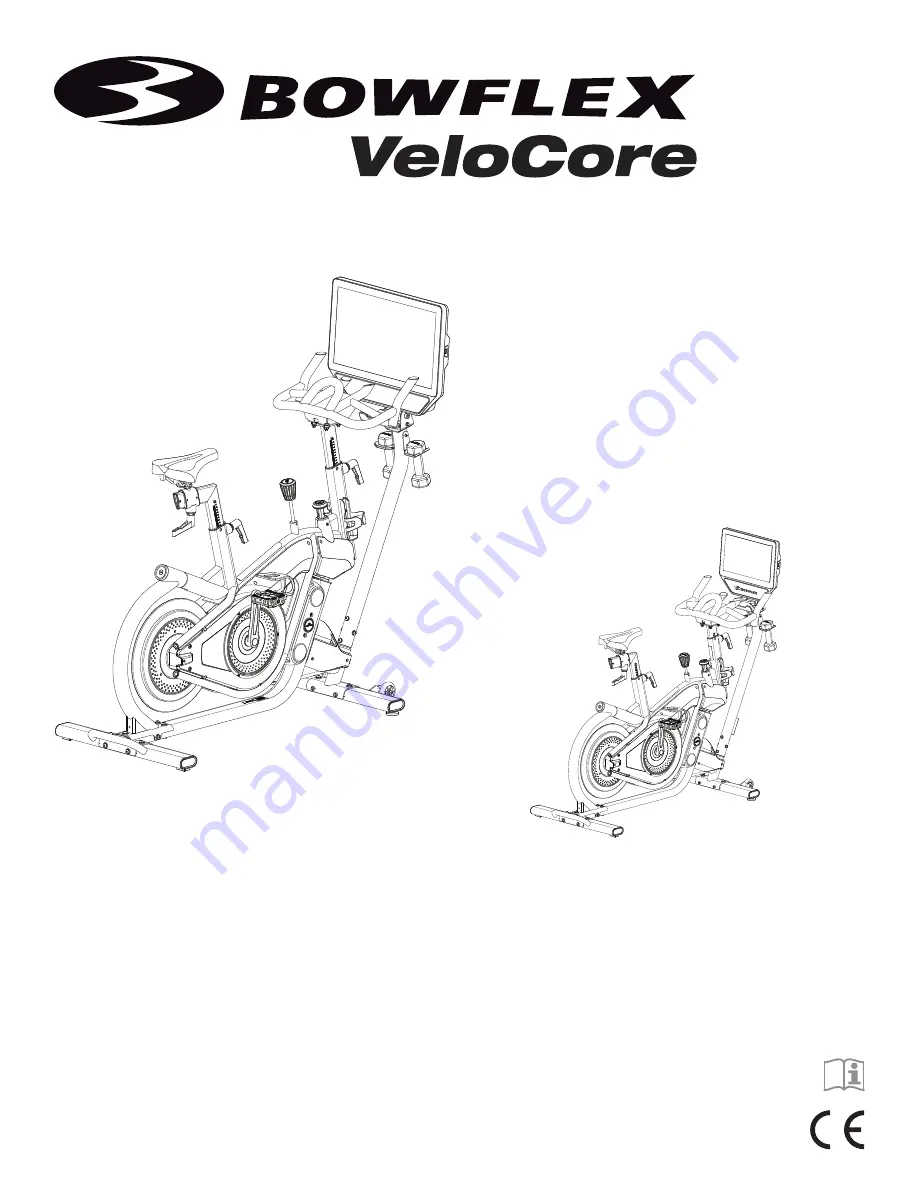
background image

Workout with Other Fitness Apps

This fitness machine has integrated Bluetooth

®

 connectivity 

which allows it to work with a number of fitness apps. For our 

latest list of supported apps, please visit: 

www.nautilus.com/partners

ASSEMBLY / OWNER’S MANUAL

Summary of Contents for Bowflex VeloCore

Page 1: ...ness Apps This fitness machine has integrated Bluetooth connectivity which allows it to work with a number of fitness apps For our latest list of supported apps please visit www nautilus com partners ASSEMBLY OWNER S MANUAL ...

Page 2: ...al com Printed in China 2020 Nautilus Inc Bowflex the B logo VeloCore JRNY Explore the World Nautilus and Schwinn are trademarks owned or licensed by Nautilus Inc registered or otherwise protected by common law in the U S and other countries The Bluetooth word mark and logos are registered trademarks owned by Bluetooth SIG Inc and any use of such marks by Nautilus Inc is under license Other tradem...

Page 3: ...ice until the machine has been fully assembled and inspected for correct performance in accordance with the Manual Read and understand the complete Manual supplied with this machine before first use Keep the Manual for future reference Do all assembly steps in the sequence given Incorrect assembly can lead to injury or incorrect function Connect this machine to a properly grounded or earthed outle...

Page 4: ...ine in the manner described in this manual Perform all regular and periodic maintenance procedures recommended in the Owner s Manual Do not drop or put objects into any opening of the machine Correctly adjust and safely engage all Positional Adjustment Devices Make sure that the Adjustment Devices do not hit the user Exercise on this machine requires coordination and balance Be sure to anticipate ...

Page 5: ...ticular installation In the unlikely event that this equipment does cause harmful interference to radio or television reception which can be determined by turning the equipment off and on the user is encouraged to try to correct the interference by one or more of the following measures Reorient or relocate the receiving antenna Increase the separation between the equipment and receiver Consult the...

Page 6: ...Before Assembly Select the area where you are going to set up and operate your machine For safe operation the location must be on a hard level surface Allow a workout area of a minimum 2 7 m x 1 8 m 108 x 72 Basic Assembly Tips Follow these basic points when you assemble your machine Read and understand the Important Safety Instructions before assembly Collect all the pieces necessary for each ass...

Page 7: ...dal Right R 5 1 Handlebar Post 16 2 Dumbbell Holder 6 1 Seat Stem 17 2 Water Bottle Holder 7 1 Seat Assembly 18 1 AC Adapter w Cord 8 1 End Cap Seat Stem 19 2 Dumbbell 9 3 Adjustment Handle Handlebar Seat 20 2 Shoe Clips Cleats 10 1 Console Mast 21 1 Bluetooth Heart Rate HR Armband 11 1 Adjustable Console Mast These items are in bag with Tools PARTS 20 4 5 1 6 7 8 9 9 9 3 2 14 L 17 16 X2 15 R 10 1...

Page 8: ...move the nut from the end of the long screws and discard the nut If a tube is pre installed in the stabilizer bracket remove and discard safely 4 mm Hardware Assembly X4 X4 6mm 6mm 3 2 1 X4 13mm Hardware is pre installed on the machine Note Selected pieces of the pre installed hardware have been provided as spares in the bag 2 6 mm ...

Page 9: ...k STOP on the tube NOTICE Make sure the Handlebar Post Adjustment Handle is fully tightened to secure it on the Handlebar Post and the Seat Stem Adjustment Handle is fully tightened to secure it on the Seat Stem When fully tightened the Adjustment Handles must point downward Note To adjust the height after the handle is tightened loosen the handle as you hold the upright post to prevent it from dr...

Page 10: ...ed to secure the Seat Assembly on the Seat Stem When fully tightened the Adjustment Handle must point rearward Note To adjust the seat after the handle is tightened loosen the handle Move the seat to the desired position and tighten the handle Pull the handle out to disengage and turn so that it points rearward then release 7 8 9 X2 4mm ...

Page 11: ...lled Hand tighten the screws at the base of the Console Mast 6 Attach the Adjustable Console Mast to the Frame Assembly NOTICE Remove the pre installed hardware from the Adjustable Console Mast Use the pull cable in the Adjustable Console Mast to route the Console Mast cable through the round hole at the base of the Adjustable Console Mast tube to the opening at the top Attach the Adjustable Conso...

Page 12: ...Mast are straight then fully tighten the screws at the base of the Console Mast 13 12a 13 12a 7 Install the Console to the Frame Assembly NOTICE Remove the Console mast cover 12a and pre installed hardware from the back of the Console before you connect the cables Route the Console cable through the Console Mount up to the opening at the top Connect the Console cable and Console Mast cable Do not ...

Page 13: ...ated position on the bike The Left Pedal has an L the Right Pedal an R NOTICE The Pedals MUST be installed straight into the Crank Arms by hand or the threads that secure the Pedals may strip Start the Pedal by hand Be sure that the Pedal is going on straight into the Crank Arm If the Pedal is not in line with the opening remove the Pedal and start again 14 L 15 R With the Pedal started by several...

Page 14: ...r s Manual 14 9 Attach the Dumbbell Holders to the Frame Assembly Note The hardware is pre installed 10 Attach the Water Bottle Holders to the Frame Assembly Note The hardware is pre installed 16 X2 X4 2 17 X2 X4 2 ...

Page 15: ...e Console displays an Update Available screen tap on the Agree button The Console will update the software e With a Wifi connection established tap on Back f Tap on Get Started g The Console will display the options screen Choose Log In or Create Account Follow the prompts to register your new fitness machine When registration is completed your fitness machine is now ready for use h The Console wi...

Page 16: ...sheet in position over the cleat holes and then a cleat Be sure the single arrow on the cleat points toward the toe of the shoe Tighten the cleat mounting bolts 2 5 N m Note The mounting bolts must be very tight Tighten one bolt then the other then repeat to get them both very tight 3 The cleat has an adjustment range of 20mm front to back and 5mm left to right Practice engaging with the Pedal and...

Page 17: ... carefully lift the machine onto the transport rollers 5 Push the machine into position 6 Carefully lower the machine into position NOTICE Be careful when you move the machine Abrupt motions can affect the computer operation For safe storage of the machine remove the power adapter and place in a secure location Be sure the machine is stabilized in the upright position with the Lean Lock Knob pulle...

Page 18: ...justable Console Mast W Shoe Clips Cleats K Dumbbell Rack Dumbbells only supplied with U S Canada machines X USB Charging Port L Adjustment Handle Handlebar Post Y Bluetooth Connectivity not shown M Water Bottle Holder Z Bluetooth Heart Rate HR Receiver not shown WARNING Use the values calculated or measured by the machine s computer for reference purposes only The heart rate displayed is an appro...

Page 19: ...Brake Resistance Adjustment Knob to adjust the resistance level Clockwise will increase the value counter clockwise will decrease the value LeanMode To unlock the leaning mode push the button all the way down with an open hand To lock the bike in the stationary mode pull up on the button until it clicks Take a moment to practice unlocking and locking the lean mode NOTICE The bike must be upright i...

Page 20: ... Display Just touch the Display to make a selection start a workout or to simply wake up the Console Note The buttons on the back of the Console are for factory reset and recovery They are not intended for customer use The Power Sleep button turns off the backlight on the console so it appears off but the electronics are still on Status LED The Status LED shows if the Console is activated and star...

Page 21: ...ategorized by difficulty and organized by time FAVORITES tab Quick access to your favorite content To add an option to your Favorites tab tap on the heart icon in the upper right corner LEARN tab Provides educational videos and key feature information about fitness WORKOUTS The Workouts tab centrally collects all of the available workouts and educational videos JOURNAL Displays the workout summary...

Page 22: ...calories being burned per minute This rate is a function of Intensity which is the current level of RPM pedal speed and resistance level As either of those values increase the Burn Rate will increase HeartRate Remote Heart Rate HR Monitor required The Heart Rate display shows your heart beats per minute The heart icon will flash when acquiring the rate With a stable reading the icon will be shown ...

Page 23: ...M pedal speed and resistance level As either of those values increase the Burn Rate will increase Burn Rate Target range The Burn Rate Target range is based on the selected User Profile A range of Burn Rate segments are activated during an Interval workout The intensity of the range is based on the Workout Profile display Note For a more exact calorie burn rate and suggested target range be sure t...

Page 24: ...ctor before using a Bluetooth armband or other Bluetooth heart rate monitor Note Be sure to remove the protective cover if provided from the Heart Rate Sensor before use 1 Put the Bluetooth Heart Rate Armband onto the upper portion of your forearm 2 Confirm that Bluetooth wireless connection is active on the machine If the Bluetooth icon is blue then it is active If the icon is red then Bluetooth ...

Page 25: ...ower than what is shown The most efficient procedure to burn fat during exercise is to start at a slow pace and gradually increase your intensity until your heart rate reaches between 60 85 of your maximum heart rate Continue at that pace keeping your heart rate in that target zone for over 20 minutes The longer you maintain your target heart rate the more fat your body will burn The graph is a br...

Page 26: ...ace the cleat when it becomes difficult to release or starts to release with much less effort than when it was in new condition Pedals and cleats are SPD Compatible They fit any shoe size with the correct cleat mounts shoes with Standard 2 Hole MTB SPD Cleat Mounts MTB SPD Mountain Bike Shimano Pedaling Dynamics Speakers To play audio through the speakers on your machine open an App on the Console...

Page 27: ...When you adjust the seat use the shoes that you plan to wear for riding 1 Standing next to the bike raise lower the Seat so that it is level with the top of your hip bone 2 Sit on the bike With the hips level place the ball of the foot on the Pedal at the bottom of the pedal stroke 6 o clock The leg should be slightly bent at the knee approx 20 degrees 3 If your leg is too straight or your foot ca...

Page 28: ... the heels outward and lift If the body weight of a user is very low the user may have difficulty with operation of the engagement release mechanism in the Pedals It may be necessary to decrease the retention force of the mechanism To adjust the retention 1 Locate the opening in the rear of the Pedal for access to the adjustment bolt It is between the 2 screws that attach the Foot Restraint to the...

Page 29: ...ote A Wifi connection is required to use your Bowflex VeloCore machine If you do not have a Wifi connection available contact your Bowflex Representative or your local distributor immediately for further assistance 3 The Console will display the list of available Wifi connections Tap on the desired Wifi connection and enter the password Tap on Connect 4 The Console will test and connect to the Wif...

Page 30: ...t Complete values Total Time Total Intervals Total Calories Average Sprint Burn Rate Average Heart Rate Average RPM and Average Resistance 4 Tap Continue 5 The Console will go to the Overview of the Latest Workout of the JOURNAL tab Power Off or Restart the Machine Note When active the Bowflex VeloCore machine checks for software updates and installs them If the machine is de activated for a perio...

Page 31: ...e Console Do not clean with a petroleum based solvent automotive cleaner or any product that contains ammonia Do not clean the Console in direct sunlight or at high temperatures Be sure to keep the Console free of moisture Weekly Clean the machine to remove any dust dirt or grime from the surfaces Check pedals and crank arms and tighten as necessary Make sure all bolts and screws are tight Tighten...

Page 32: ...el G Seat Stem U Console Mast II Speed Sensor Magnet 5 H Seat V Water Bottle Holder JJ Speed Sensor I Seat End Cap W Data Cable Upper KK Resistance Magnet Assembly J Main Frame X Dumbbell Rack Dumbbells only supplied with U S Canada machines LL Power Inlet K End Cap Seat Stem Y Console Mast Adjustable MM PCB Tillt Sensor L Rear Stabilizer Z End Cap Console Mast NN Static Bumper Assembly M Leveler ...

Page 33: ...ge to the sensor or the connecting wire Unit operates but Bluetooth Heart Rate HR not displayed Bluetooth Heart Rate Sensing Device Armband provided with U S Canada machines Make sure device is directly against skin and device is on Bluetooth Heart Rate Sensing Device Batteries If device has replaceable batteries install new batteries Make sure batteries are charged if applicable Interference Try ...

Page 34: ...e pedals Seat post movement Check adjustment handle Be sure the adjustment handle is securely tightened Handlebar post movement Check adjustment handle Be sure the adjustment handle is securely tightened Bike will not lean Check Lean Lock Knob Be sure knob is pushed completely down unlocked position Bike will not lock in Stationary mode Check Lean Lock Knob Be sure bike is upright Pull the knob co...

Page 35: ...roduct Documentation Assembly Owner s Manuals etc damage due to improper storage or the effect of environmental conditions such as moisture or weather misuse mishandling accident natural disasters power surges A machine placed or used in a commercial or institutional setting This includes gyms corporations work places clubs fitness centers and any public or private entity that has a machine for us...

Page 36: ...8025856 050120 A EN ...

Reviews: