


43
Using the Control Panel
Trigger Level
P
ress the Cursor Control knob to switch to
Cursor Mode
. When the Cursor Mode is enabled, the green light indicator is on
.
•
The Cursor Control knob allows the trigger level to be adjusted.
The
modifies the trigger delay:
•
To increase the trigger delay: click > (right).
•
To decrease the trigger delay: click < (left).
Trigger Slope
To select/deselect the trigger slope, open the right-click menu in the scope and select “Trig Slope”.
•
If the trigger slope is selected, the signal is triggered on a down going signal.
•
If the trigger slope is deselected, the signal triggers on an up going signal.
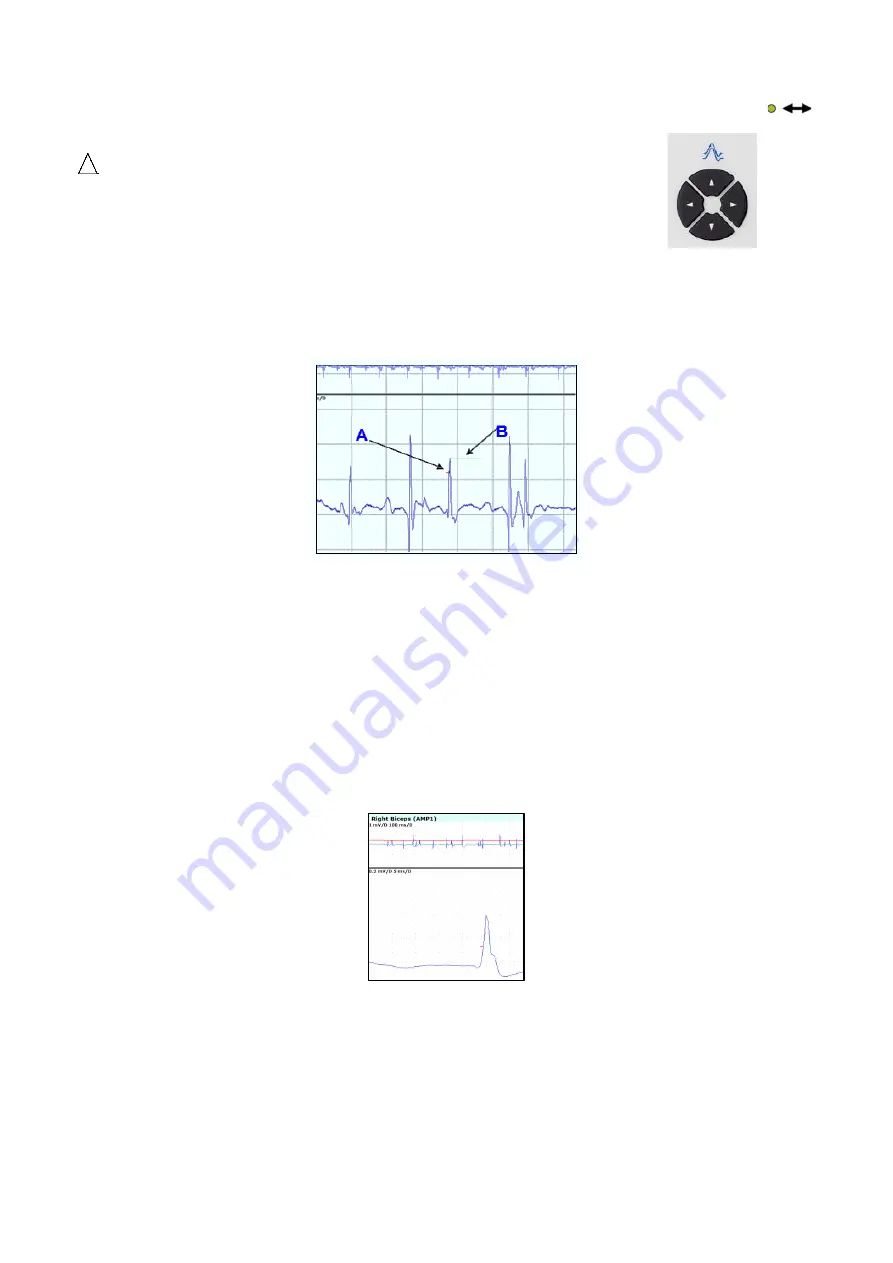
Window Trigger
•
The
window trigger
consists of the normal trigger (
A
) and the window indicator (
B
) and can be selected in the right-click menu.
Please see the figure above.
Change the length of the window trigger by dragging it from the right side of the indicator. The window indicator can be moved up
and down independently of the trigger by dragging the mouse.
Split Screen View
To split the window into two viewing panes, click the
right
mouse button in the scope and select “split” from the menu. The window splits
into an
overview scope.
The
main scope
as shown in the figure below:
•
The overview scope (A): when a trigger is applied to the main scope, a thin red line in the overview scope indicates the amplitude
level.
•
The main scope (B): the trigger is set in the main scope in which curves in free run are shown.
A
B


