SCXI Quick Start Guide
2
ni.com
For safety and compliance information, refer to the device documentation packaged with your
device, at
ni.com/manuals
, or the NI-DAQmx media that contains device documentation.
The following symbols may be on your device.
Step 2. Verify the Components
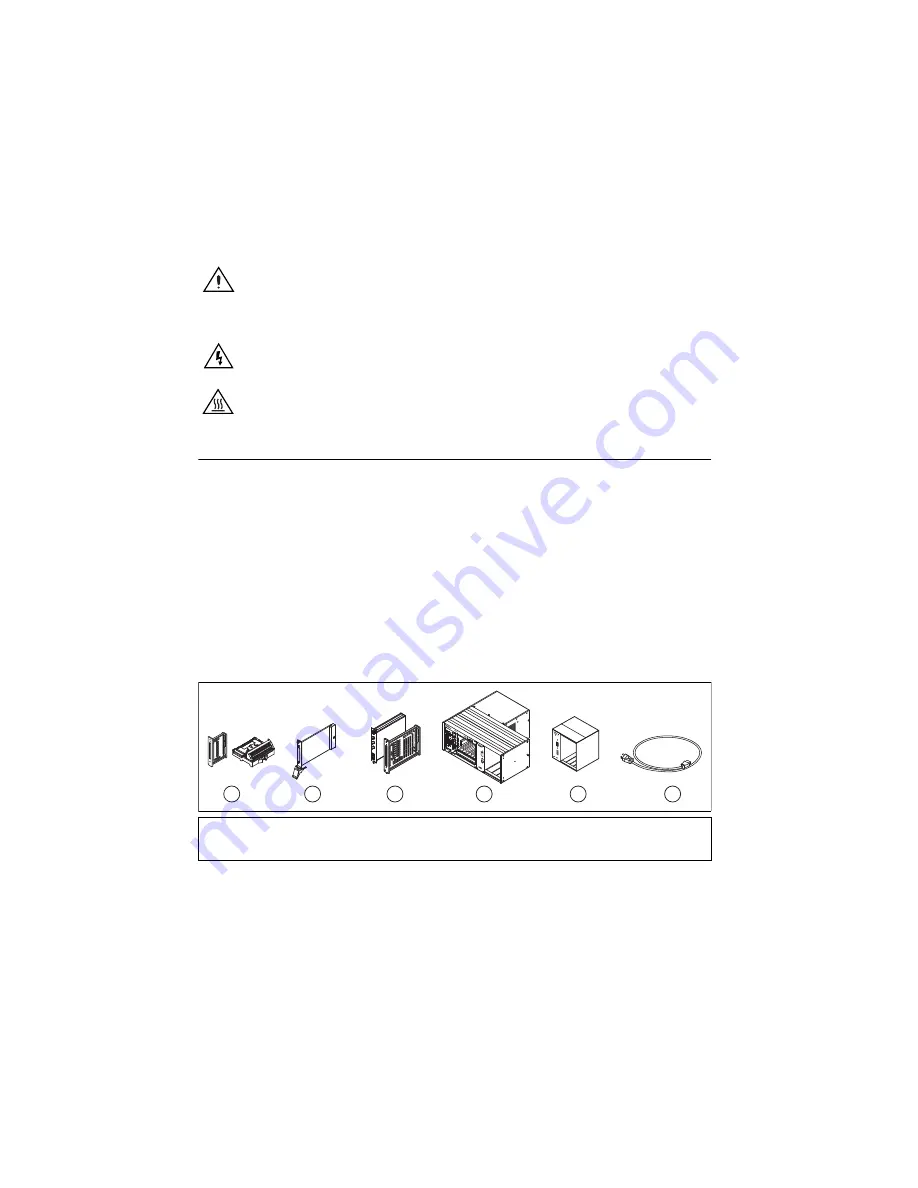
Make sure you have the specific combination of the SCXI system components, shown in
Figures 1 and 2, needed for your application along with the following items:
•
NI-DAQ 7.
x
or later software and documentation
•
NI LabVIEW, NI LabWindows
™
/CVI
™
, NI LabVIEW SignalExpress, NI Measurement
Studio, Visual C++, or Visual Basic
•
SCXI product manuals
•
1/8 in. flathead screwdriver
•
Numbers 1 and 2 Phillips screwdrivers
•
Wire insulation strippers
•
Long nose pliers
Figure 1.
SCXI System Components
This icon denotes a caution, which advises you of precautions to take to avoid
injury, data loss, or a system crash. When this symbol is marked on a product, refer
to the
Read Me First: Safety and Electromagnetic Compatibility
document, shipped
with the device, for precautions to take.
When this symbol is marked on a product, it denotes a warning advising you to take
precautions to avoid electrical shock.
When this symbol is marked on a product, it denotes a component that may be hot.
Touching this component may result in bodily injury.
1
Terminal Block or TBX Accessories (Optional)
2
PXI Module
3
SCXI Modules
4
PXI/SCXI Combination Chassis with Controller
5
SCXI Chassis
6
Chassis Power Cord
1
C 17 18 19 20 21 22 2
3
24 25 26 27 28 29
3
0
3
1
3
2 C
V 1 2
3
4 5 6 7 8 9 10 11 12 1
3
14 15 1
6
V
6
3
S
CX
I
11
40
5
®
MAI
NFRA
ME
S
CX
I
5
4
3
2
1
POWER
RE
S
ET
ADDRE
SS
2
4
6
3
5
2
4
6
3
5
2
4
Summary of Contents for SCXI-116 Series
Page 1: ...SCXI 1143...


