© National Instruments
|
1-7
NI cDAQ-9181/9184/9188/9191 User Manual
Note
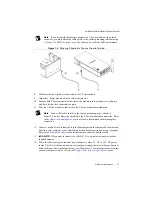
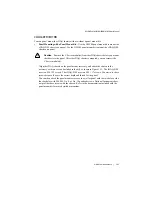
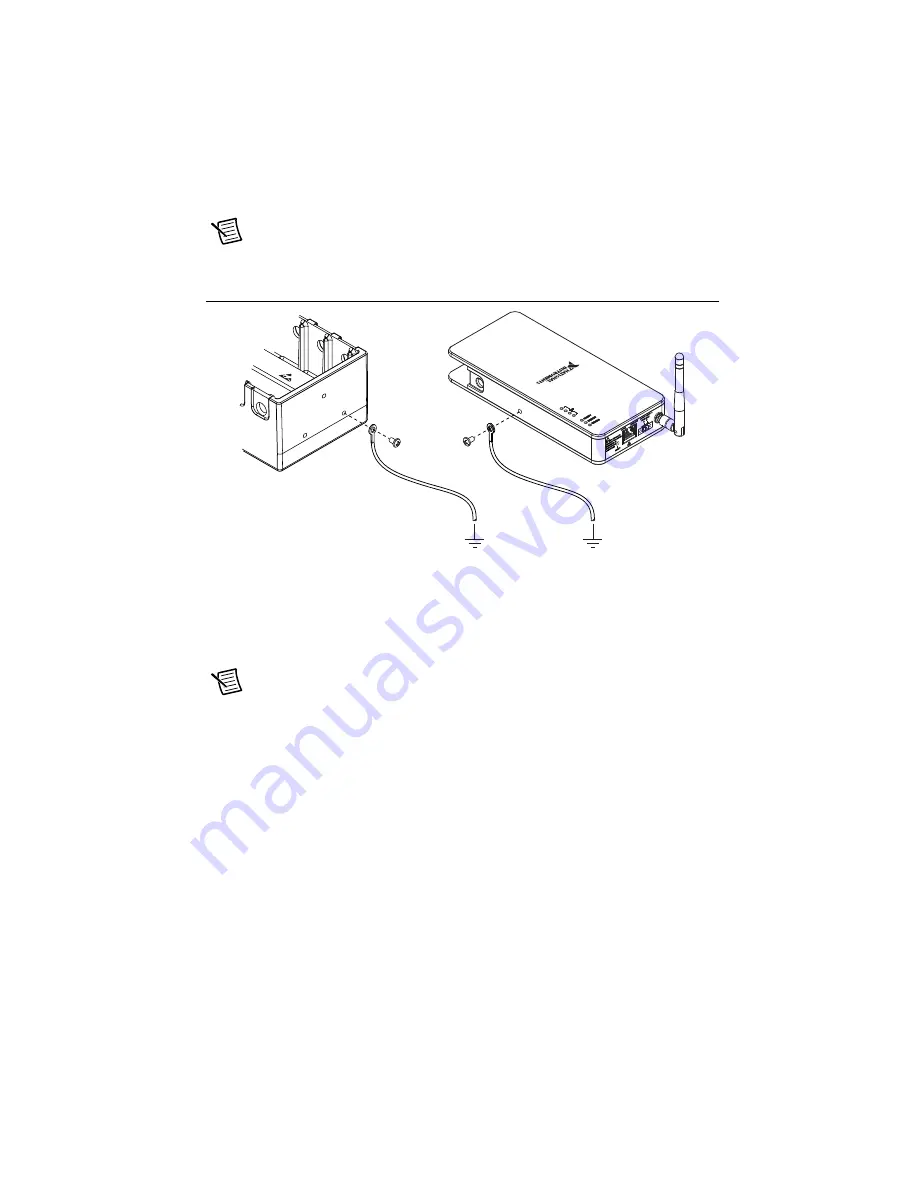
If you use shielded cabling to connect to a C Series module with a plastic
connector, you must attach the cable shield to the chassis grounding terminal using
1.31 mm
2
(16 AWG) or larger wire. Use shorter wire for better EMC performance.
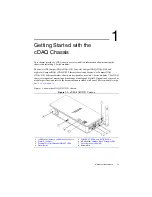
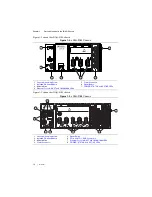
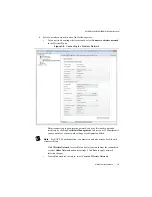
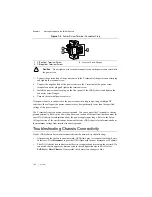
Figure 1-4.
Ring Lug Attached to Chassis Ground Terminal
8.
Make sure that no signals are connected to the C Series module.
9.
Align the C Series module with the cDAQ chassis slot.
10. Squeeze both C Series module latches, insert the module into the module slot, and press
until both latches lock the module in place.
11. Wire the C Series module as indicated in the C Series module documentation.
Note
Connect I/O cable shields to the chassis grounding screw, shown in
Figure 1-4, unless otherwise specified in the C Series module documentation. Refer
to the
section for more information about making this
connection.
12. Connect one end of the Ethernet cable to the Ethernet port on the chassis, and the other end
directly to your computer or any network connection on the same subnet as your computer.
Refer to the
section for information about the Ethernet cable.
13.
(cDAQ-9191)
If you want to connect the cDAQ-9191 to a wireless network, attach the
supplied antenna.
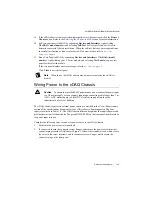
14. Power the chassis using the included power adapter or other 9 V DC to 30 V DC power
source. The cDAQ chassis requires an external power supply that meets the specifications
listed in the specifications document for your cDAQ chassis. For information about wiring
your external power source, refer to the
Wiring Power to the cDAQ Chassis
section

