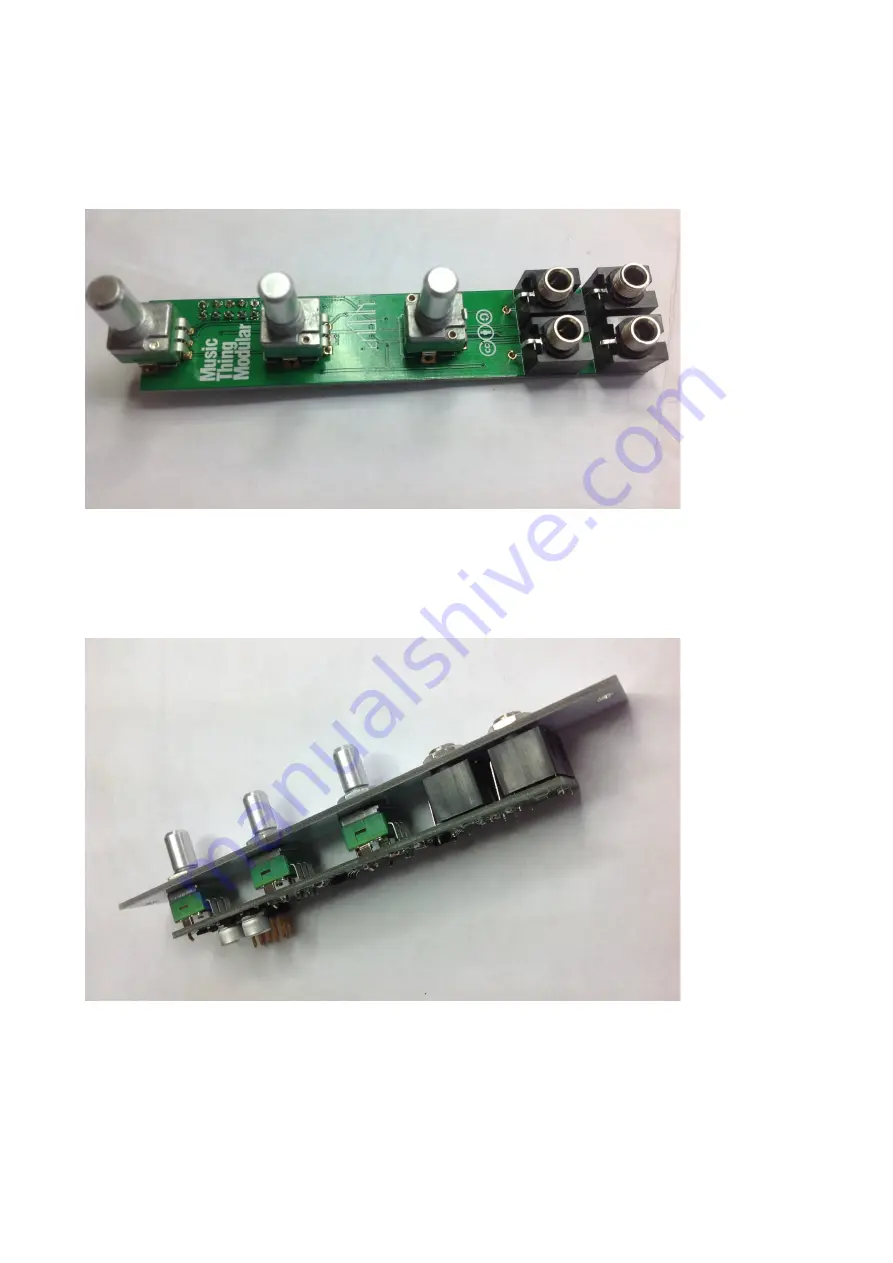
Now fit the pots and the jacks. These are mounted on the reverse side of the PCB to the
components. Start by removing the nuts and washers if they're still fitted. If the pots have the small
tab on them, remove it with a pair of cutters.
Fit the pots and the jacks to the board, but don't solder them.
Fit the panel over the pots & jacks, then fit the washers & nuts onto the pots and jacks. Do the nuts
up finger tight. The retaining clips on the pots should keep everything in place whilst you do this.
The panel should now be parallel to the PCB.
Turn the assembly over so the component side of the PCB is facing upwards. Solder one of the Tilt
jack pins nearest the bottom of the PCB. Turn the assembly on it's side & check that the jack is in
contact with the PCB. If there's any gap between the jack & the PCB, apply the soldering iron to the
pin whilst squeezing the panel & PCB together so that the jack is sat flush to the PCB. Solder the
MTM SimpleEQ 0805 build doc v1.1
Page 29


