The Build
Lets start with the resistors.
Find the component tape strip that's marked “10K”. As described above, open up the tape strip by
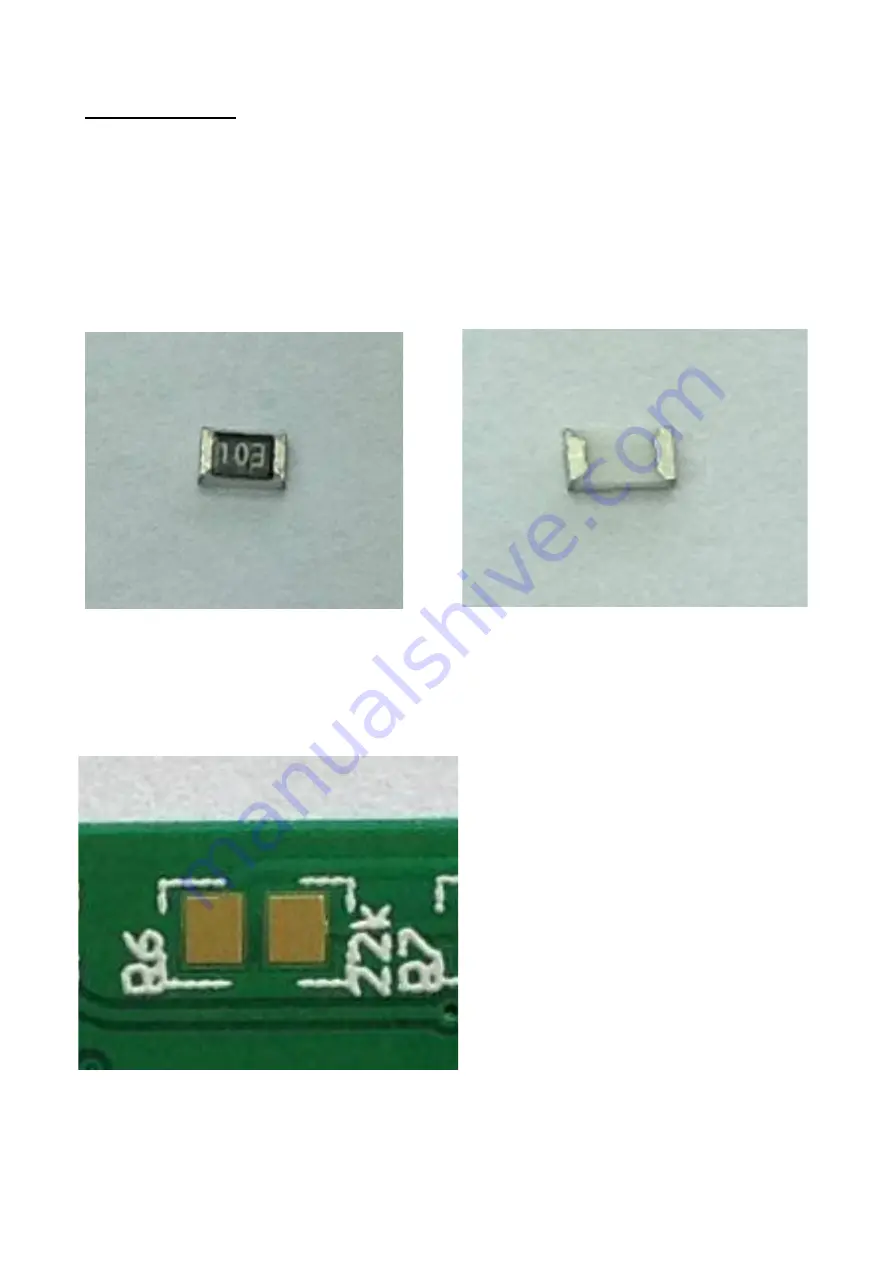
removing the clear film cover, tipping it's contents into the bowl. There will be 4 resistors. One side
will probably be a darker colour than the other. The darker side may be marked with it's value “103”
(10 x 10
3
or 10,000 or 10K).
Whilst it doesn't matter which side of the component you have facing
upwards, it's usual to have the side with the value pointing upwards. As resistors are not polarised it
doesn't matter which end of the resistor is soldered to which pad on the PCB.
Before we actually solder the first of the resistors, lets take some time to actually see how the
resistor will be located on the PCB. Place the PCB on a flat surface. Find the location of the first of
the 10K resistors, R1. It's over towards one side of the board. Notice that the PCB has 2 pads for the
component, and white silk screening around the outside of the pads.
MTM SimpleEQ 0805 build doc v1.1
Page 7
Illustration 5: 10K SMD resistor top view
showing the value “103”.
Illustration 4: SMD resistor bottom view
Illustration 6: SMD resistor pads and silk screen on
PCB (showing R6)


