2 - 16 MC7090CN User Guide
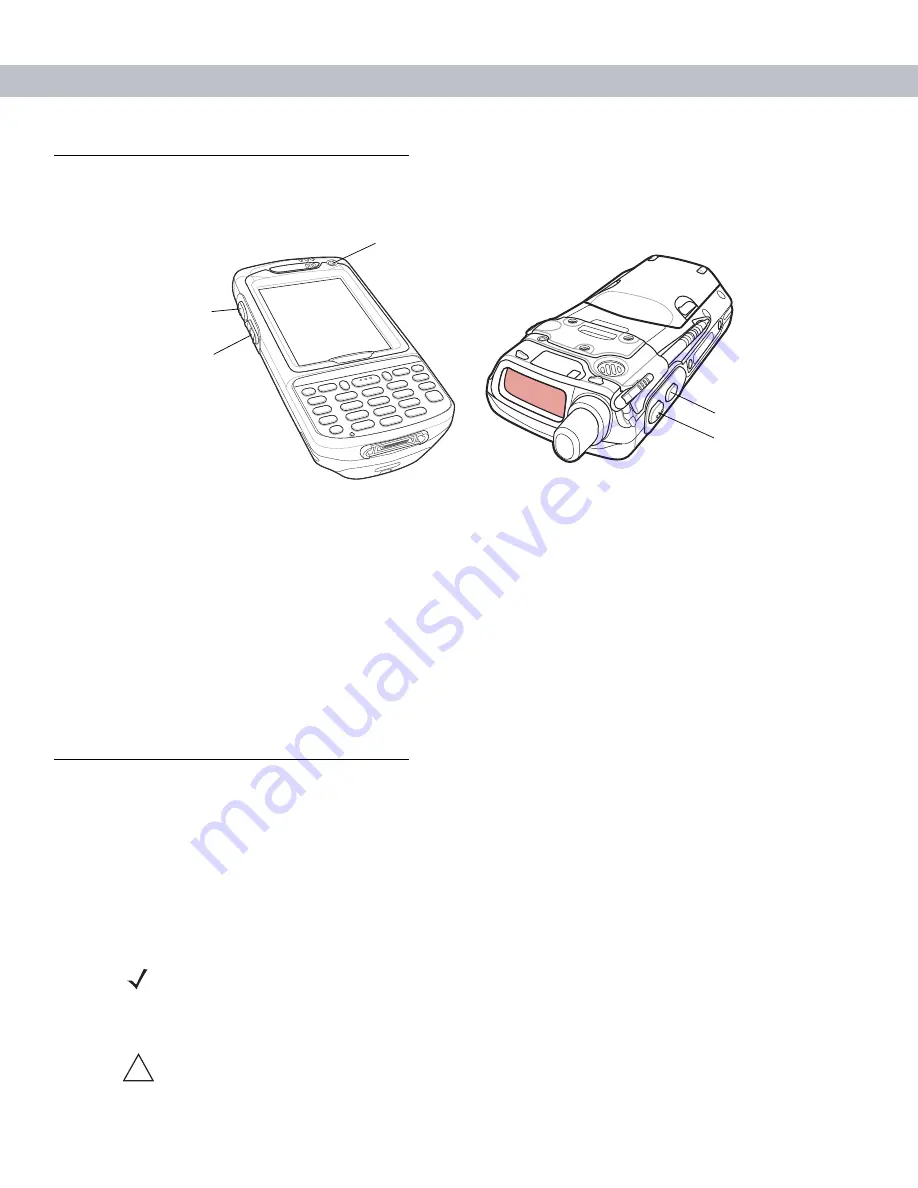
Function Buttons
The EDA’s buttons perform certain functions.
Figure 2-10
Function Buttons
•
Power
: Press the red
Power
button to turn the EDA screen on and off. The EDA is in suspend mode
when the screen is off. For more information, see
Powering On the EDA on page 1-8
. Also use the
Power
button to reset the EDA by performing a warm or cold boot. See
Resetting the EDA on page 2-20
•
Scan/Action:
Press to scan bar codes or capture images. See
.
Or, press to open an application or perform a function. See the
Microsoft
®
Applications for Mobile and CE
5.0 User Guide
to set an application to open.
•
Up/Down
: Press to increase or decrease the EDA’s volume.
•
Action:
Press to open an application or perform a function. See the
Microsoft
®
Applications for Mobile
and CE 5.0 User Guide
to set an application to open.
Stylus
Use the EDA stylus to select items and enter information. The stylus functions as a mouse.
•
Tap: Touch the screen once with the stylus to press option buttons and open menu items.
•
Tap and Hold: Tap and hold the stylus on an item to see a list of actions available for that item. On the
pop-up menu that appears, tap the action to perform.
•
Drag: Hold the stylus on the screen and drag across the screen to select text and images. Drag in a list to
select multiple items.
Scan/Action
Button
Power Button
Up/Down Button
Action Button
Scan/Action Button
NOTE
Zebra recommends using the spring-loaded tip of the stylus to write on the screen, and the back end of
the stylus to tap the screen. Use your finger to press the
Power
button and keypad buttons.
CAUTION
To prevent damage to the screen, do not use any device other than the Zebra-provided
stylus.
!
Summary of Contents for MC7090CN
Page 1: ...MC7090CN Enterprise Digital Assistant User Guide ...
Page 2: ......
Page 3: ...MC7090CN User Guide 72E 88965 03 Revision A March 2015 ...
Page 110: ...A 6 MC7090CN User Guide ...
Page 122: ...Glossary 12 MC7090CN User Guide ...
Page 128: ......
Page 129: ......


