D700 QUICK START MANUAL
7
14. If the machine must not be restarted when power is restored after
a power failure, provide a magnetic contactor in the inverter’s input
side and also make up a sequence which will not switch on the
start signal. If the start signal (start switch) remains on after a power
failure, the inverter will automatically restart as soon as the power is
restored.
15. Instructions for overload operation When performing operation of
frequent start/stop of the inverter, rise/fall in the temperature of
the transistor element of the inverter will repeat due to a repeated
flow of large current, shortening the life from thermal fatigue. Since
thermal fatigue is related to the amount of current, the life can be
increased by reducing current at locked condition, starting current,
etc. Decreasing current may increase the life. However, decreasing
current will result in insufficient torque and the inverter may not
start. Therefore, choose the inverter which has enough allowance
for current (up to 2 rank larger in capacity).
16. Make sure that the specifications and rating match the system
requirements. (17) When the motor speed is unstable, due to
change in the frequency setting signal caused by electromagnetic
noises from the inverter, take the following measures while applying
the motor speed by the analog signal.
• Do not run the signal cables and power cables (inverter I/O cables)
in parallel with each other and do not bundle them.
• Run signal cables as far away as possible from power cables
(inverter I/O cables).
• Use shield cables as signal cables.
• Install a ferrite core on the signal cable (Example: ZCAT3035-1330
TDK).
6. FAILSAFE OF THE SYSTEM WHICH
USES THE INVERTER
When a fault occurs, the inverter trips to output a fault signal. However,
a fault output signal may not be output at an inverter fault occurrence
when the detection circuit or output circuit fails, etc. Although Mitsubishi
assures best quality products, provide an interlock which uses inverter
status output signals to prevent accidents such as damage to machine
when the inverter fails for some reason and at the same time consider
the system configuration where failsafe from outside the inverter,
without using the inverter, is enabled even if the inverter fails.
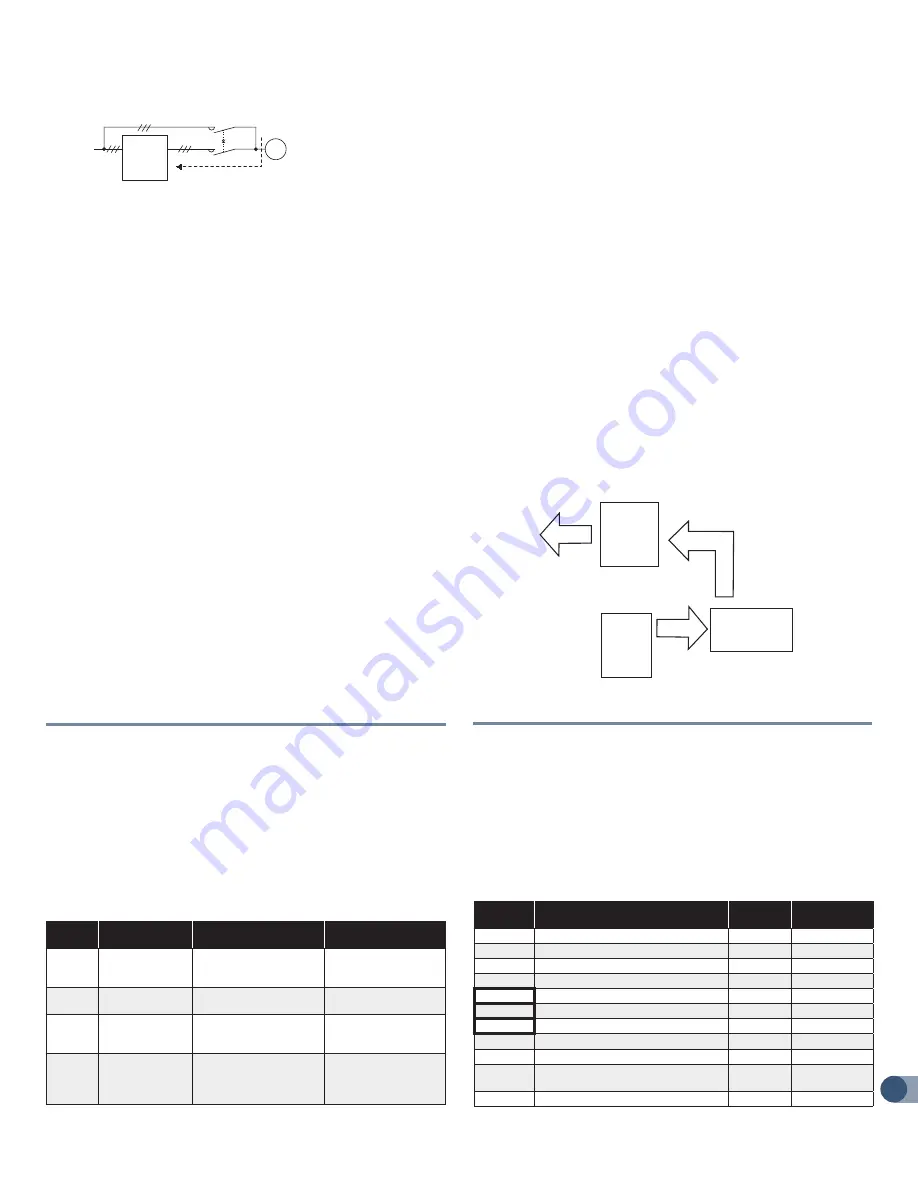
1. Interlock method which uses the inverter status output signals By
combining the inverter status output signals to provide an interlock
as shown below, an inverter alarm can be detected.
No
Interlock Method Check
Method Used
Signals
1
Inverter protective
function operation
Operation check of an
alarm contact Circuit error
detection by negative logic
Fault output signal (ALM
signal)
2
Inverter running
status
Operation ready signal
check
Operation ready signal
(RY signal)
3
Inverter running
status
Logic check of the start
signal and running signal
Start signal (STF signal,
STR signal) Running
signal (RUN signal)
4
Inverter running
status
Logic check of the start
signal and output current
Start signal (STF signal,
STR signal) Output
current detection signal
(Y12 signal)
Backup method outside the inverter
Even if the interlock is provided by the inverter status signal, enough
failsafe is not ensured depending on the failure status of the inverter
itself. For example, even if the interlock is provided using the inverter
fault output signal, start signal and RUN signal output, there is a case
where a fault output signal is not output and RUN signal is kept output
even if an inverter fault occurs. Provide a speed detector to detect
the motor speed and current detector to detect the motor current and
consider the backup system such as checking up as below according
to the level of importance of the system.
• Start signal and actual operation check Check the motor running
and motor current while the start signal is input to the inverter
by comparing the start signal to the inverter and detected speed
of the speed detector or detected current of the current detector.
Note that the motor current runs as the motor is running for the
period until the motor stops since the inverter starts decelerating
even if the start signal turns OFF. For the logic check, configure a
sequence considering the inverter deceleration time. In addition, it
is recommended to check the three-phase current when using the
current detector.
• Command speed and actual operation check Check if there is
no gap between the actual speed and commanded speed by
comparing the inverter speed command and detected speed of the
speed detector.
7. PARAMETER LIST
For simple variable-speed operation of the inverter, the initial setting
of the parameters may be used as they are. Set the necessary
parameters to meet the load and operational specifications. Parameter
setting, change and check can be made from the operation panel. For
details of parameters, refer to the instruction manual.
NOTES
* indicates simple mode parameters.
• The parameters surrounded by a black border in the table allow its
setting to be changed during operation even if “0” (initial value) is set
in Pr. 77 Parameter write selection.
Parameter
Name
Setting
Range
Initial Value
*0
Torque boost
0 to 30%
6/4/3% *1
*1
Maximum frequency
0 to 120Hz 120Hz
*2
Minimum frequency
0 to 120Hz 0Hz
*3
Base frequency
0 to 400Hz 60Hz
*4
Multi-speed setting (high speed)
0 to 400Hz 60Hz
*5
Multi-speed setting (middle speed)
0 to 400Hz 30Hz
*6
Multi-speed setting (low speed)
0 to 400Hz
10Hz
*7
Acceleration time
0 to 3600s 5/10s *2
*8
Deceleration time
0 to 3600s 5/10s *2
*9
Electronic thermal O/L relay
0 to 500A
Rated inverter
current
10
DC injection brake operation frequency
0 to 120Hz 3Hz
Power
supply
Inverter
Undesirable current
MC2
MC1
Interloc
U
V
W
R/L1
S/L2
T/L3
IM
Inverter
Controller
System failure
To the alarm detection sensor
Sensor
(speed, temperature,
air volume, etc.)
MitsubishiElectric Automation, Inc.


