


4
Customizing Your Copy
4-26
Di200
5
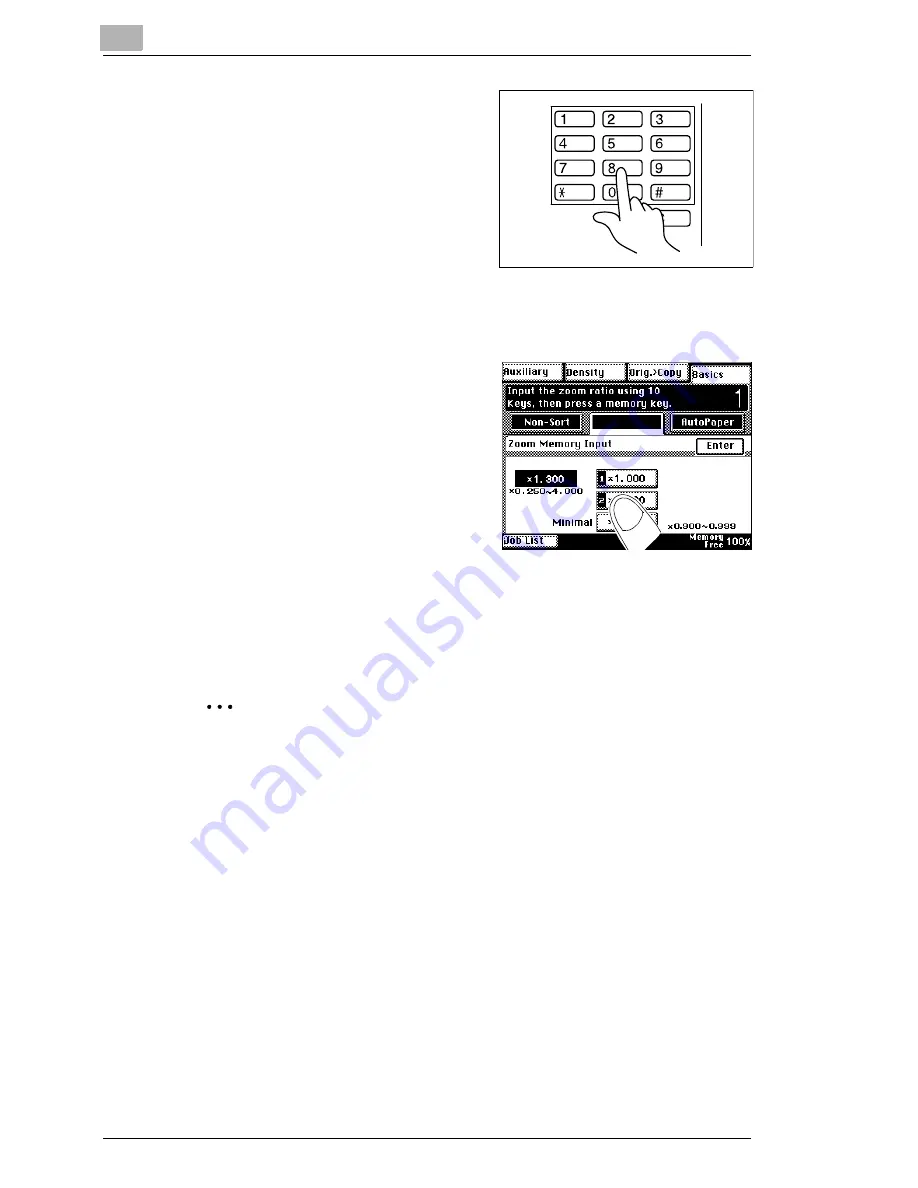
Enter the desired zoom factor from
the numeric keypad.
Example:
Touch the numeric keypad keys 1,
3, 0, 0 in succession. The zoom
factor is × 1.300.
?
Did you enter an incorrect
number?
§
Press the [C] key on the control panel and specify the zoom factor
again.
6
Select the memory position, either
[1], [2] or [MINIMAL], where you
want to store the custom zoom
factor.
?
What if both memory positions
are occupied?
§
You can overwrite the memory
positions with new values. This
deletes the old values.
7
Confirm your settings with [ENTER].
Overwritten and deleted!
If both memory locations are occupied, a new zoom factor can be
stored only by overwriting a memory location. The overwritten zoom
factor is then deleted.
Summary of Contents for Di200
Page 1: ...The essentials of imaging www minoltaeurope com Advanced Information Di 200 ...
Page 2: ......
Page 62: ...2 Getting to Know Your Copier 2 46 Di200 ...
Page 82: ...3 Initial Steps 3 20 Di200 ...
Page 92: ...4 Customizing Your Copy 4 10 Di200 8 Confirm each of your settings by pressing ENTER ...
Page 140: ...4 Customizing Your Copy 4 58 Di200 ...
Page 184: ...5 Utility 5 44 Di200 7 Confirm your input with ENTER ...
Page 190: ...5 Utility 5 50 Di200 ...
Page 209: ...Troubleshooting 6 Di200 6 19 6 Close the upper right door and the right panel R1 ...
Page 222: ...6 Troubleshooting 6 32 Di200 ...
Page 224: ...7 Appendix 7 2 Di200 3 Original Glass clean with a soft dry cloth ...
Page 226: ...7 Appendix 7 4 Di200 4 Wipe the surface of the screen clean with a soft dry cloth ...
Page 250: ...7 Appendix 7 28 Di200 ...


