4.3 Copying Onto Various Types of Media
4
Di1611/Di2011
4-13
Us
efu
l O
p
e
ratio
ns
Ch
apte
r 4
✎
Tip
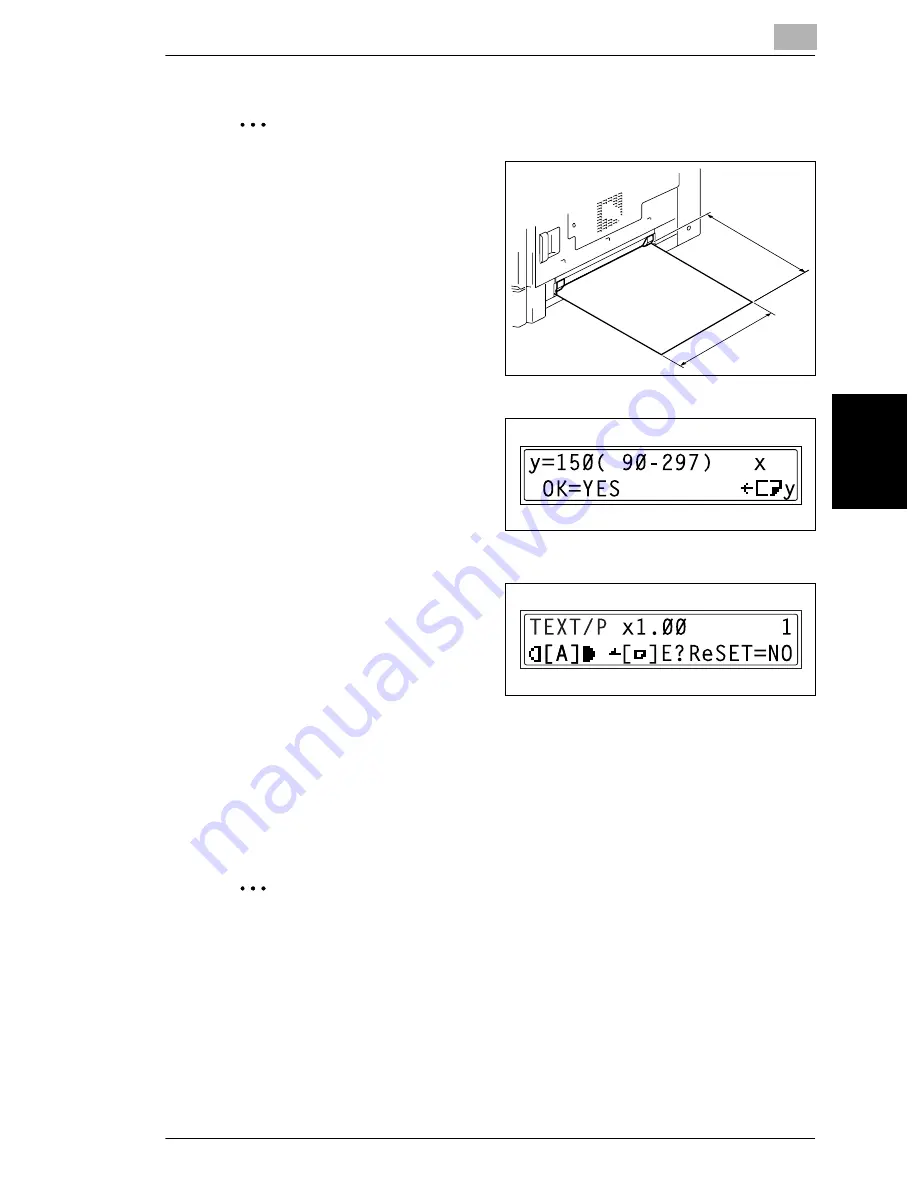
Refer to the diagram at the right
and be sure to specify the paper
width and length measurements
correctly.
7
Using the 10-Key Pad, type in “150”
for the width (y).
❍
The width of the paper (y) can be
set between 90 mm and 297 mm.
❍
To correct the entered value,
press the [No] key.
8
Press the [Yes] key.
The main screen appears.
9
If necessary, specify any other copy settings.
❍
Before Making Copies (p. 5-1)
❍
Advanced Copy Operations (p. 6-1)
10
Press the [Start] key.
✎
Note
When making copies using the Manual Bypass, continue loading paper into
the tray.
x
y
x
Summary of Contents for Di1611
Page 1: ...Di1611 Di2011 User Manual www konicaminolta net ...
Page 9: ...Contents viii Di1611 Di2011 ...
Page 10: ...Introduction Chapter 1 1 1Introduction ...
Page 25: ...1 1 5 Safety Information 1 16 Di1611 Di2011 Introduction Chapter 1 ...
Page 26: ...Precautions Chapter 2 2 2Precautions ...
Page 50: ...Basic Operations Chapter 3 3 3Basic Operations ...
Page 73: ...3 3 6 Reducing Electricity Usage 3 24 Di1611 Di2011 Basic Operations Chapter 3 ...
Page 74: ...Useful Operations Chapter 4 4 4Useful Operations ...
Page 90: ...Before Making Copies Chapter 5 5 5Before Making Copies ...
Page 129: ...5 5 9 Interrupting Copy Jobs 5 40 Di1611 Di2011 Before Making Copies Chapter 5 ...
Page 130: ...Advanced Copy Operations Chapter 6 6 6Advanced Copy Operations ...
Page 153: ...6 6 8 Access Numbers 6 24 Di1611 Di2011 Advanced Copy Operations Chapter 6 ...
Page 154: ...Utility Mode Copy Functions Chapter 7 7 7Utility Mode Copy Functions ...
Page 209: ...7 7 6 Specifying Copy Settings 7 56 Di1611 Di2011 Utility Mode Copy Functions Chapter 7 ...
Page 210: ...Error Messages Chapter 8 8 8Error Messages ...
Page 230: ...Troubleshooting Chapter 9 9 9Troubleshoot ing ...
Page 234: ...Appendix Chapter 10 10 10Appendix ...
Page 248: ...Index Chapter 11 11 11Index ...


