background image

SMART IP ACCESS

19

The security page elements:

Account Blocking

– decide on the number of attempts to login with a wrong

username or password after which there is a time lock or a total block.

Password Policy

– You have the option of a standard or high security level of

password. The table below shows the parameters of the 2 options.

Standard Security Password

High security Password

6 characters or more

8 characters or more must
include at least 1 digit and 1
upper case letter and 1 “special”
character as follows
!@#$%^*()_-+=[]’:;?/

Must not include the user name

Must not include the user name

Check the box to enable the high security password policy. Unchecked, the
standard security policy applies.

Idle Timeout

– Select the Timeout inactivity period after which the user is

disconnected from the system. Timeout can also be disabled.

18. Security > SSL certificates

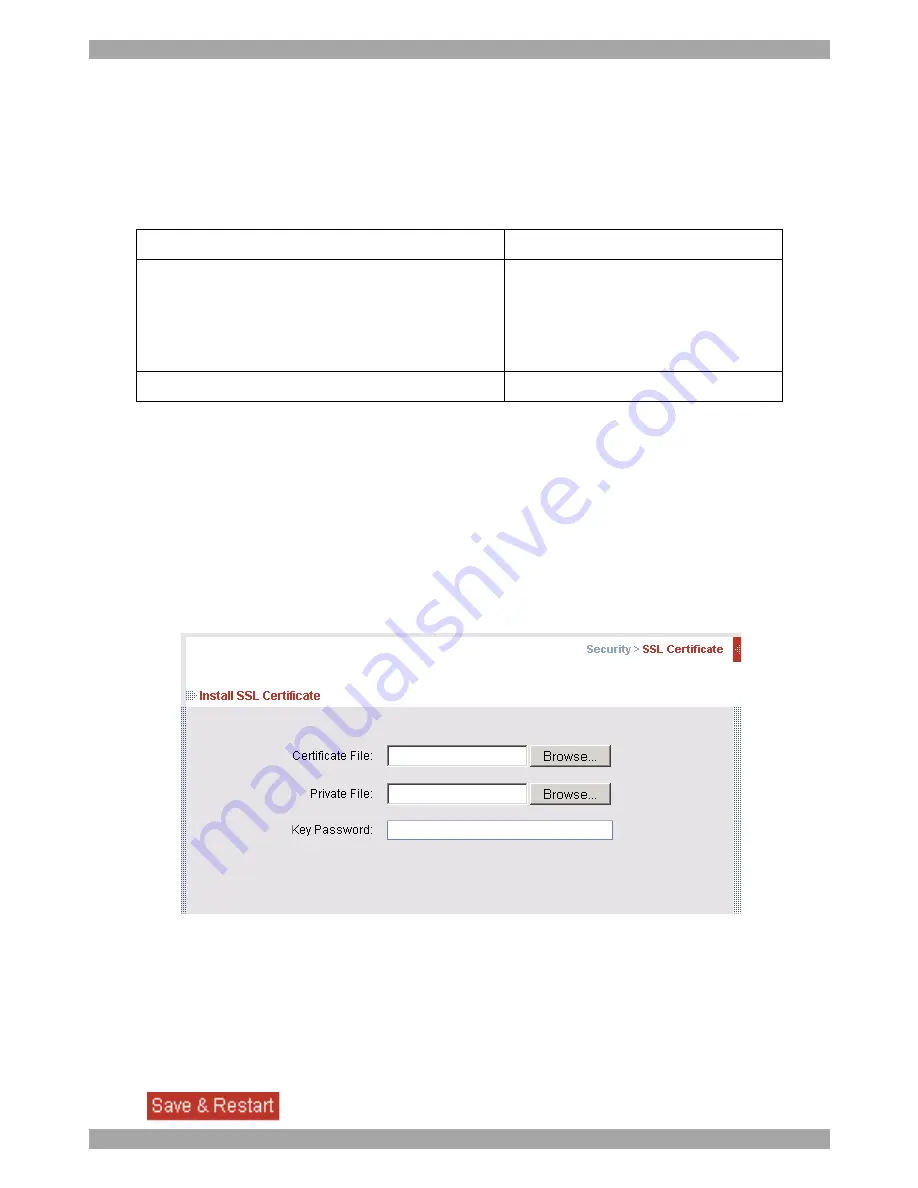
From the menu, select

SSL Certificate

, the SSL Certificate page appears, see

Figure 13.

Figure 13 The SSL Certificate page

You can replace the current Smart IP Access’s SSL certificate.

Certificate File

- Browse to locate the

cer

file.

Private File

- Browse to locate the

private key

file.

Key Password

- Type the “private key” password.

Click

.

Summary of Contents for 0SU51068

Page 1: ...Smart IP Access User Guide 1111 W 35th Street Chicago IL 60609 USA www tripplite com support Copyright 2012 Tripp Lite All rights reserved...

Page 2: ...cate notes 12 12 Network Configuration 12 12 1 LAN 1 12 12 2 KVM net 13 13 Network SNMP settings 13 14 Administration User Settings 14 14 1 Administrator 14 14 2 User 14 14 3 View only 14 14 4 Adding...

Page 3: ...st 26 24 6 3 Auto Video Adjust 27 24 7 Power cycle 27 24 8 Keyboard key sequences 27 24 9 Synchronizing mouse pointers 29 24 9 1 Aligning the mice pointers 29 24 9 2 Calibrating mice pointers 29 24 9...

Page 4: ...egulation of the Canadian Department of Communications These above rules are designed to provide reasonable protection against such interference when operating the equipment in a commercial environmen...

Page 5: ...to utilize a standard 56Kbps analog modem connection while allowing adaptive and configurable bandwidth consumption when accessed via LAN Compatible with all major operating systems Supports many har...

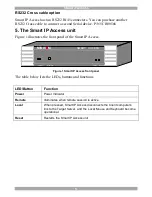
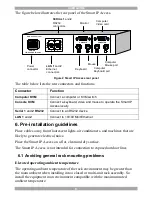
Page 6: ...el of the Smart IP Access Figure 1 Smart IP Access front panel The table below lists the LEDs buttons and functions LED Button Function Power Power Indicator Remote Illuminates when remote session is...

Page 7: ...rate electrical noise Place the Smart IP Access on a flat clean and dry surface The Smart IP Access is not intended for connection to exposed outdoor lines 6 1 Avoiding general rack mounting problems...

Page 8: ...o the branch circuit e g use of power strips 6 2 Rack mounting the IP Access Rack mount the Smart IP Access using the supplied Rack mount kit There are 2 possible positions on the side of the Smart IP...

Page 9: ...the other end of the 3 in 1 CPU cable to the KVM ports of the Target Server KVM switch 3 To operate the KVM switches and Servers locally connect a keyboard mouse and monitor to the IP Access s Local...

Page 10: ...SS 9 Figure 4 Smart IP Access connections to a computer 3 in 1 CPU cable Target PC POWER 100 240 VAC 50 60 Hz www minicom com CONSOLE COMPUTER 2 2 1 1 L A N S E R I A L User over IP h p 1 9 2 5 A u t...

Page 11: ...here Smart IP Access is installed or you can connect a Crossover LAN connector cable to the Smart IP Access on one end and to the Ethernet adapter of your computer at the other end Computer rack ProLi...

Page 12: ...he Smart IP Access system https IP address config and press Enter The login page appears see Figure 6 Figure 6 Login page 3 Type the Administrator user name and password By default the user name is ad...

Page 13: ...hrough the selected TCP ports for the Smart IP Access s IP address For Client computer access from a secured LAN the selected ports should be open for outbound communication Enable Encryption Enable E...

Page 14: ...e most comprehensive remote server maintenance solution available in the market today Enable KVM net Check this option to allow Smart IP Access unit to be remotely managed by Minicom s KVM net system...

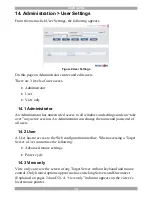
Page 15: ...and can take over any active session An Administrator can change the name and password of all users 14 2 User A User has no access to the Web configuration interface When accessing a Target Server a U...

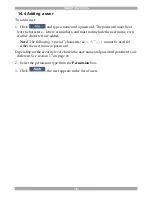
Page 16: ...t include the user name even if other characters are added Note The following special characters cannot be used for either the user name or password Depending on the security level chosen the user nam...

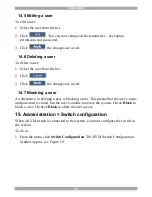
Page 17: ...are saved 14 7 Blocking a user An alternative to deleting a user is blocking a user This means that the user s name and password is stored but the user is unable to access the system Check Block to b...

Page 18: ...Install switch definition file Where the KVM switch type is not listed in the manufacturer model drop down lists contact Minicom to request an updated Switch Definition file with the desired KVM switc...

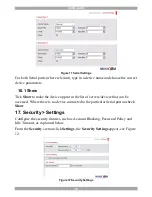
Page 19: ...appear in the list of servers devices that can be accessed Where there is no device connected to the particular Serial port uncheck Show 17 Security Settings Configure the security features such as Ac...

Page 20: ...cial character as follows _ Must not include the user name Must not include the user name Check the box to enable the high security password policy Unchecked the standard security policy applies Idle...

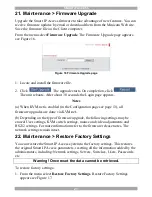
Page 21: ...g various events security alerts system alerts configuration changes and user activity Figure 14 Event log 20 Maintenance Set System Time From the menu select Set System Time The Time Settings page ap...

Page 22: ...on page see page 13 all firmware upgrades are done via KVM net b Depending on the type of firmware upgrade the following settings may be erased User settings KVM switch settings mouse and video adjust...

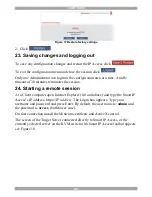
Page 23: ...24 Starting a remote session At a Client computer open Internet Explorer 6 0 and above and type the Smart IP Access s IP address https IP address The Login box appears Type your username and password...

Page 24: ...but not by an Administrator The following message appears Figure 19 Busy remote session options Choose to take over or view only or cancel 24 2 Full screen mode Work on the Target Server as if you ar...

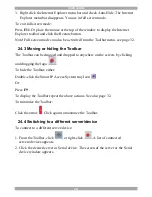
Page 25: ...bar The Toolbar can be dragged and dropped to anywhere on the screen by clicking and dragging the logo To hide the Toolbar either Double click the Smart IP Access System tray Icon Or Press F9 To displ...

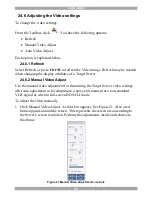
Page 26: ...ve automatically adapts to the best compression and colors Low Select Low for high compression and 16 colors Medium Select medium for medium compression and 256 colors Medium is recommended when using...

Page 27: ...erver 24 6 2 Manual Video Adjust Use the manual video adjustment for fine tuning the Target Server video settings after auto adjustment or for adapting to a noisy environment or a non standard VGA sig...

Page 28: ...tically We recommend opening Windows Explorer or similar in the background Click Auto Video Adjust The process takes a few seconds If the process runs for more than 3 times there is an abnormal noise...

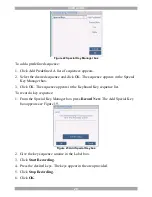
Page 29: ...l Key Manager box 3 Click OK The sequence appears in the Keyboard Key sequence list To record a key sequence 1 From the Special Key Manager box press Record New The Add Special Key box appears see Fig...

Page 30: ...pointers When accessing the Target Server the mice may appear at a distance to each other To align the mouse pointers From the Toolbar click Align or press Ctrl M simultaneously The mice align 24 9 2...

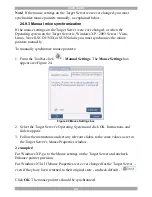
Page 31: ...s 1 From the Toolbar click Manual Settings The Mouse Settings box appears see Figure 24 Figure 24 Mouse Settings box 2 Select the Target Server s Operating System and click OK Instructions and sliders...

Page 32: ...Figure 25 Mouse Emulation box Select the mouse connected to the Local Console port on the Smart IP Access e g if the local mouse is a non Microsoft 2 button mouse select Standard Mouse and uncheck Mi...

Page 33: ...mode from the next reconnection onwards To toggle the full screen mode on and off press F11 24 11 Disconnecting the remote session To disconnect the session on the Toolbar click The Login box appears...

Page 34: ...s username and password works only after the reset procedure described above A menu appears see Figure 28 Figure 28 Menu 8 From the menu choose Restore Factory Settings A warning appears see Figure 29...

Page 35: ...o your web browser The Login page appears as in Figure 6 on page 11 12 Type the default Administrator user name and password Username admin password access Case sensitive 13 Configure the unit accordi...

Page 36: ...t Server Video and mouse synchronization Both auto and manual modes Connections Ethernet 2 X RJ45 10 100 Mbit sec autosensing Serial 2 X RJ45 Local KVM connection Screen HDD15 Keyboard Mouse MiniDIN6...

Page 37: ...1152x864 x 1152x900 x x 1280x720 x 1280x768 x x 1280x960 x x 1280x1024 x x x x x 1600x1200 x x x x x 28 Safety The device must only be opened by an authorized Minicom technician Disconnect device fro...

Page 38: ...w electrical and electronic equipment from Minicom they are entitled to Send old equipment for recycling on a one for one like for like basis this varies depending on the country Send the new equipmen...

Page 39: ...USER GUIDE 38 201204206 933197_EN...

Reviews: