ScanMaker 1000XL Plus User Guide 33
After the upper right mark is aligned,
the lower right part of the target image
is displayed, and an instruction dialog
box prompts you to align the bottom-
right registration mark.
Move the cursor to the target image
area; the pointer will change to a
vertically flipped L mark (“ ”). Align
the cursor with the small bottom-right
registration mark.
After the upper left mark is
aligned, the upper right part of the
target image is displayed, and an
instruction dialog box prompts you
to align the upper right registration
mark.
Move the cursor to the target image
area; the pointer will change to a
normal L mark (“ ”). Align the
cursor with the small upper-right
registration mark.
Move the cursor to the target image
area; the pointer will change to a
horizontally flipped L mark (“ ”).
Align the cursor with the small upper-
left registration mark.
Calibration and Profiling
After the Preview, you are now ready to complete calibration and create a profile for
your scanner.
1. Scan the target. To do this, select the entire target by dragging a frame over it, and
then click the
Next>>
button.
2. Align the registration marks of the target with your cursor (see inset at bottom
of page).
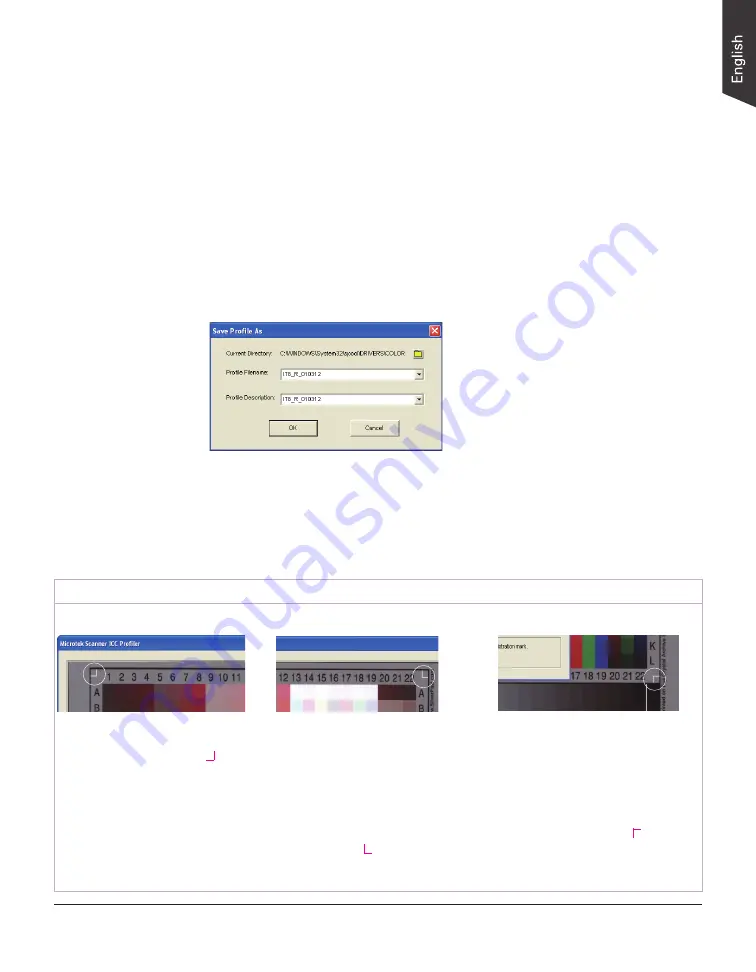
3. Click the
Create Profile
(or Finish) button to create the scanner ICC profile. At
the end of the profiling process, a dialog box appears, prompting you to enter a
profile name and description.
Aligning the Registration Marks
A. Upper-left registration mark
B. Upper-right registration mark
C. Bottom-right registration mark


