© Microhard Systems Inc.
CONFIDENTIAL
164
IP9xx Series
Appendix A: DiscoverIP Utility
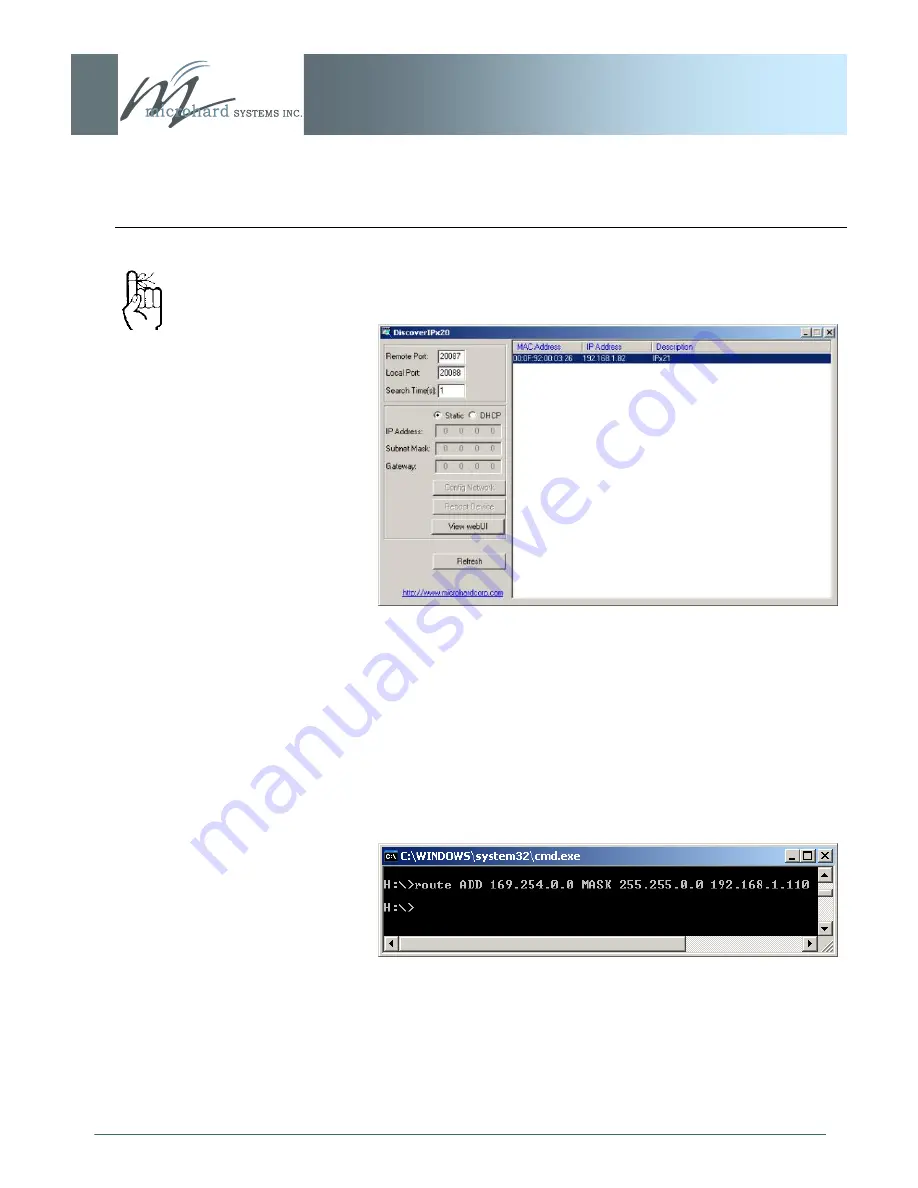
To view the Web User Interface (Web UI) of a particular unit, either
(a) highlight the target unit and click the View WebUI soft button, or
(b) double click on the MAC or IP address, or Description of the
target unit.
Selecting either method (above) will launch the PC‘s web browser
to the IP Series Logon window.
If it would be necessary but is not convenient to change the TCP/IP
Properties settings on the PC note the following:
When received from the factory, the units are configured as DHCP,
with an IP Address of 169.254.x.x, and Subnet Mask of
255.255.0.0.
Go to the DOS prompt on the PC and, for each time you connect to
an IP Series (with ethernet cable), enter
(Replace 192.168.1.110 with the IP Address of your PC.)
After the route has been added, you should be able to access the
unit‘s WebUI logon page as detailed above.
Image A3:
Select Target IP Series
Verify that the PC‘s Network
Settings (TCP/IP Properties)
are suited to establishing a
connection with the IP Series.
Image A4:
Add Route
Summary of Contents for IP-921
Page 165: ... Microhard Systems Inc CONFIDENTIAL 165 IP9xx Series Appendix B Upgrade Process DOS Prompt ...
Page 166: ... Microhard Systems Inc CONFIDENTIAL 166 IP9xx Series Appendix B Upgrade Procedure DOS Prompt ...
Page 169: ... Microhard Systems Inc CONFIDENTIAL 169 IP9xx Series Appendix E Mounting Dimensions ...


