any folders) of a USB drive. Do not use a flash memory card.
2)
Plug the USB drive into an empty USB HOST jack on the player.
3)
On the player, navigate to the USB Upgrade setting and press
OK/ENTER
on the remote
control. Press
OK/ENTER
again to confirm.
4)
Wait for the player to complete the firmware update. Please be patient as it may take
several minutes to complete, during which the screen may be blank or show “no signal”.
Do not interrupt the process or power off the player.
5)
When finished, the player will show the initial setup screen (refer to ‘
4.2 Initial Setup
’)
8.6
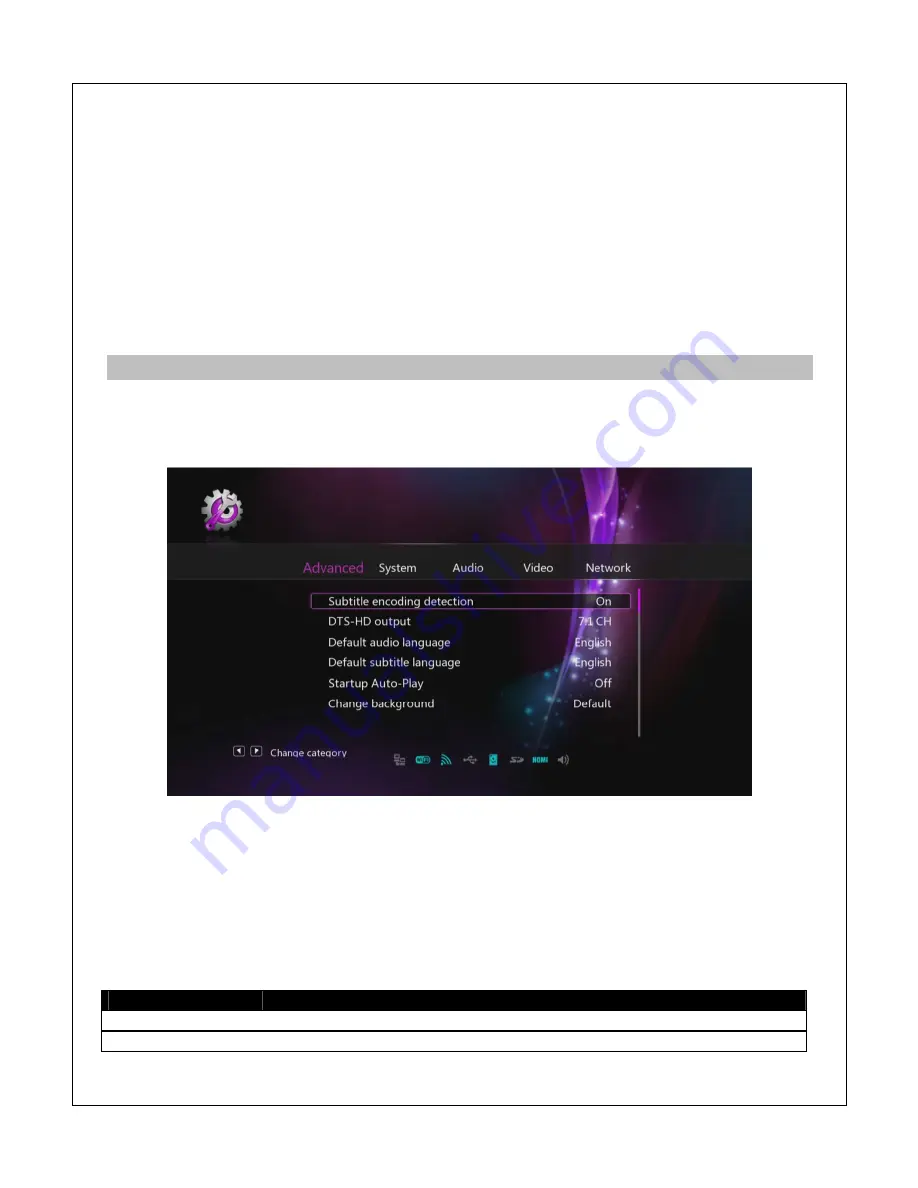
Advanced Settings
The advanced settings menu contains configuration items that should be left at default for most
users, but are made available for expert users who wish to further customize the player’s
settings.
8.6.1
Subtitle Encoding Detection
When this setting is turned on, the player will automatically detect the text encoding for the
subtitle. When turned off, the player will only use the subtitle text encoding selected by the user.
8.6.2
DTS
-
HD Output
This setting specifies what the audio output will be when playing a file with a DTS
-
HD
soundtrack. The player needs to be completely powered off using the switch on the back of the
player after applying this setting for the change to take effect.
Setting
Description
5.1 CH
Always output the 5.1 channel DTS core audio track.
7.1 CH
Always output the 7.1 channel DTS
-
HD audio track


