10
Camera Settings
Using the default camera settings,
sometimes, the picture quality may not
come out the way you want it. Different
lighting environments usually produce
different results.
To have more control over the quality of
your pictures, adjust the camera settings
to suit your needs.
Changing Camera Settings
Access the Camera Setup menu in your
digital camera to change camera settings.
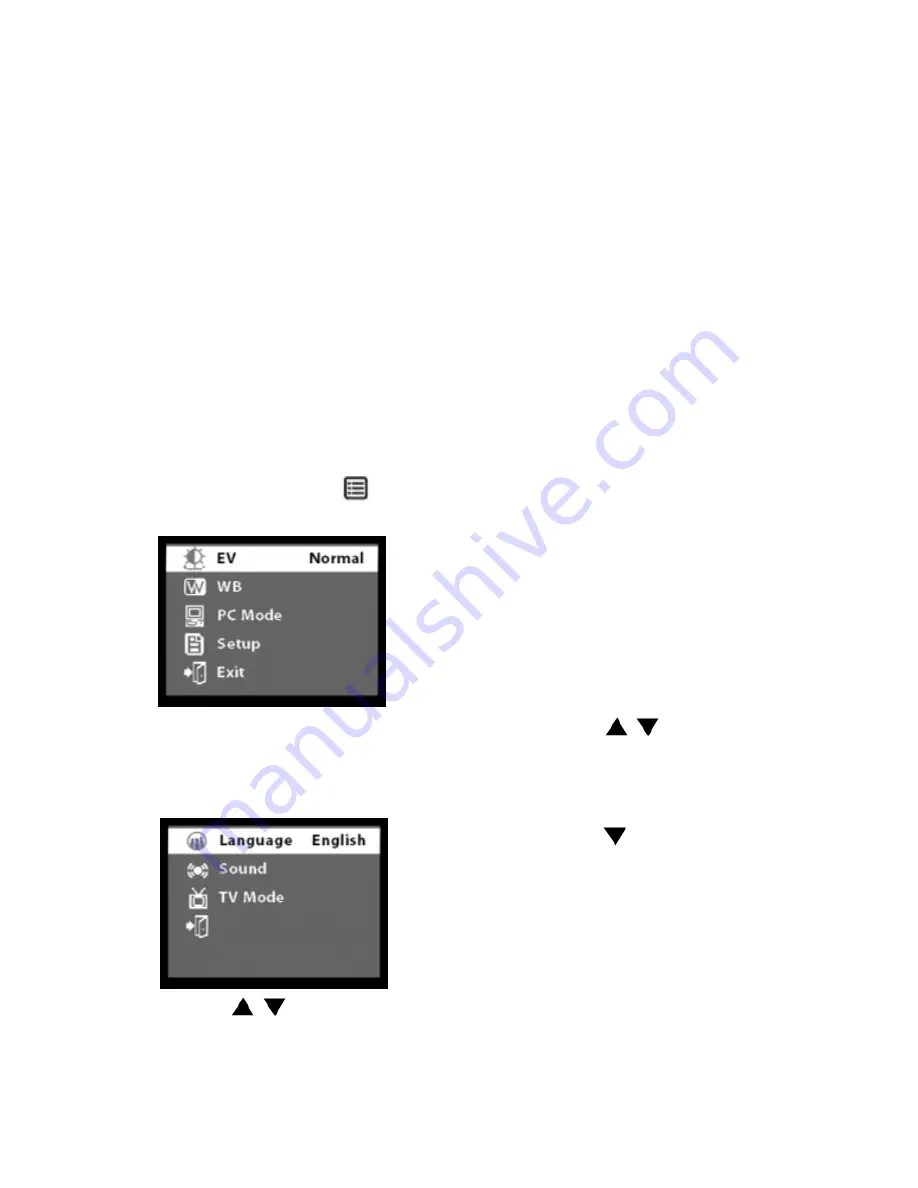
• Step 1
Press
Menu button
to
bring up the camera’s menu screen.
• Step 2
Press
OK
on the
Setup
option.
• Step 3
The Camera Setup menu then
appears on the LCD display.
• Step 4
Press
to move up or
down in the Camera Setup menu.
The Camera Setup menu lists the
following options:
•
EV (Compensation)
- Sets the
exposure setting to control the
brightness of photos. Choose a
positive value to have brighter photos,
or a negative value to have darker
photos.
•
WB (White Balance)
- Allows the
camera to adjust to light conditions
using preset selections (auto, sun,
shade, tungsten, fluorescent).
•
TV Mode -
Choose the TV standard
that you use in your country for the
video you record.
•
Language -
Let you to choose different
languages for Camera menu.
•
Sound
- Select to have the beep sound
whenever you press the buttons of the
camera.
• Step 5
Press
OK
to select a menu
option. The selected option will be
highlighted.
• Step 6
Press
to cycle through
the available settings.
• Step 7
Press
OK
to choose a setting.
• Step 8
Press
to move down the
menu screen and choose
Exit
. Then,
press
OK
to exit the menu screen.
Hooking Up to Your
Computer
You need to connect the camera to your
computer’s USB port to transfer photos into
your computer. This section shows how
you can connect the camera to your
computer.


