Dynascan Manual (RT3005G) v_0611
Issue 1
© Copyright Measurement Devices Limited
Copying of the materials in this document is prohibited
Page 51
25.
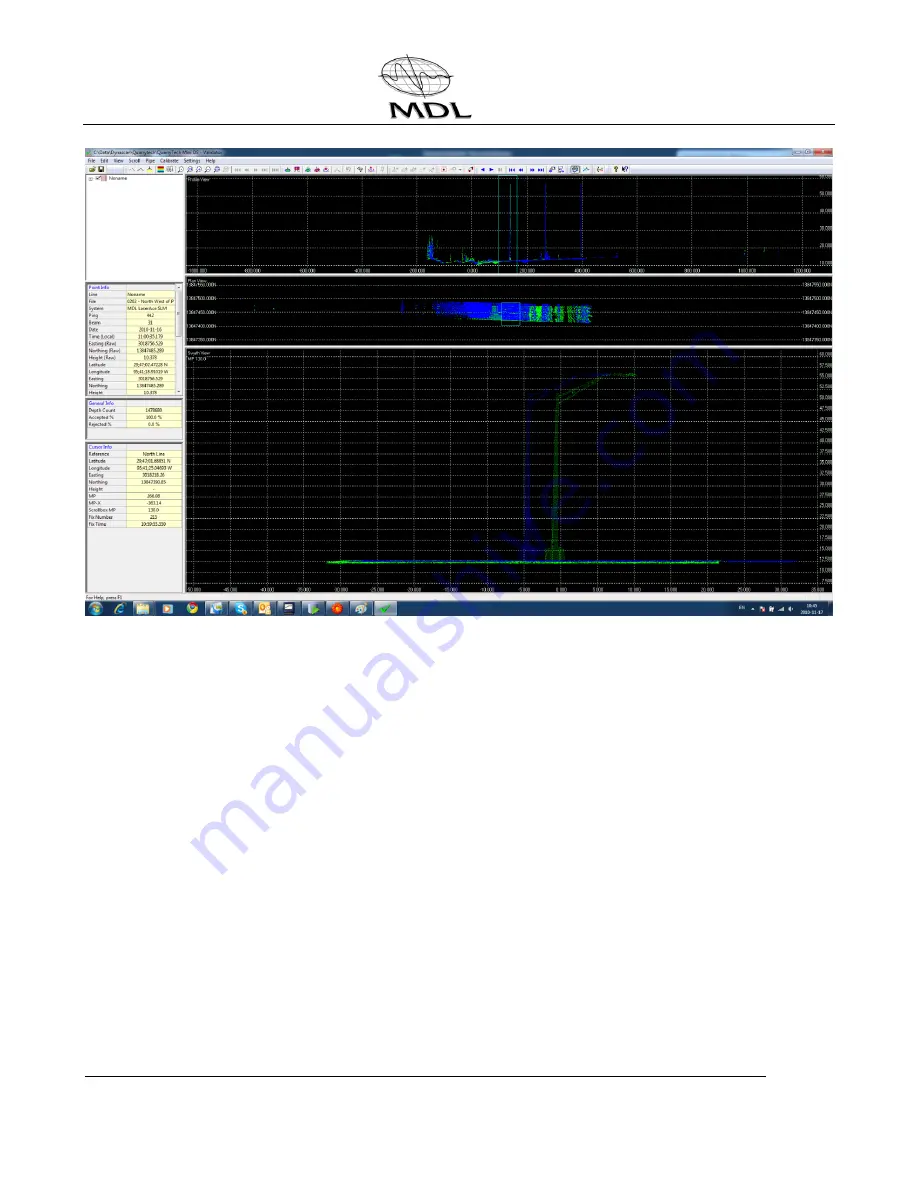
You will see that the two images are parallel but not aligned and so you must click the
View=Validate icon and then the Calibrate Alignment icon to bring up the values box.
26.
Select Heading and manually enter values in the settings box until the images are
parallel. Use small values to start (e.g. 1) and after entering the value click on roll and
then back to Heading for the change to take effect.
27.
Repeat steps 19 and 20 and then open QLOUD.
28.
Use QLOUD to visually QC the calibration data by viewing all four files by different colour
and checking the alignment of the data.
29.
The Calibration is now complete.
13.2
QINSy General Guide
The following screenshots show the basic functions when operating QINSy software.
Screenshots are shown to outline the steps needed to enable laser control, create sounding
grids and export the laser data.


