background image

3

IMPORTANT SAFETY

INSTRUCTIONS!

PLEASE READ THEM BEFORE

OPERATING THIS EQUIPMENT.

Safety Instructions

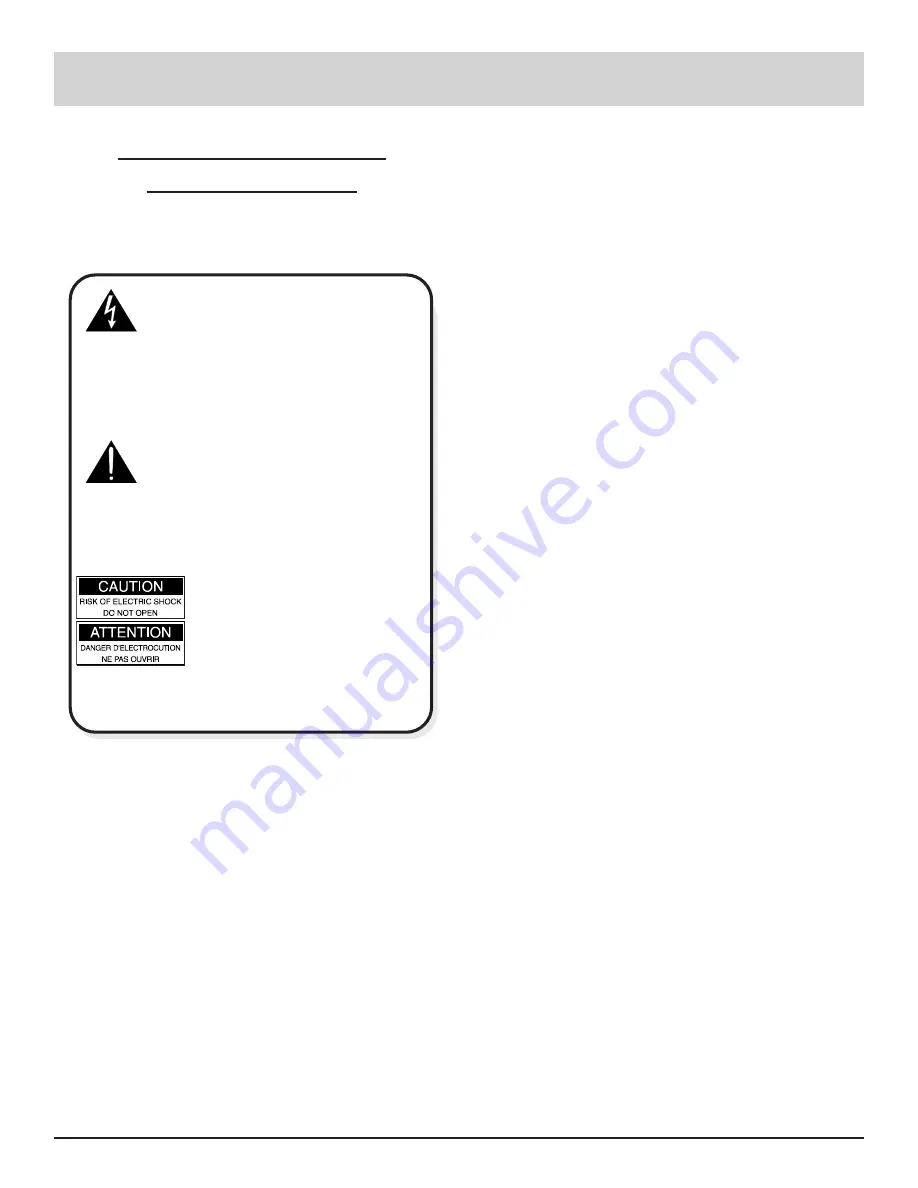
WARNING SHOCK HAZARD -

DO NOT OPEN.

The lightning flash with arrowhead, within an equilateral

triangle, is intended to alert the user to the presence of

uninsulated “dangerous voltage” within the product’s

enclosure that may be of sufficient magnitude to consti-
tute a risk of electric shock to persons

.

AVIS RISQUE DE CHOC -

NE PAS OUVRIR.

The exclamation point within an equilateral triangle is

intended to alert the user to the presence of important

operating and maintenance (servicing) instructions in

the literature accompanying the appliance.

NO USER-SERVICEABLE

PARTS INSIDE. REFER

SERVICING TO

QUALIFIED PERSONNEL

To prevent the risk of electric shock, do not remove

cover (or back). No user serviceable parts inside. Refer

servicing to qualified personnel.

General:

1. Read all the safety and operating instructions, con-

tained in this owner’s manual, before operating this

equipment.

2. Retain this owner’s manual for future reference about

safety and operating instructions.

3. Adhere to all warnings and operating instructions.

4. Follow all operating and use instructions.

5. Warning: To reduce risk of fire or electrical shock,

do not expose this equipment to rain or moisture.

This unit is capable of producing high sound pres-

sure levels. Continued exposure to high sound pres-

sure levels can cause permanent hearing impair-

ment or loss. User caution is advised and ear protec-

tion is recommended when playing at high volumes.

6. Caution: to prevent electrical shock do not use this

(polarized) plug with an extension cord, receptacle

or other outlet unless the blades can be fully in-

serted to prevent blade exposure.

 Attention: pour pevenir les chocs elecriques pas

utiliser cette fiche polarisee avec un prolongateur,

une prise de courant ou un autre sortie de courant,

sauf si les lames peuvent etre inserees afond ans en

laisser aucune partie a decouvert.

7. For added protection for this product during a lightning

storm, or when it is left unattended and unused for long

periods of time, unplug it from the wall outlet. This

will prevent damage to the product due to lightning or

power line surges.

8. Do not use attachments not recommended in this

owner’s manual as they may cause hazards.

Installation:

9. Locate the equipment for proper ventilation. For ex-

ample, the equipment should not be placed on a bed,

sofa, rug, or similar surface that may block ventilation

openings; or placed in a built-in installation, such as a

bookcase or cabinet, that may impede the flow of air

through the ventilation openings.

10. Locate the equipment away from heat sources such as

radiators, heat registers, stoves, or other appliance (in-

cluding amplifiers) that produce heat.

11. Mount the equipment in a wall or cabinet only as de-

scribed in this owner’s manual.

12. Do not use this equipment near water; for example,

near a bathtub, washbowl, kitchen sink, laundry tub, in

a wet basement or near a swimming pool, etc.

13. Do not place this product on an unstable cart, stand,

tripod, bracket, or table. The equipment may fall, caus-

ing serious injury to a person, and serious damage to

the product.

Connection:

14. Connect this equipment only to the type of AC power

source as marked on the unit.

15. Route AC power cords so that they are not likely to be

walked on or pinched by items placed upon or against

them, paying particular attention to cords at plugs, con-

venience receptacles, and the point where they exit

from the instrument.

16. Do not defeat the inherent design features of the polar-

ized plug. Non-polarized line cord adapters will defeat

the safety provided by the polarized AC plug. If the

plug should fail to fit, contact your electrician to re-

place your obsolete outlet. Do not defeat the safety

purpose of the grounding-type plug.

Summary of Contents for MVP831

Page 1: ...her intellectual property rights owned by Macrovision Corpora tion and other rights owners Use of this copyright protection technology must be authorized by Macrovision Corporation and is intended for...

Page 2: ...r enough to grasp it and pull it open After removing the disc press the tray fully back into the player Thank You Please Take A Moment Customer Service and Table of Contents Thank You Technical Assist...

Page 3: ...olongateur une prise de courant ou un autre sortie de courant sauf si les lames peuvent etre inserees afond ans en laisser aucune partie a decouvert 7 For added protection for this product during a li...

Page 4: ...ill liquids into the equipment through enclo sure openings 20 Unplug the power cord from the AC power outlet when left unused for a long period of time Repair of Equipment 21 Unplug this equipment fro...

Page 5: ...inch 2 54cm on each side of the control center so that airflow is not obstructed Allow 16 inches 40 64cm depth behind the mounting panel which includes clearance for connec tors Allow 3 4 inch 1 9cm i...

Page 6: ...CAL OUTPUT sends signals to a Control Center with a D A Converter DATA IN receives operating data from a McIntosh Control Center DIGITAL COAXIAL OUTPUT sends signals to a Control Center with a D A Con...

Page 7: ...to the DVD S VIDEO INPUT on a McIntosh MX132 A V Control Center 6 Connect a video cable from the MVP831 Composite VIDEO OUTPUT to the CR12 V AUX Video Input Connect a video cable from the CR12 V AUX V...

Page 8: ...Use to pause during play Starts disc play Move rapidly backward through a disc during play Move rapidly forward through a disc during play Move back one track or chapter at a time Move forward one tr...

Page 9: ...ates Play Mode and flashes during Resume Mode Indicates Repeat Mode is active Indicates the Preselected Track Play Mode is active Indicates when the Still Picture Mode is active Indicates when in the...

Page 10: ...up menu selection Move Backward or Forward through an on screen menu Use to select and confirm a setup option Access the title screen of a DVD Access the on screen icon menu Use to access a DVD menu D...

Page 11: ...USE pushbutton is pressed again the player will jump to the next video frame Back and Next Press either of these pushbuttons to move forward or back ward one chapter at a time on a DVD or one track at...

Page 12: ...setup can occur 1 Press the POWER switch to ON The Red LED above the STANDBY ON switch lights to indicate the MVP831 is in Standby mode To turn ON the MVP831 press the STANDBY ON push button Refer to...

Page 13: ...ll Mode Automatic 20 Audio During Search On 20 TV Model 4 3 Pan Scan 20 D Range Compression Off 21 How to Set Disc Language This is to select the soundtrack language subtitle language and the language...

Page 14: ...Subtitle Language press 2 to access the subtitle submenu Press 1 to select Automatic Press 2 to select English Subtitles Press 3 to select French Subtitles Press 4 to select Spanish Subtitles Press 5...

Page 15: ...ting a pass word will appear Refer to Figure 9 CAUTION Be absolutely sure to remember or write down the password number and put it in a safe location for future reference Once the password has been en...

Page 16: ...ure 10 3 Press 4 to Temporarily Unlock the Player which is ef fective only for the current disc in the player 4 Press SELECT to exit to the initial setup menu SETUP How to Set Ratings con t and Menu L...

Page 17: ...ton Number 0 to exit the Initial Setup Menu How to Set FL Display The MVP831 front panel display just below the disc tray can be adjusted to be Bright or Dim Note If a disc is loaded the player must b...

Page 18: ...ll be indicated which is the factory default setting that matches a conventional TV In the 4 3 Aspect mode if the disc is formatted in the Pan and Scan style video material at the ex treme left and ri...

Page 19: ...ect PCM 5 Press pushbutton Number 3 to access dts 6 Press 1 to select Off Settings for A V Electronics with a 2 Channel Digital to Analog Converter DAC 1 Press pushbutton Number 1 to access LPCM DVD 2...

Page 20: ...lection is made the Other Settings Menu will re appear If all setup adjustments are complete press pushbutton Number 0 to exit to the Initial Setup Menu Press 0 again to exit the Initial Setup Menu Au...

Page 21: ...erbox Press 1 to select Pan and Scan Press 2 to select Letterbox After a selection is made the Other Settings Menu will re appear If all setup adjustments are complete press pushbutton Number 0 to exi...

Page 22: ...sc tray will close and the disc will start to play from the beginning Note 1 One optional method to start a loaded DVD disc playing is to press the OPEN CLOSE pushbutton a second time The disc tray wi...

Page 23: ...d and third sets of icons Press DISPLAY a fourth time to remove the icons from the screen If a selection is made with an Icon the display will disappear Certain On Screen Icon operations are accessed...

Page 24: ...ct the option of Random Play of all tracks on the disc 5 Cancel the Play Mode by pressing the PLAY MODE pushbutton three times How to Set Markers This feature allows you establish up to four different...

Page 25: ...etup the player will revert to the initial setup language if the disc is removed or the power turned off 2 The disc language Icon can also be directly accessed by pressing the AUDIO pushbutton To Add...

Page 26: ...es 38 1cm including clearance for connectors Panel clearance required in front of mounting panel is 3 4 inch 1 9cm Note When the DVD CD tray is opened the panel clearance required in front of mounting...

Page 27: ...terior parts only if they are all in good serviceable condition If a shipping carton or any of the interior part s are needed please call or write Customer Service Department of McIntosh Labo ratory P...

Page 28: ...McIntosh Part No 040642 McIntosh Laboratory Inc 2 Chambers Street Binghamton NY 13903...

Reviews: