


Using the Shared Storage
61
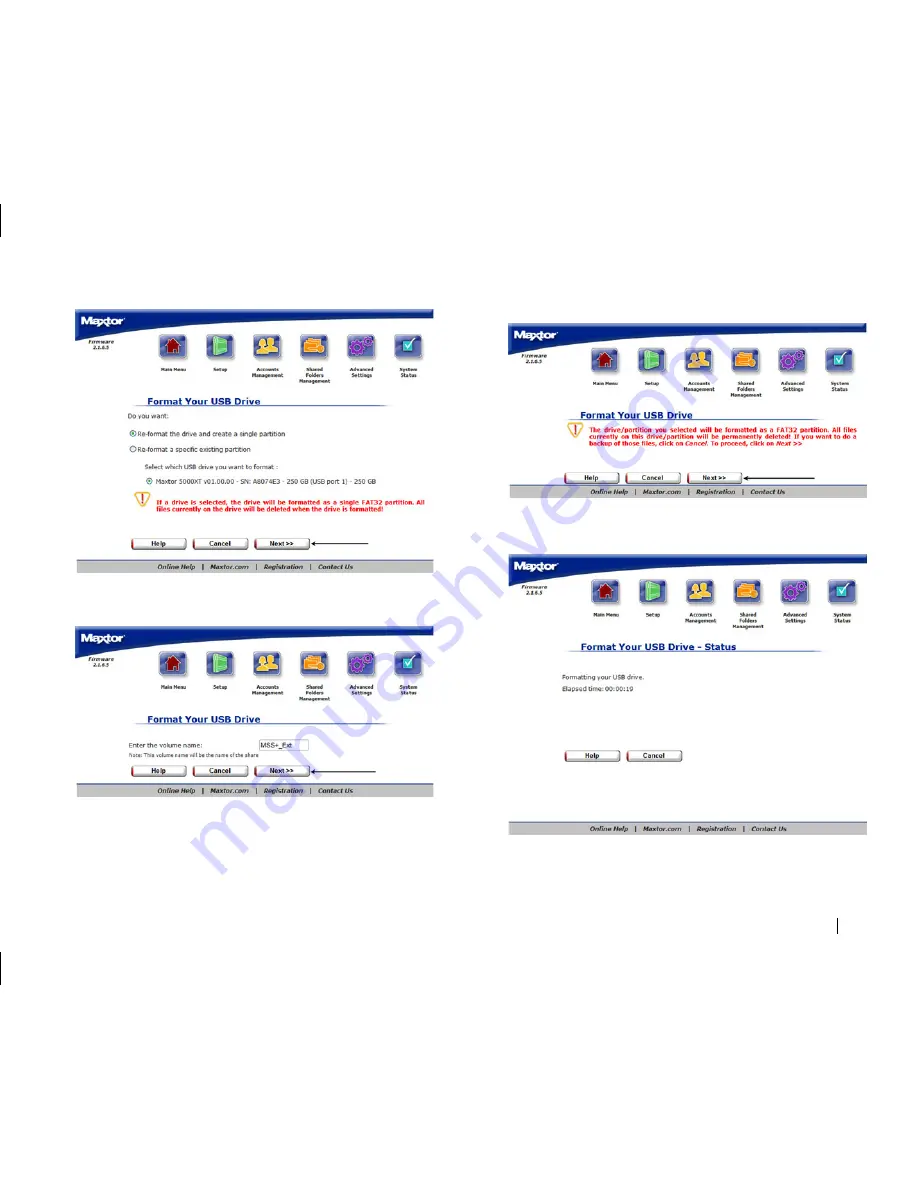
3.
If necessary, select the partition you wish to format.
4.
Click
Next
.
5.
Enter a
Volume name
.
6.
Click
Next
.
7.
A warning will appear stating that if you continue, you will lose all of
your data.
8.
Click
Next
.
9.
You will then see a status page with an elapsed time on it.