Section 4 UPGRADING YOUR NOTEBOOK
4-5
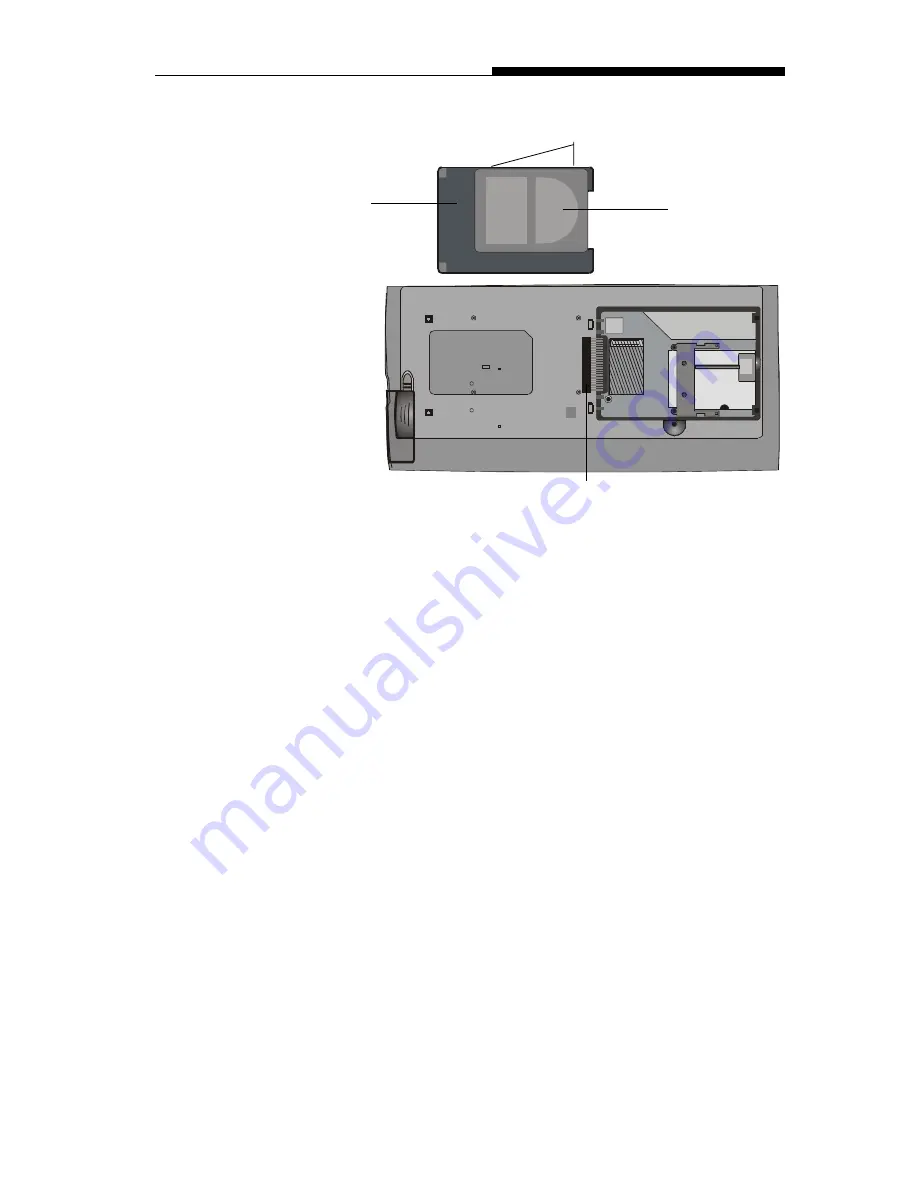
13. Reinstall the connector-A on the new drive unit. Be sure
the module makes a firm connection to the base
connector.
14. Carefully put the mental HDD tray back to the drive bay.
15. Replace the fixing screws, D and E.
16. Replace the HDD Bay cover.
17. Turn the notebook right-side up, and power it on.
You have now completed the hard drive upgrade.
Once a new hard drive is installed, you need to reformat the disk
and re-install the operating system and applications. If you would
like to have the Save To Disk suspend function, it is recom-
mended that you re-create the Save To Disk partition
BEFORE
reformatting the HDD because executing the PHDISK utility
program will destroy the data on the hard drive and requires you
to re-install all software. Go to
Creating Save To Disk Partition,
the end of Section 3, to figure out how this is done.
Mental
HDD Tray
HDD
Module
HDD Module
Connecter-A
Illustration 4-2
Fixing Screws F, G
Summary of Contents for VISION 350M
Page 1: ...i Notebook Vision 350M Vision 450T...
Page 72: ...AppendixAPRODUCTSPECIFICATION A 1 APPENDIX A PRODUCT SPECIFICATION...
Page 83: ...AppendixCAGENCYREGULATORYNOTICES C 1 APPENDIX C AGENCY REGULATORY NOTICES...
Page 89: ...i Notebook Vision 350M Vision 450T...
Page 165: ...Anhang A PRODUKT SPEZIFIKATIONEN A 1 ANHANG A PRODUKT SPEZIFIKATIONEN...
Page 184: ...i Notebook Vision 350M Vision 450T...
Page 260: ...BijlageAPRODUCTSPECIFICATIES A 1 BIJLAGE A PRODUCTSPECIFICATIES...
Page 273: ...AppendixCAGENCYREGULATORYNOTICES C 1 BIJLAGE C WETTELIJKE MEDEDELINGEN...
Page 279: ...i Notebook Vision 350M Vision 450T...
Page 355: ...AnnexeASPECIFICATIONSDUPRODUIT A 1 ANNEXE A SP CIFICATIONS DU PRODUIT...
Page 368: ...AnnexeCAVISDESORGANISMESDER GLEMENTATION C 1 ANNEXE C AVIS DES ORGANISMES DE R GLEMENTATION...


