Digital Video Recorder
53
Calendar Search
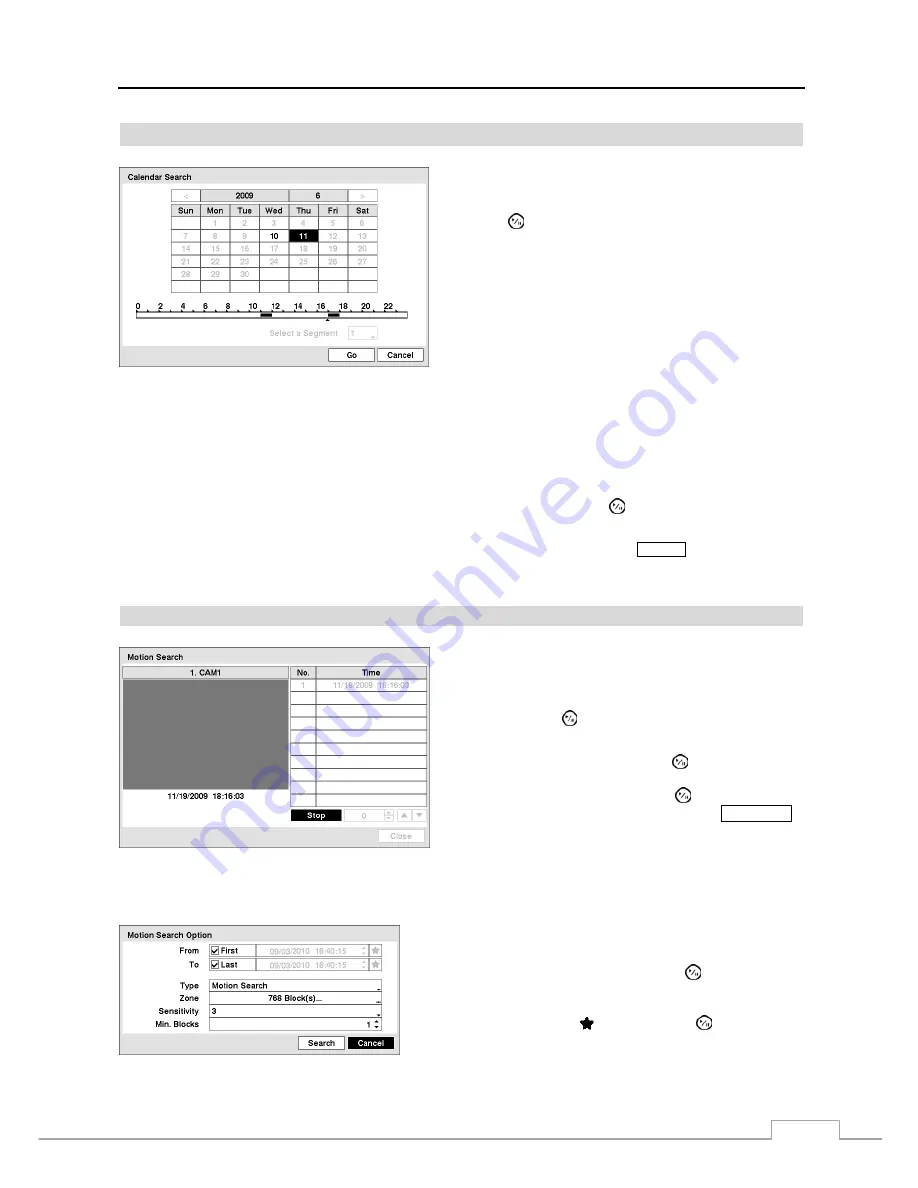
Figure 67 — Calendar Search screen.
Days with recorded video display on the calendar with white
numbers. You can highlight the days with recorded video by
using the arrow buttons. Once you have highlighted a day,
press the
(Play/Pause) button to select it.
A time bar displays at the bottom of the calendar. Hours in
which video was recorded will be highlighted with blue. You
can use the
Up
and
Down
arrow buttons to highlight the time
bar. Once the time bar is highlighted, you can select the time
by using the
Left
and
Right
arrow buttons.
NOTE: The time bar is in one-hour segments. If a segment
is highlighted, it means that some video was recorded
during that hour. However, it does NOT mean video was
recorded for the entire hour.
If the DVR’s time and date have been reset to a time that is earlier than some recorded video, it is possible for the DVR
to have more than one video stream in the same time range. Move to
Select a Segment
, and select the video stream you
want to search. Refer to the
Appendix – Time Overlap
for further information on searching time-overlapped video streams.
NOTE: The lower number of the Segment indicates the latest recorded video.
Once you have set the date and time you want to search, highlight
Go
and press the
button. The selected date and
time will display.
NOTE: It is possible that no recorded image displays on the current screen. Press the
DISPLAY
button and change
the screen mode to 4x4. You will be able to easily see the camera have recorded video during target
time.
Motion Search
Figure 68 — Motion Search screen.
The
Motion Search…
can be selected from the Search menu
while the DVR displays the camera full screen. The
Motion
Search
screen displays a list of motion events. Use the arrow
buttons to highlight the event for which you would like to see
video and press the
(Play/Pause) button to display the video
associated with the selected event on the small search screen.
Highlighting
Close
and pressing the
button will extract
the video associated with the Motion event and display the
first image of the event. Pressing the
button will start
playing the “event” video segment. Pressing
PLAYBACK
returns to live monitoring.
You can also narrow your event search by selecting the
Option…
button and setting up the new search condition.
You can search video from the first to last recorded images, or you
can set the start and stop times and dates.
Highlight the box beside
From
and press the
button to toggle
between On and Off. When set to Off, you can enter a specific Date
and Time. When set to On, the search will be from the first recorded
image. When highlighting
and pressing the
button the
bookmark list displays and the bookmark point you selected will be
the starting date and time.


