INSTALLATION OF THE DRIVER
EN / USB Interface for Solar ChargeMaster / December 2008
7
3.4
INSTALLING FOR WINDOWS VISTA
Under Windows VISTA, the Found New Hardware
Wizard should be used to install devices when they
are connected to the PC for the first time.
Attempting other methods for installing VCP drivers
may corrupt driver installation and result in the
device becoming unusable with the PC the driver
was installed on.
If a device of the same type has been installed on
your machine before and the drivers that are about
to be installed are different from those installed
already, the original drivers need to be uninstalled.
Please refer to the Uninstalling Solar ChargeMaster
Device section of this document for further details of
this procedure.
Download the latest available “Windows VISTA”
Solar ChargeMaster driver from the Mastervolt web
site or from your Mastervolt CD and unzip them to a
location on your PC (e.g.:/MastervoltDriver).
• Connect the device to a spare USB port on your
PC. This will launch the Windows Found New
Hardware Wizard. If there is no available Internet
connection, the screen below is shown.
Figure 3-4
• Select “Locate and install driver software” from the
options available and then click “Next” to see figure
3
-
5 appearing.
Figure 3-5
Insert the CD with the driver software and click
“Next”.
If Windows VISTA is configured to warn when
unsigned (non-WHQL certified) drivers are about to
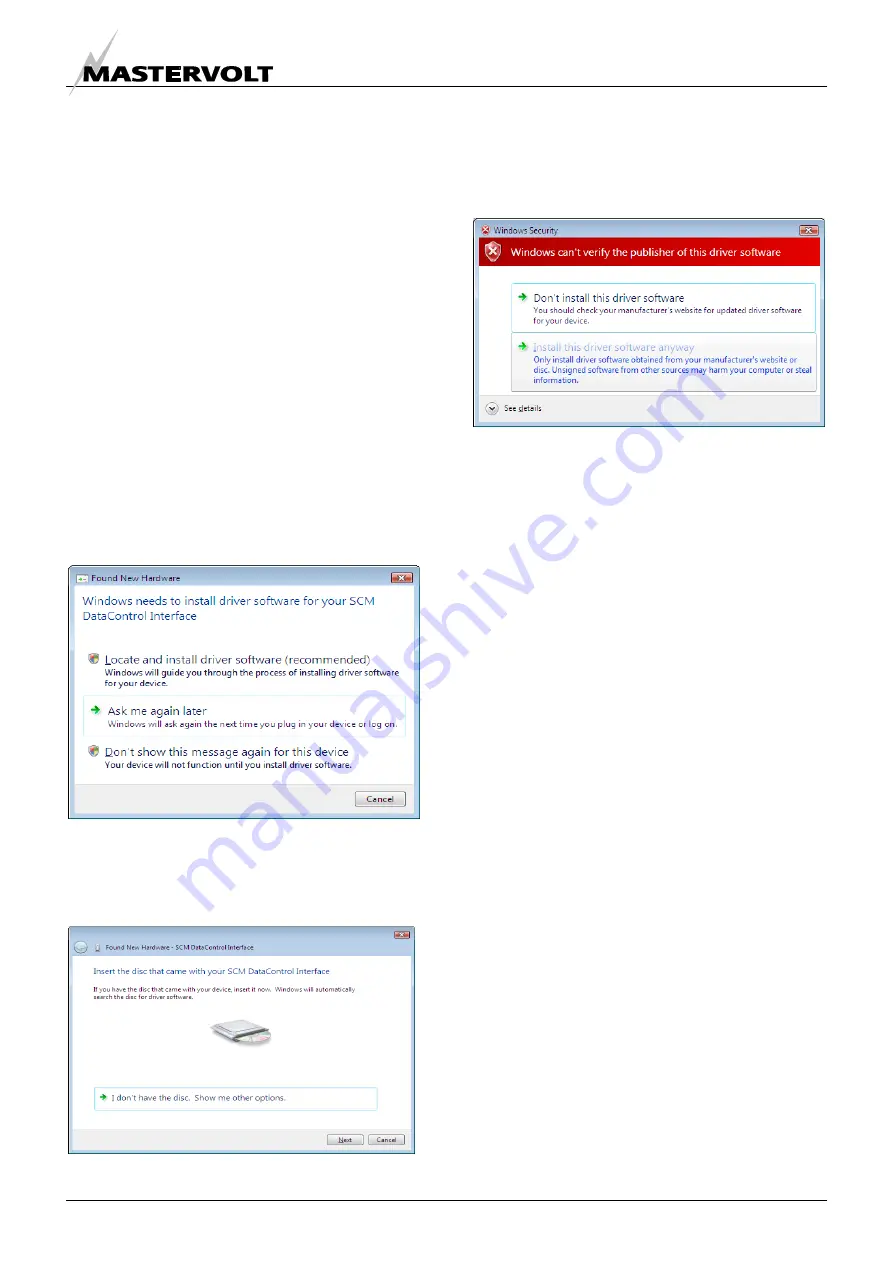
be installed, the following screen will be displayed.
Figure 3-6
• Click on “Install this driver software Anyway” to
continue with the installation. If Windows VISTA is
configured to ignore file signature warnings, no
message will appear. After copying the files,
Windows should then display a message indicating
that the installation was successful.
• Click “Finish” to complete the serial converter driver
installation.
• After clicking “Finish”, the Found New Hardware
Wizard will continue by installing the COM port
emulation driver. The procedure is the same as that
above for installing the serial converter driver.
• Open the Device Manager (located in “Control
Panel\System” then select the “Hardware” tab and
click “Device Manger”), the device appears as an
additional COM port with the label “Solar
ChargeMaster Port.
3.5
UNINSTALLING FOR. WINDOWS 2000
When uninstalling devices from Windows 2000, this
should always be done through the Add/Remove
Programs utility as this uses the Solar ChargeMaster
V1.0 driver uninstaller program to remove files and
registry entries to leave a clean system. Other
methods may leave fragments of the driver that may
interfere with future installations.
• Disconnect any FTDI devices attached to the PC.
• Open the Add/Remove Programs utility located in
“Control Panel\Add/Remove Programs”. Select
“Solar ChargeMaster V1.0 Driver Drivers” from the
list of installed programs.
• Click the “Change/Remove” button. This will run
the Solar ChargeMaster V1.0 uninstaller program.
• Click “Continue” to run the uninstaller or “Cancel” to
exit. When the uninstaller has finished removing the
device from the system, the caption on the “Cancel”
button will change to “Finish”. Click “Finish” to
complete the process.


