Section 3
Operation
29
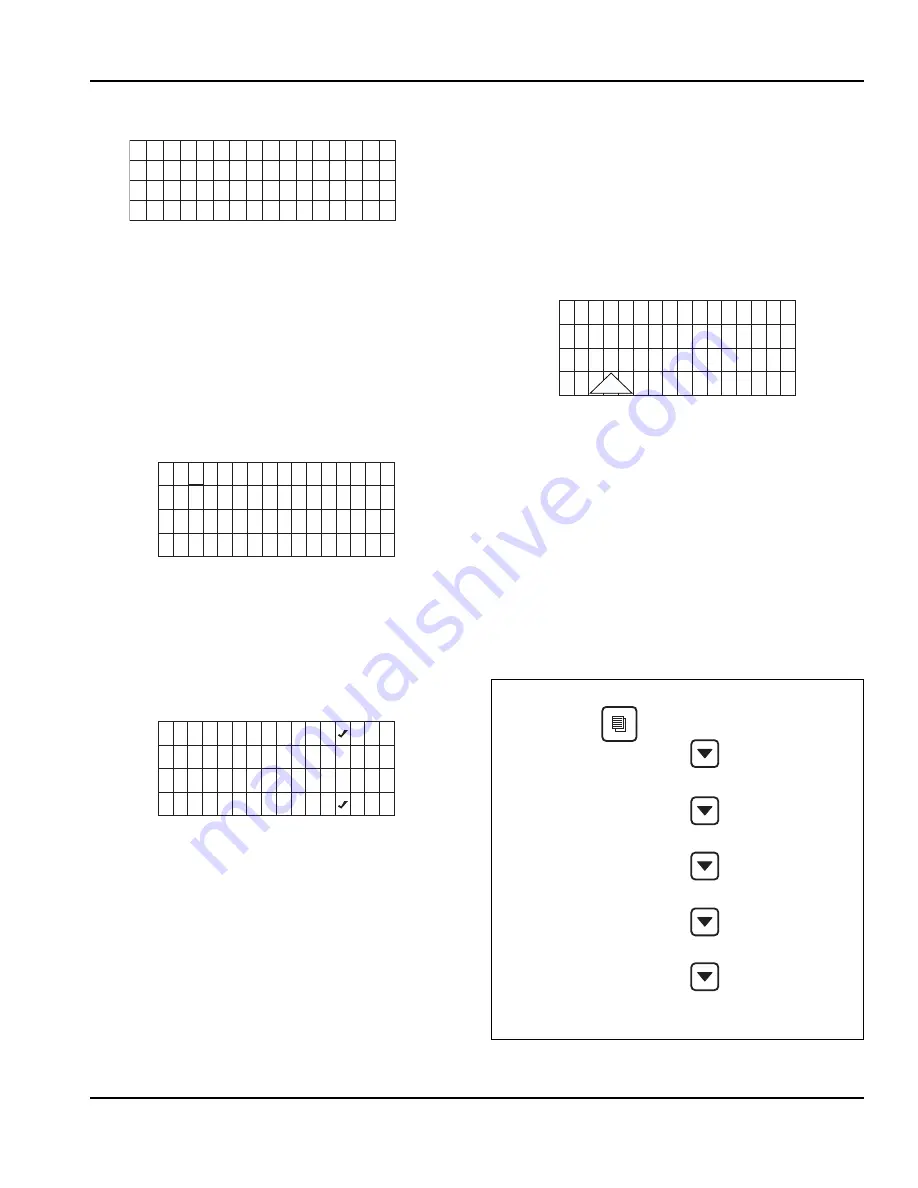
Display Panel Navigation
Highlights:
Brackets indicate if a line on the screen is
“highlighted” or actionable. Move the brackets from line
to line using the Down or Up arrow. Move the brackets
down from the fourth line to view more of the menu
displayed.
Arrows:
Two kinds of arrows give cues to additional
information. “>” symbols show that another screen is
available by pressing Checkmark while a line is
highlighted. “
▼
” and “
▲
” symbols indicate the limits of
the screen viewed. NOTE: Another cue to the length of a
menu screen is that Exit is the last item.
Cursor:
A cursor (underline) is used within lines where
actual settings can be adjusted. In these screens, use
the Up and Down arrows to make changes to the value
underlined. Move the cursor from digit to digit using the
Right and Left arrows. Use the Checkmark to move the
cursor down one line. Exit and re-enter the screen to
start again at the top.
Selections:
When parentheses ( ) appear, they indicate
a selection is available by pressing Checkmark while
the line is highlighted. If the choice is exclusive,
selecting it with the Checkmark will uncheck another
selection. That is, in the above Time Config example,
selecting Day/Mo/Yr will deselect Mo/Day/Yr.
Alerts and Messages
When messages and alerts exist, they will be highlighted
and can be selected with the Left arrow. Alerts are
shown on the left side - Alerts are conditions that may
cause the ice machine to stop in the near future. Alerts
displayed will have priority over messages.
Messages are shown on the right side and appear as an
envelope - They are reminders such as clean your air
condenser filter, change your water filter, etc. .
For example, if alerts are appearing in the fourth line of
the display:
1. Press the Left Arrow. A list of alerts will appear in the
display.
2. Choose the alert you wish to address by moving the
highlight brackets with the Down arrow.
3. Press Checkmark again. A screen appears with the
date, time and total number of times an alert has
occurred. At the bottom of the screen you will be
able to clear the alert by pressing the Checkmark.
4. Return to the Home screen by selecting Exit and
pressing the Checkmark.
Main Menu
[ T i m e & D a t e > ]
▼
T i m e C o n f i g >
D a y l i g h t S a v >
U n i t s >
▼
0 7 2 4 1 0
1 4 : 0 8
E x i t >
[ M o / D a y / Y r ( ) ]
▼
D a y / M o / Y r ( )
1 2 H o u r ( )
2 4 H o u r ( )
▼
O f f
O n / O f f M o d e
[ ]
!
Machine Info
Set-Up
Energy Saver
Fact Deflts
Service
Exit
Summary of Contents for IB1096YC
Page 26: ...Installation Section 2 26 Part Number 000007924 5 14 THIS PAGE INTENTIONALLY LEFT BLANK ...
Page 38: ...Operation Section 3 38 Part Number 000007924 5 14 THIS PAGE INTENTIONALLY LEFT BLANK ...
Page 51: ...Section 5 Customer Support Part Number 000007924 5 14 51 ...
Page 55: ...Table des matières suite 50 Part Number 000007924 5 14 ...
Page 73: ...Installation Section 2 68 Part Number 000007924 5 14 THIS PAGE INTENTIONALLY LEFT BLANK ...
Page 98: ...Section 5 Service clientèle Part Number 000007924 5 14 93 ...


