.
Select the
Administrator
name in the first row and then
User-Properties
. Confirm the blank password for the
Administrator
ac-
count (that is, do not type anything in) and click
OK
.
.
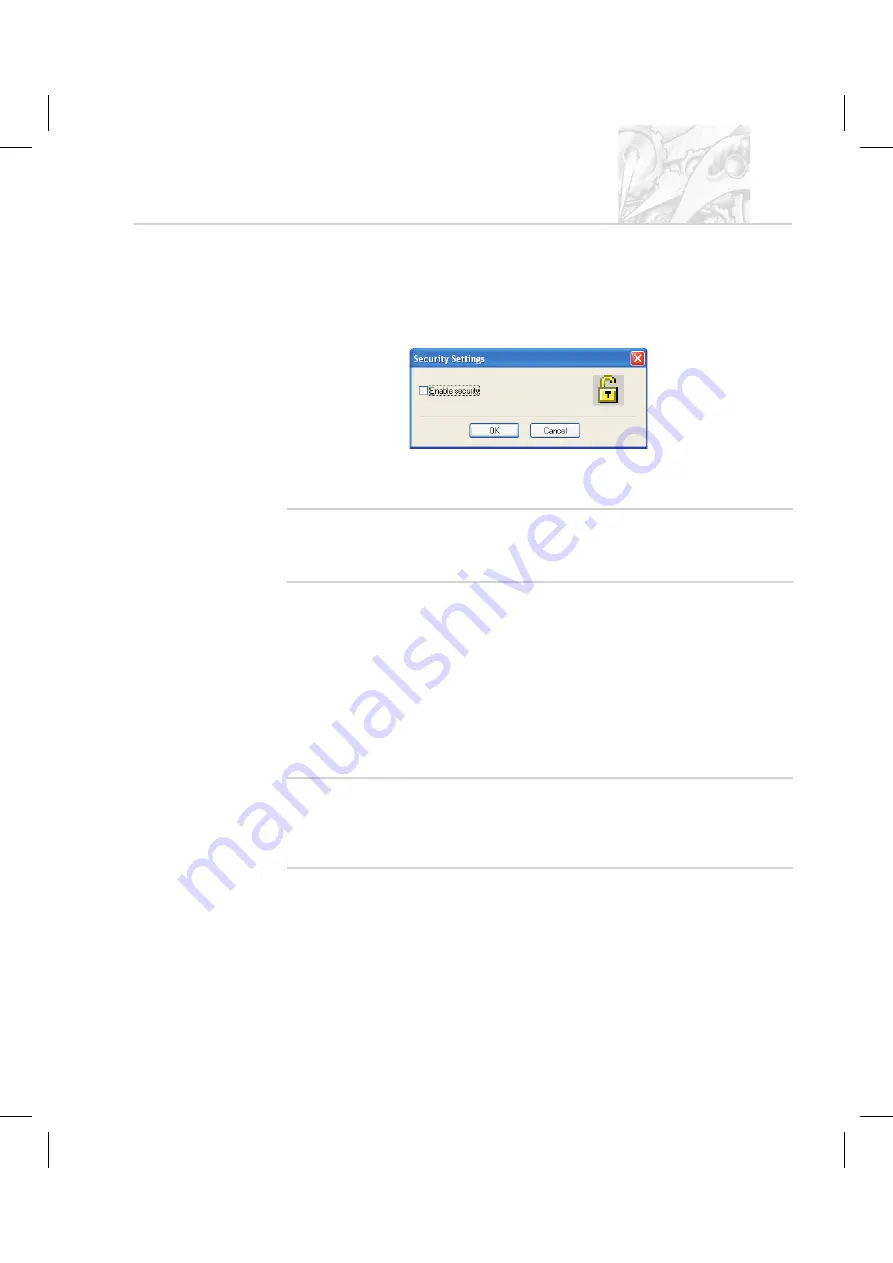
Click
Options-Security settings...
and in the
Security Settings
dialogue
shown below select the
Enable security
check box and click
OK
.
.
Security is now enabled on the system. This forces subsequent users to log
in to access the software.
'
N o t e
.
If the
21 CFR part 11
feature key is installed a different dialogue is
displayed. Once
21 CFR part 11
security is enabled, it cannot be
disabled.
Security guidelines
Once security is enabled each user must log in when the software starts. Once the
user is logged in, only functions matching their relevant permissions will be
accessible; all other functions will be greyed out.
To change from one user to another without closing down the software, the first
user must select
Security-Logout
and then the second user must select
Security-Login
and enter the appropriate username/password.
'
N o t e
.
It is preferable to assign at least two users to the
Administrators
group.
The user’s user name and password should be stored in a secure
location. This is to safeguard against accidental lockout or deletion of
permissions that may prevent the security settings being available.
Remember that after any changes to the security system – adding users, changing
permissions, etc. – the new changes must be saved (by selecting
User-Save
). A
dialogue will appear on exit reminding the user to save changes.
C H A P T E R 9
S
p
r
a
y
t
e
c
P a g e 9 . 3
Summary of Contents for Spraytec
Page 1: ...Spraytec User Manual Spraytec User Manual M A N 0 3 6 8 I s s u e 1 0 N o v 2 0 0 5...
Page 7: ...Part 1 Operator s guide Part 1 Operator s guide...
Page 8: ......
Page 9: ...Introduction to this manual Introduction to this manual C H A P T E R 1...
Page 10: ......
Page 16: ...C H A P T E R 1 S p r a y t e c Page 1 6 M A N 0 3 6 8...
Page 17: ...What is the Spraytec What is the Spraytec C H A P T E R 2...
Page 18: ......
Page 31: ...The Spraytec hardware The Spraytec hardware C H A P T E R 3...
Page 32: ......
Page 42: ...C H A P T E R 3 S p r a y t e c Page 3 10 M A N 0 3 6 8...
Page 43: ...The Spraytec software The Spraytec software C H A P T E R 4...
Page 44: ......
Page 63: ...Measurement tutorial Measurement tutorial C H A P T E R 5...
Page 64: ......
Page 99: ...Interpreting the results Interpreting the results C H A P T E R 6...
Page 100: ......
Page 125: ...Using measurement files Using measurement files C H A P T E R 7...
Page 126: ......
Page 133: ...Basic maintenance Basic maintenance C H A P T E R 8...
Page 134: ......
Page 139: ...Part 2 Supervisor s guide Part 2 Supervisor s guide...
Page 140: ......
Page 141: ...Security Security C H A P T E R 9...
Page 142: ......
Page 151: ...Advanced features Advanced features C H A P T E R 1 0...
Page 152: ......
Page 170: ...C H A P T E R 1 0 S p r a y t e c Page 10 18 M A N 0 3 6 8...
Page 171: ...SOP management SOP management C H A P T E R 1 1...
Page 172: ......
Page 175: ...Part 3 Appendices Part 3 Appendices...
Page 176: ......
Page 177: ...Health and Safety Health and Safety A P P E N D I X A...
Page 178: ......
Page 184: ...A P P E N D I X A S p r a y t e c Page A 6 M A N 0 3 6 8...
Page 185: ...Specification Specification A P P E N D I X B...
Page 186: ......
Page 191: ...Site requirements f r o m M A N 0 3 6 8 I s s u e 1 0 Site requirements A P P E N D I X C...
Page 200: ...A P P E N D I X D S p r a y t e c Page D 3 M A N 0 3 6 8...
Page 201: ...Installation Installation A P P E N D I X E...
Page 202: ......
Page 206: ...A P P E N D I X E S p r a y t e c Page E 4 M A N 0 3 6 8...
Page 207: ...Regulatory statements Regulatory statements A P P E N D I X F...
Page 208: ......
Page 213: ...Index Index...
Page 214: ......
Page 221: ......


