SkyRaider DS10CTEC User Manual
March 17, 2019
SkyRaider DS10CTEC User Manual
Page 93
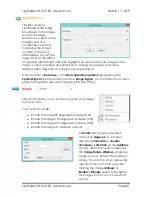
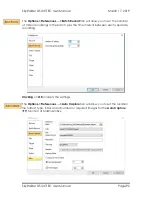
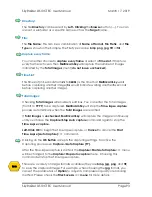
Directory:
The file
Directory
can be select by
Left- Clicking
the
Browse
button (
…
). You can
also set a subfolder as a specific name such as the
Target
name.
File:
The
File Name
; This can be a combination of
Name of Format
,
File Prefix
, and
File
Type
as shown in the Sample. The File Type can be
bmp
,
png
,
jpg
,
tiff
or
fits
.
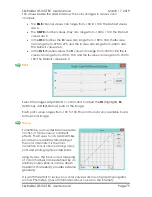
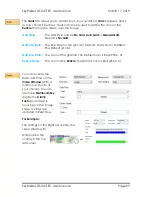
Capture every frame:
You can either choose to
capture every frame
or select a
Time slot
. If Capture
every frame is chosen, then
MallincamSky
will capture the number of images
indicated by the
Total Images
count (
do not leave unchecked
).
Time Slot:
This Time slot (in Seconds from
2s
to
3600s
) is the time that
MallincamSky
waits
before capturing another image (
5s
would indicate waiting another
5
seconds
before capturing another image).
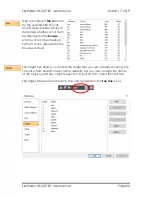
Total Images:
Checking
Total Images
will enable its edit box. You can enter the Total Images
(from
1
to
9999
) to be captured.
MallincamSky
will stop the
Time-lapse capture
process automatically when the
Total Images
are reached.
If
Total Images
is
unchecked
,
MallincamSky
will capture the images continuously
until you choose the
Capture>Stop Auto capture
command again to stop the
Time-Lapse capture
.
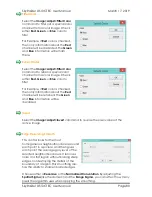
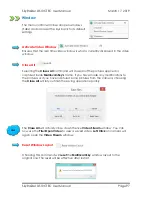
Left-Click OK
to begin the Time-lapse capture, or
Cancel
to cancel the
Start
Time-
Lapse (Auto Capture)•••
command.
Clicking on the
OK Button
accepts the capturing settings. To active the
Capturing process use
Capture->Auto Capture (F7).
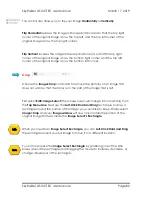
After the Time-lapse capture is started, the
Capture>Start Auto Capture
•••
menu
will be changed to the
Capture>Stop Auto capture
menu. Choosing this
command will stop the Time-lapse capture.
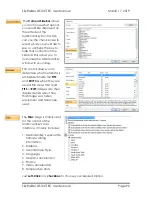
There are a variety of image formats available (they are
bmp, jpg
,
png
, and
tif
)
to save the captured image. For example, when choosing the
jpg
format, you
can set the parameters of
Option
to adjust its compression quality or encoding
method. Please check the
File>Save As••• menu
for more details.

