SkyRaider DS10CTEC User Manual
March 17, 2019
SkyRaider DS10CTEC User Manual
Page 35
Detailed Workflow of Video Imaging Planetary Objects
The following instructions will guide you in setting up your SkyRaider camera for
imaging Solar, Lunar, or Planetary Objects.
For planetary objects, the exposure setting will be very small (as the objects
themselves are usually very bright). It is recommended that you start imaging
objects, such as the Moon and planets, as it will allow you to become
comfortable with all the adjustments that MallincamSky provides for you. With
planetary objects, you want as much resolution and data as possible, so choose
the highest resolution your SkyRaider provides (which is easy as that is set for you).
Since the exposure rate is so short, you may find that you do not need to take
any
Dark Fields
preparation shots before imaging. But if you do notice warm
pixels and would like to eliminate them. Then follow the step-by-step instructions
located in the section called:
Dark Field Correction
later in the manual.
The following instructions are used as a guide to assist you in doing planetary
video imaging. Don’t forget, when finished with a particular step that uses a
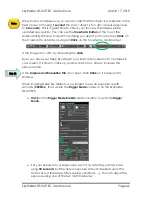
particular feature Tab, you can close the Tab (This will remove, the green and
blue boxes which may be displayed over your image) by
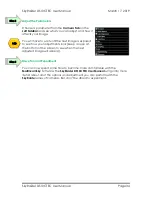
Clicking
on the little
up- arrow
in the right corner of that Tab.
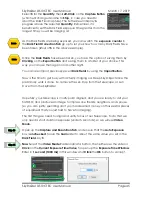
If not started,
Double Click
on the
MallincamSky Icon
on your
Desktop
to start
the program.
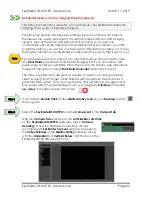
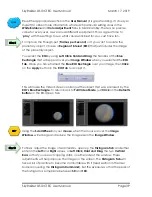
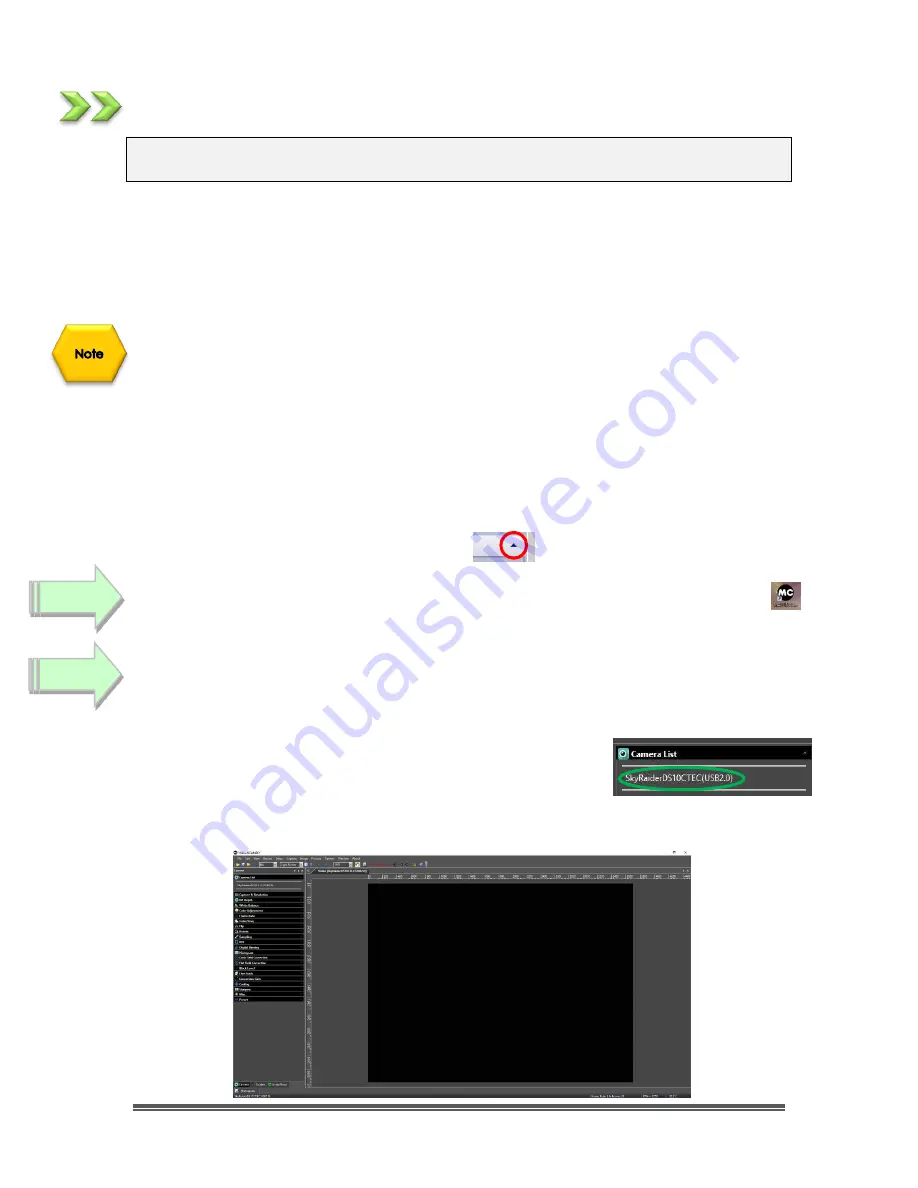
Select the
SkyRaiderDS10CTEC
from the
Camera List
in the
Camera Tab.
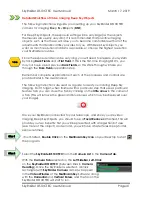
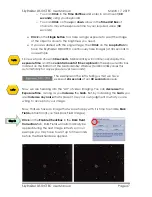
With the
Camera Tab
selected on the
Left SideBar
,
Left-Click
on the
SkyRaiderDS10CTEC
(between lines in
Camera
Heading
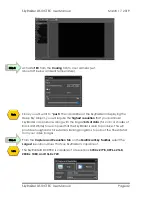
). Once the SkyRaider is selected, a black
rectangle (with
SkyRaider Camera
name) will appear in
the
Video Window
of the
MallincamSky
Software along
with the
Horizontal
and
Vertical Rulers
, and the fan on the
SkyRaider DS10CTEC will start to run.
Step 2
Step 1

