Operation Manual easyScreen
8508935 Rev. 4
67
04/04/2019
Start Print Process After Screening from the Test Done Screen
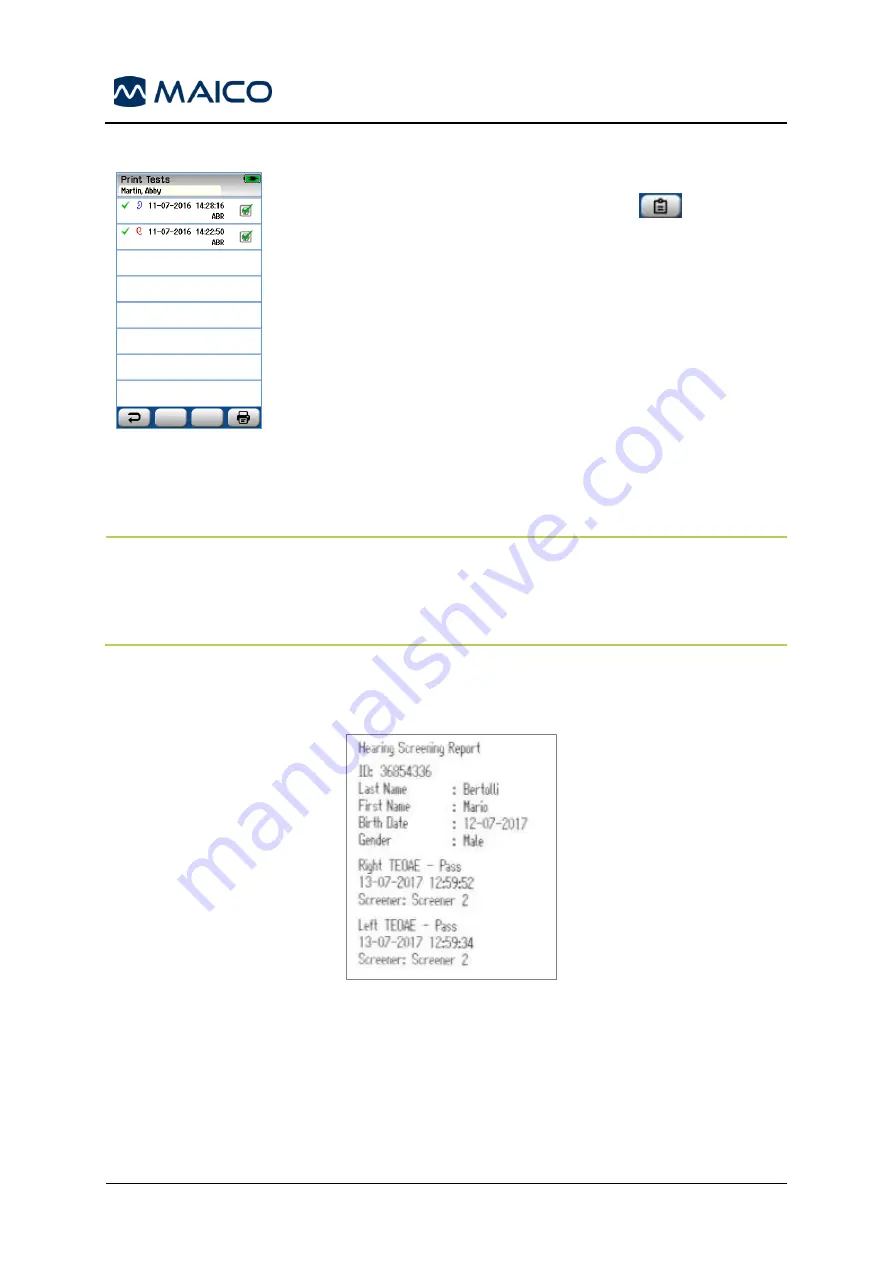
Figure 83
Printing of test results on the label printer can be performed at the
Test Done
screen by selecting the
Test List
button in the
bottom control bar. The full list of screening tests performed for
this patient will appear in reverse chronological order (Figure 83).
For your convenience, the most recently performed right and
left ear screening in the current session will be pre-selected
for printing. This is reflected by a small green checkmark
appearing on a printer icon at the right side of the row. You
can deselect by touching the symbol. You can select other
tests in the list for printing according to your preferences.
If only one right and one left ear screening is selected for printing
in the list
, then both ears’ results will be printed out on a single
label. When more than 2 tests are selected for an ear, then each
screening will be printed out on a separate label.
NOTE
: The print icons will not appear on easyScreen under certain conditions. If
label printing or wireless communication is not enabled on the device via the
HearSIM
PC application or if a label printer has not been paired to the easyScreen,
the icons will not appear.
5.13.3.3 Understanding the Print-Out
The label print-out displays the following information (Figure 84)
Figure 84
Summary of Contents for easyScreen
Page 1: ...easyScreen Operation Manual...
Page 2: ...Blank Page...


