BLUEPIRAT2 | USER MANUAL/
page 31 of 82
8
Logging data
8.1
Setting markers
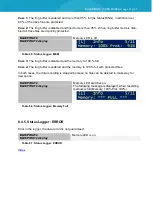
Interesting points in time can be designated by the
[ON / Trigger]
button at the front panel or at
the Remote Control. When pressing this button, the data logger saves the current time to hard
drive.
It is possible to configure the data logger to send a CAN message as an acknowledgement of
setting a marker.
Besides using the
[ON / Trigger]
button, it is also possible using the digital inputs and
Complex
triggers
function to realize an external marker button (have a look at the
Complex Triggers
user guide).
Additionally, it is possible to define a message that triggers a marker. In all cases, marker trig-
gers are debounced.
When downloading the data, the client displays all markers in a data in the data overview. The
client can be configured to transfer the data close around selected markers.
8.1.1 Setting marker with an extern push button
Besides using the
[ON / Trigger]
button, it is also possible using the digital inputs and
Complex
triggers
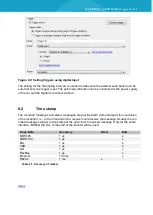
function to realize an external Marker button. Important is to set the used interface ac-
tive and set the „Timing Mode“ under general settings to a <Sampling interval> to at least 100
ms.
Figure 8.1: Sampling interval

