MAESTRO WIRELESS SOLUTIONS | Understanding the Maestro Router
25
E SERIES | USER MANUAL VERSION 2.2.0
http://support.maestro-wireless.com
Step 5.
Use standard Ethernet cable to connect the existing WAN access
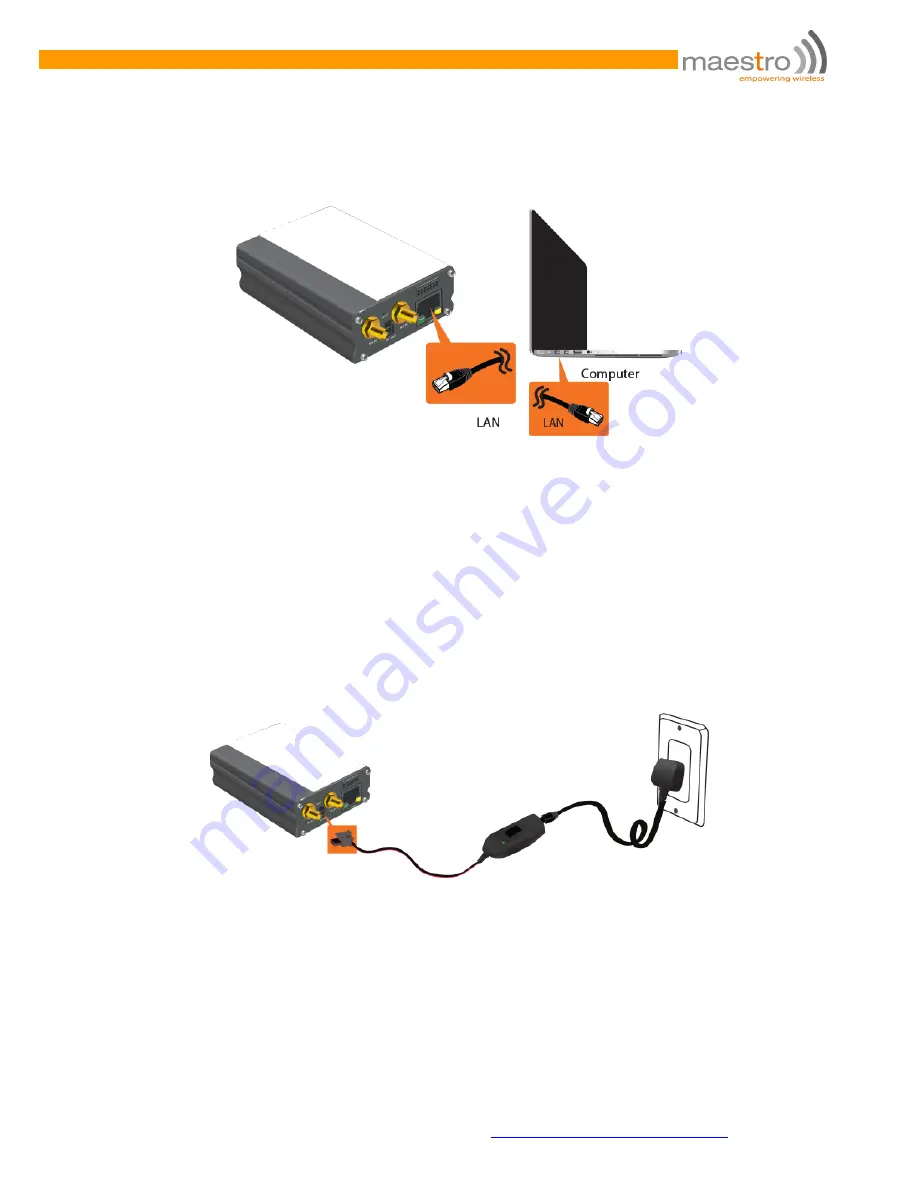
to WAN port of Maestro Router.
Figure 5.4-7: Ethernet cable connection for LAN/WAN access
Step 6.
Use standard Ethernet cable to connect “LAN” port with the LAN
port of the computer.
Step 7.
Connect the AC power connector into the “DC in” jack on LAN-side panel
of the Maestro Router. Plug the other side of the cord to a standard AC receptacle
and turn the power switch ON. The power LED will light when power is applied.
E220XT can also be powered by connecting the WAN of the
Router to a PSE-PoE device of suitable power output rating.
Figure 5.4-8: Connecting to AC receptacle
Step 8.
Make sure Wi-Fi antenna is connected (see chapter 8.2) and Wi-
Fi is ON on your computer, phone or tablet. Scan for network and select
SSID “Maestro E220”. You will be prompted to enter a WPA/WPS-2
mixed-mode password. Default password is
‘W1rele$$’.


