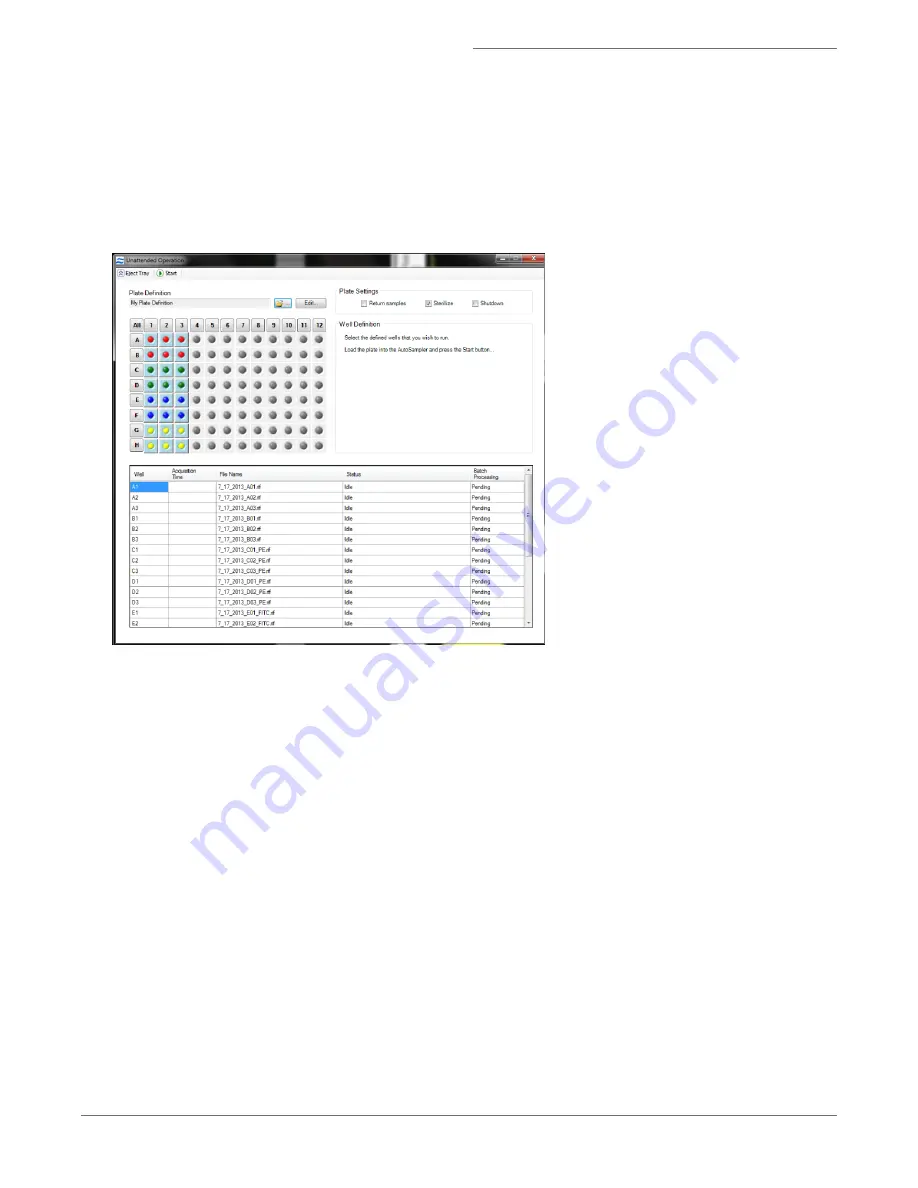
Start the AutoSampler
1. Click Start to run the plate. The Auto Sampler Unattended Operation window opens with the Plate Definition you
just saved.
l
If you wish to choose a different definition, browse for it by clicking on the folder icon.
l
If you want to edit the plate definition, click Edit This Plate and you will be taken to the Well Plate Definition win-
dow.
2. Check or uncheck the boxes Return samples, Sterilize, Shutdown.
NOTE: These boxes may be checked or unchecked while the plate is running. The operation will apply after the cur-
rent sample is finished.
3. Select the wells to run (they will appear in the list).
Load the Plate
1. Click Eject Tray to extend the plate nest.
2. Add at a minimum 75 μL samples to the wells of a u-bottom 96 well plate and cover with Sigma-Aldrich X-Pierce
Film (XP-100, Cat # 2722502) and load the plate into the AutoSampler.
3. Place your plate in the nest with well A1 positioned at the upper left corner.
4. Click Start to begin.
5. The Status column will be updated for each well as it is run. For each sample, the instrument loads the sample, per-
forms validations, acquires the data and reports the result (success or error).
For Research Use Only. Not for use in diagnostic procedures.
36
Amnis
®
FlowSight
®
Imaging Flow Cytometer User Manual


