GB-10
Saf
et
y
W
ar
nings
Produc
t O
ver
view
Connec
tions
M
ain
tenanc
e
Oper
ation
H
in
ts
and
Tips
and
Specifica
tion
Basic Operation
Powering ON/OFF
When you first connect the unit to the mains socket. The unit will be in STANDBY mode.
• Press the STANDBY/ON button to switch the unit on.
• Press the STANDBY/ON button again to switch the unit off.
• Disconnect the mains cable from the mains socket if you want to switch the unit off
completely.
Selecting Modes
Press the CD/DAB/FM button repeatedly to switch between modes (CD/DAB/FM).
Adjusting the Volume
Turn the VOL/SKIP/SELECT control on the unit or press the VOLUME buttons on
the remote control to increase/decrease the volume.
Mute Function (Remote Control Only)
Press the MUTE button on the remote control to temporarily stop the speakers emitting
sound. The display will show “MUTE” and flash. To cancel mute and restore the sound, press
the MUTE button again or the VOLUME buttons, the “MUTE” will disappear from the
display.
Setting the Time
When you first turn on your radio it will automatically set the time by searching out the DAB
signal. It will continue to search for the clock whilst in DAB mode until it has managed to set
the time. If after 10 minutes the clock has not automatically set itself try repositioning the
radio to get a better reception.
If the radio cannot find a DAB frequency to set the clock, you can use the FM mode (some
FM stations also transmit time and date information).
Alarm Clock and the Wake-up Mode Settings
This unit incorporates an identical Dual Alarm function. You can have two individual alarm
wake-up time and wake-up mode settings to wake you with a buzzer tone, your favourite
radio station or your favourite CD.
Setting the alarm clock in STANDBY mode or ON mode.
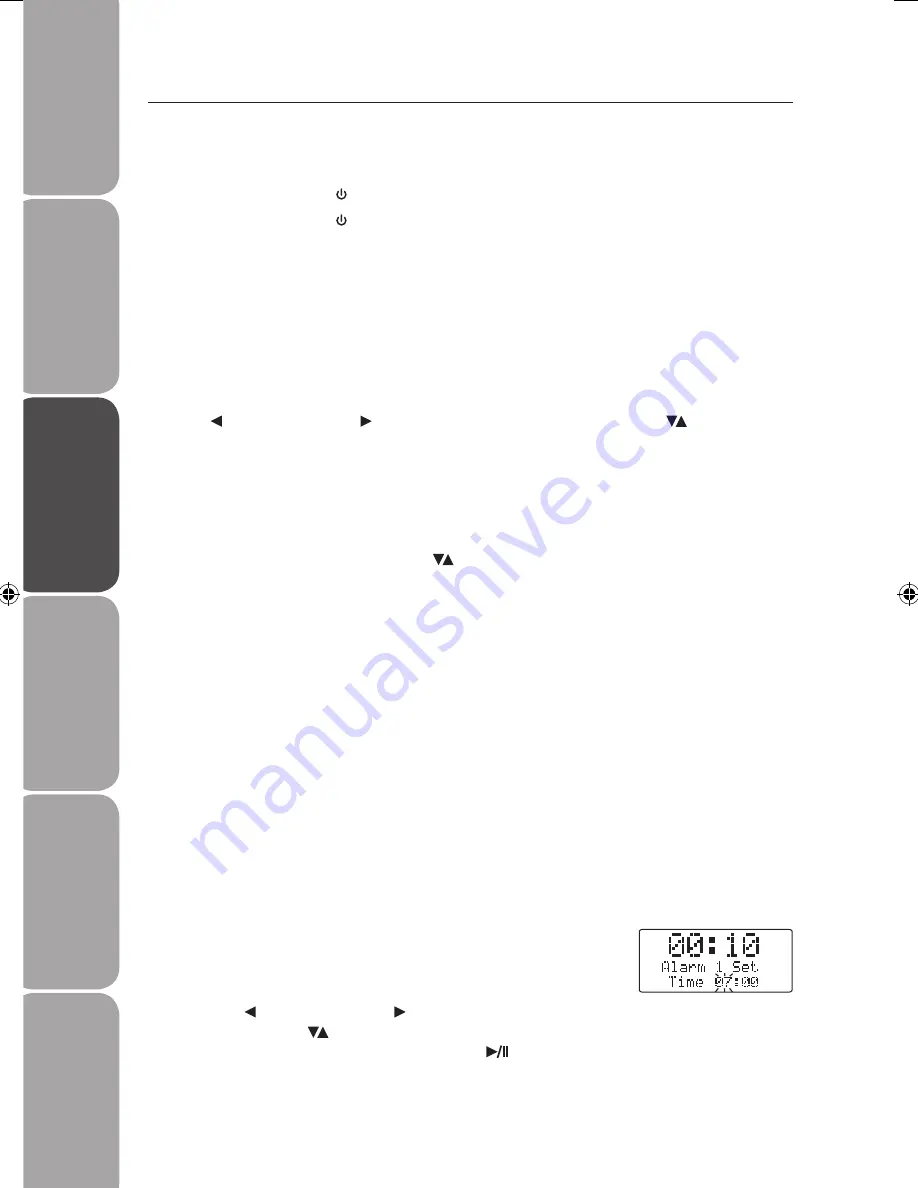
1. Press the ALARM 1 or ALARM 2 button and hold it for a few
seconds. The display will shows “Alarm # Set Time” and the
hour digits will flash.
2. Turn the VOL/SKIP/SELECT control on the unit or press
the SKIP/SELECT buttons on the remote control to adjust
the hour digits, and then press the SELECT
button to
confirm.
Logik LCDCRDB10_IB_100811_Zell.indd 10
11/08/2010 5:06 PM


