INSTALLATION
5
1.2 Summary of RAID Storage Setup Steps
• For Mac OS X
Step 1. Physically Install the Hardware (Chapter 1.5.1)
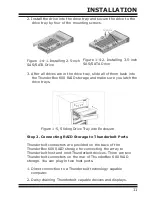
1. Install HDDs.
2. Connect power cord.
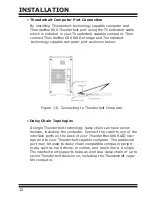
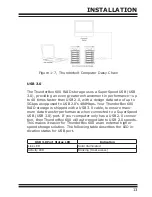
3. Connect Thunderbolt cable.
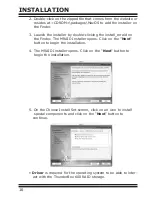
Step 2. Install the MRAID Software Package (Chapter 1.5.2.1)
1. Download the install_mraid installer from the website at
“http://www.areca.com.tw/support/s_ thunderbolt/thunder
bolt.htm”.
2. Double-click on the install_mraid zipped file.
3. Double-click on the install_mraid icon on the Finder.
4. Follow the installer on-screen steps to complete the installa-
tion.
Step 3. Configure RAID Volumes (Chapter 1.5.2.2)
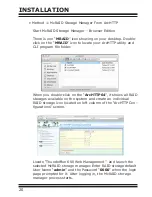
1. Double-click on the “MRAID” icon on the desktop.
2. Double-click on the “ArcHTTP64”.
3. Locate “ThunderBox 600 Web Management” and launch the
McRAID storage manager.
4. Login User Name “admin” and the Password “0000”.
5. Click on the “Quick Create” to configure the volume.
6. Follow the on-screen steps to complete the configuration.
Step 4. Format RAID Volumes (Chapter 1.5.2.3)
1. Mac OS X recognizes that a new disk is available.
2. Follow the Disk Utility on-screen steps to initialize and parti-
tion your unit.
3. Icons for each new partition show up on your desktop.
4. They are now ready to use.
• For Windows
Step 1. Physically Install the Hardware (Chapter 1.5.1)
1. Install HDDs.
2. Connect power cord.
3. Connect Thunderbolt cable.


