INSTALLATION
21
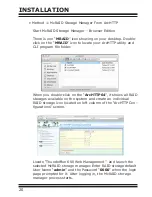
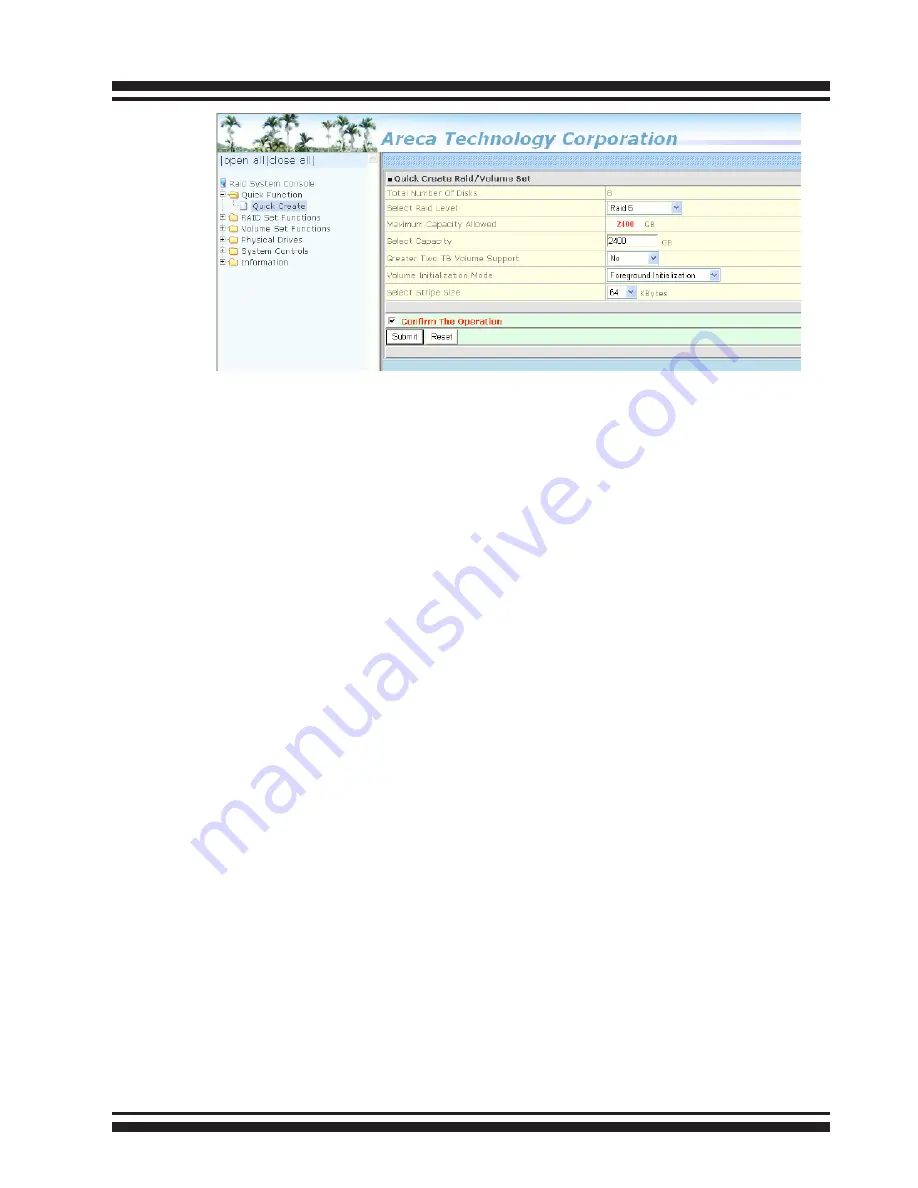
Click on the “Quick Create” in the main menu, your volume is
automatically configured based on the number of disks in your
system. You can create a RAID set associated with exactly one
volume set. The user can change the Raid Level, Capacity,
Initialization Mode, and Stripe Size. A hot spare option is also
created, depending on the exist configuration. Tick on the
“Confirm The Operation” check box and click on the “Submit”
button, the RAID set and volume set will start to initialize. If
you prefer to customize your volume set, please use the “Raid
Set Functions” and “Volume Set Functions”. See chapter 4 of
ThunderBox 600 user manual for information on customizing
your RAID volumes using McRAID storage manager. Other-
wise, to begin using the ThunderBox 600 right away, go on
the next
“Format the Volume”
section to begin the formatting
procedure.
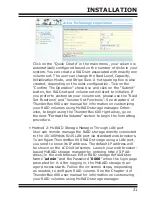
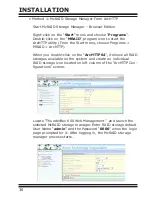
• Method 2: McRAID Storage Manager Through LAN port
User can remote manage the RAID storage directly connected
to the 10/100Mbits RJ45 LAN port via standard web browsers.
To configure ThunderBox 600 RAID storage using a LAN port,
you need to know its IP address. The default IP address will
be shown on the LCD initial screen. Launch your web browser-
based McRAID storage manager by entering http://[IP Ad-
dress] in the web browser. Enter RAID storage default User
Name “admin” and the Password “0000” when the login page
prompted for it. After logging in, the McRAID storage man-
ager process starts. Follow the on-screen steps, responding
as needed, to configure RAID volume. See the Chapter 4 of
ThunderBox 600 user manual for information on customizing
your RAID volumes using McRAID storage manager.

