0433-INS-400
Rev.
E
6-21
Mastering Screen
In order to be sure that production welds are good,
it must be verified that the parameters of each weld
match the parameters of a known good weld. A
master
is made from a weld or welds which are
proven to be good through destructive testing. The
master is the average of all parameters for these
welds. The general procedure for creating a master
is as follows:
Note:
Individual applications may have different
procedures for creating masters. If this is the case,
you should create masters according to the
procedure specific to your application.
1. Press the
New
button. Using the same weld schedule and bin select, make several of the same type
of weld, marking the weld number on each workpiece.
2. Press the
Done
button. Destructively test all of the welds made during mastering.
3. Using the
Edit Master
option, delete any welds from the master that failed destructive testing.
4.
Update
the master. New welds will now be compared to the known good welds in the master.
Note:
Using different bin selects, multiple masters can be made at the same time. For more
information about, refer to Chapter 9, FAQ.
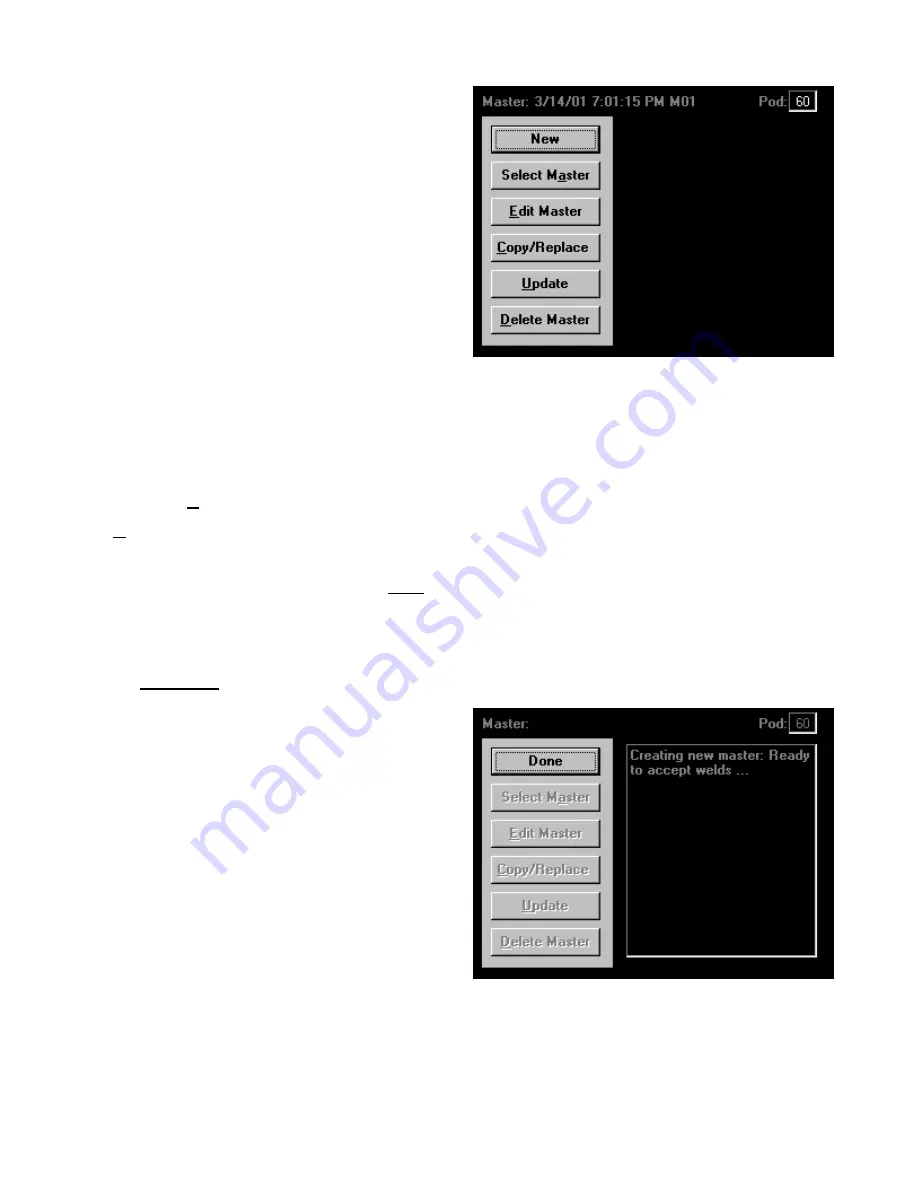
The
Mastering
options are described below. Some option buttons will be disabled (text shown fuzzy)
during the mastering process, or if no masters exist for the selected POD / ID.
•
New/Done
This option button starts and ends the mastering
process. Once the
New
button is pressed, the
screen reads
Initializing master memory…
The button text then changes to
Done
and the
screen reads
Creating new master: Ready to
accept welds…
Once you have finished adding
welds to the master, use the
Done
button to end
the mastering process.
When the
Done
button is pressed, the software
calculates a master from the average of the
welds that were included in the master. The
Master ID (name) defaults to be the current
date and time. When the master is complete, by
default it will be broken up into three segments:
Segment 0
–
Pre Weld
(before current starts)
Segment 1
–
Weld
(portion of weld with current)
Segment 2
–
Post Weld
(after current stops)
Figure
6-35
Mastering screen
Figure
6-36
Creating a master
Summary of Contents for WELDWISE 2400
Page 1: ...Revision C 001 User s Manual WeldWise 2400 THE WELD MONITORING SPECIALISTS TM...
Page 2: ......
Page 34: ...4 6...
Page 46: ...5 12...
Page 94: ...6 48...
Page 104: ...7 10...
Page 116: ...9 4...
Page 146: ...10 30...
Page 164: ...0340 DWG 400 Rev C 11 18...
Page 165: ...0308 DWG 400 Rev D 11 19...
Page 168: ...11 22...
Page 176: ...0454 APP 118 Rev A 12 6...
Page 194: ...13 2...


