2224 Layer 2 Management 24-Port 10/100 Ethernet Switch
nnect II 2224
3. Proceed to the appropriate section:
To set the line speed, proceed to the Setting the Line Speed section
To set the flow control, go to the section on Changing the Flow
Control.
Setting the Line Speed
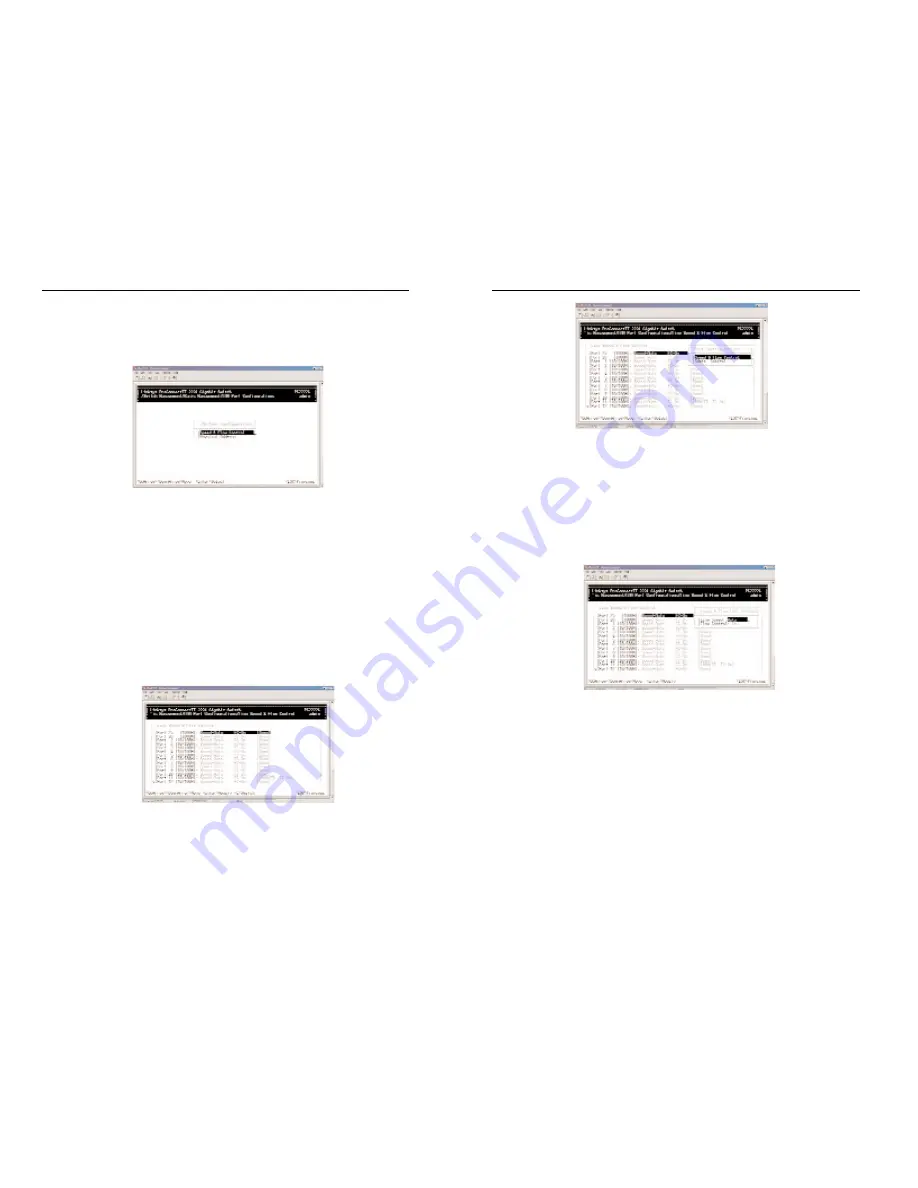
1. Press Enter with the Speed & Flow Control value highlighted . The Speed
& Flow Control Options menu will appear.
2. Highlight the line Speed Option you want to select for the port. Auto
allows the Switch to automatically determine the line speed and duplex
mode. All the other selections force the Switch to use a specific line
speed and duplex mode.
3. Press Enter. You will return to the Speed & Flow Cntl Options screen and
the line speed setting you selected appears next to Line Speed.
4. To configure the flow control for this port, proceed to Changing the
Flow Control.
5. To configure the line speed for additional ports, press Esc to remove the
Speed & Flow Cntl Options screen. Then highlight the port you want to
configure and repeat steps 1 through 4.
6. When you finish, press the Esc key from the Line Speed & Flow Control
screen to return to the LAN Port Configurations screen.
21
ProConnect II
®
Series
LAN Port Configuration
Select LAN Port from the Basic Management screen. The LAN Port
Configurations screen will appear, with Speed & Flow Control highlighted.
Use the procedures in this section to configure the LAN Port Configuration
options for one or more ports, including:
• Speed & Flow Control
• Administration Control
• Physical Address
Changing the Speed and Flow Control
1. From the LAN Port Configurations screen, highlight Speed & Flow
Control and press the Enter key. A screen similar to the following will
show the current line speed settings for all ports. If an expansion module
is installed in the switch, it will also be listed.
2. You configure each port individually. To configure an individual port,
highlight it and press Enter. The Port Setting Options screen will appear
20


