2224 Layer 2 Management 24-Port 10/100 Ethernet Switch
nnect II 2224
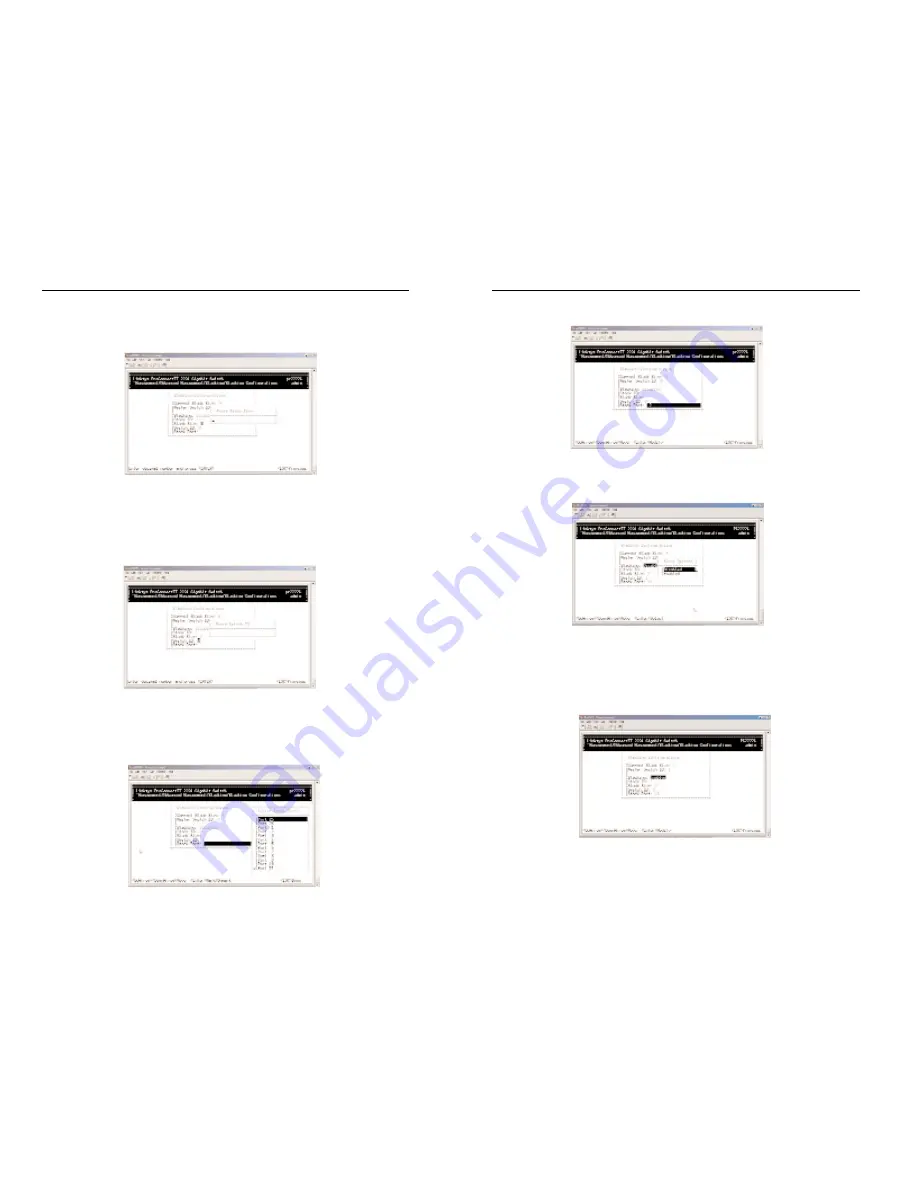
Press the ESC key. The selected port will appear in the Stack Port field.
6. Use Up or Down arrow key to highlight the Stacking field. Press the
Enter key and the Stack Options will appear. Highlight Enabled and press
the Enter key.
7. Repeat step 1~5 to configure other switches to be stacked. Note that the
Stack ID should be the same. The Switch IDs should be set different.
8. After enabling the stacking, the current Stack Size and Master Switch ID
will be shown as below. The function of stacking is completed.
After stacking is set up, configuration must be executed in the master switch.
75
ProConnect II
®
Series
3. Use the down arrow key to move to the column of Stack Size. Press the
Enter key and the Enter Stack Size column will appear. Type in the value
you want to change. Then press the Enter key.
4. Use the down arrow key to move to the column of Switch ID. Press the
Enter key and the Enter Switch ID screen will appear. Type in the value
you want to change. Then press the Enter key.
5. Use the down arrow key to move to the column of Stack Port. Press the
Enter key and the Select Stack Ports screen will appear. Select the port
you want to connect to other switches as a stack port. Then press the
Enter key. An asterisk mark will appear to the port you select.
74


