14
Method
1. Power Aurora Pro OFF. Aurora Pro must be contained in an outdoor enclosure
for outdoor installations. Refer to the
Aurora Product Guide
for outdoor
accessories.
2. Connect leader cables to each built-in LED connector.
3. Connect LED pixel strands to each leader cable (or to each built-in LED
connector if leader cables are not in use).
4. Power Aurora Pro ON.
5. Connect Aurora Pro to the Aurora Mobile App. Refer to
Connect to Aurora Pro
in AP Mode
for details.
6. Set the number of LED pixels per port using the Aurora Mobile App. Refer to
Configure the Aurora Mobile App
for details.
7. Connect an audio input to Aurora Pro and calibrate audio using the Aurora
Mobile App Audio Settings. Refer to
Connect and Calibrate Audio Inputs
for
details.
8. Refer to
Configure the Aurora Mobile App
to begin customizing your light
show.
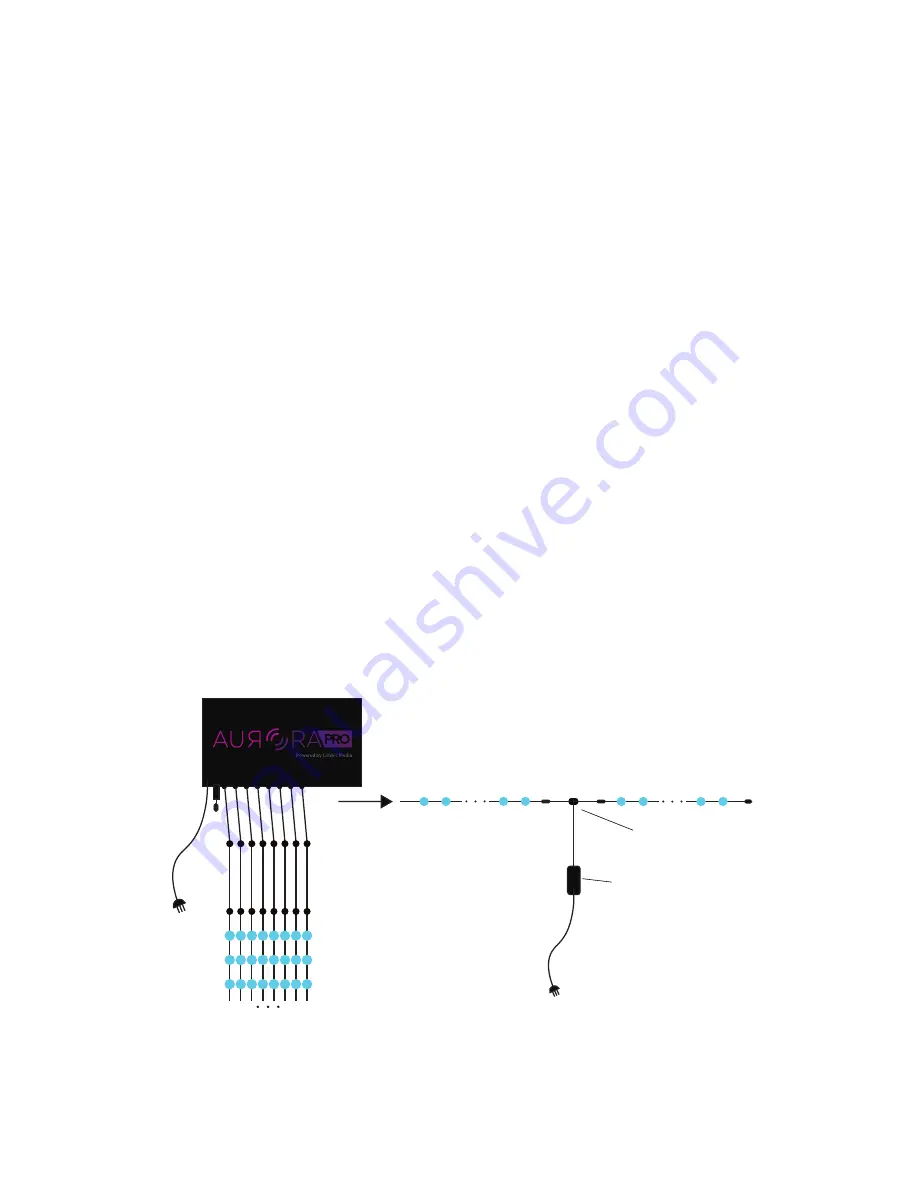
Set Up Aurora Pro Using Built-In RGB connectors (with Power Top-Ups)
Aurora Pro supports installations with up to 4000 LED pixels with Power Top-Ups.
Each Aurora Pro built-in LED connector supports a maximum of 500 LED pixels with
Power Top-Ups.
Power Top-Ups extend the LED pixels per port limit beyond 75. Each Power Top-Up
supports an additional 100 LED pixels (or 80 LED pixels of Triklit-style fixtures). This
allows a single port to support 4-5 Power Top-Ups, depending on the LED fixture
style used.
75 LED Pixels
5A Power Top-Up
80-100 LED Pixels
Power-T
Fig. 5: Aurora Pro set up with built-in RGB connectors and Power Top-Ups


