


36
Operation and settings
Schedule settings
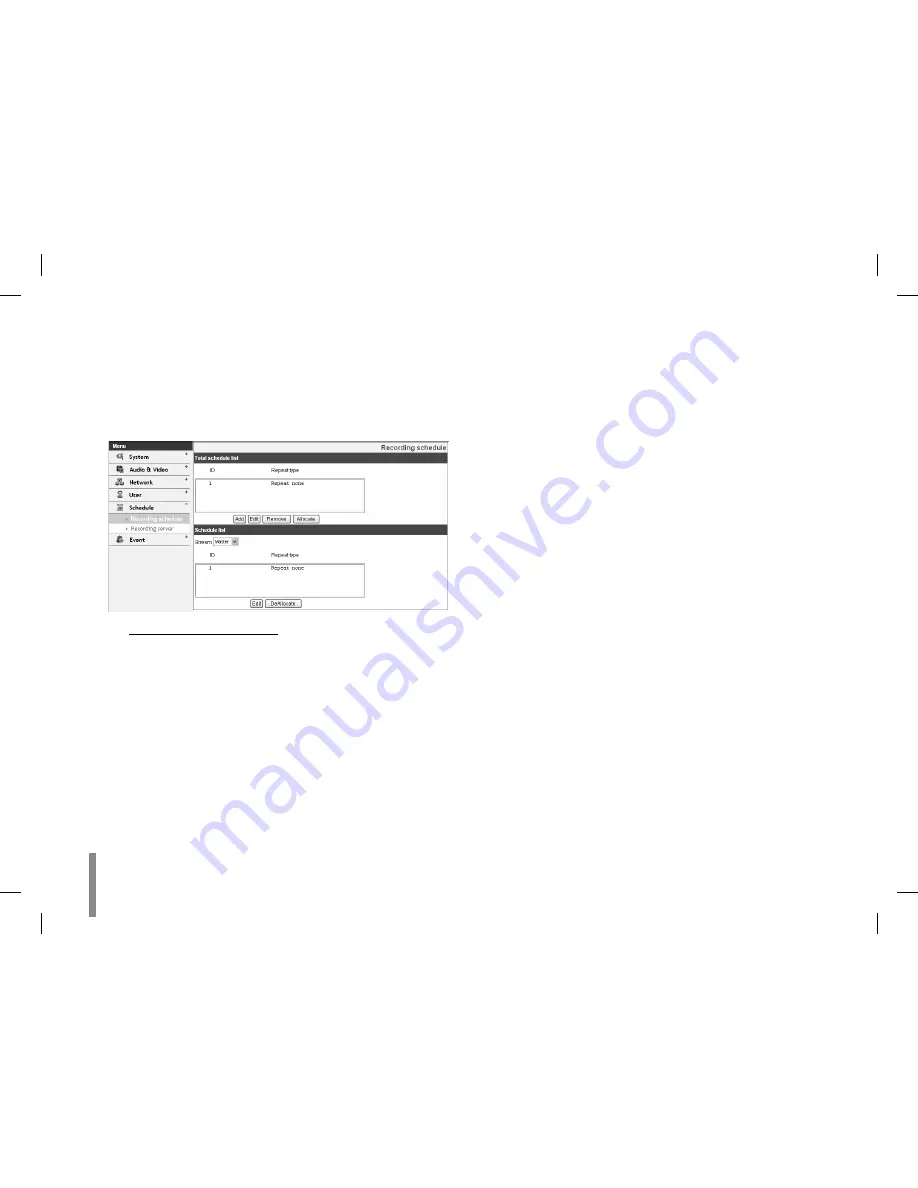
Recording schedule
This IP device provides video monitoring, recording and event
management functions. User can record video continuously,
on schedule, on sensor and/or on Video Contents Analysis
(Optional).
To set the Recording Schedule
1. Click the [Add] button. Recording schedule setting
window is displayed.
2. Set the [Pre alarm] and/or [Post alarm] option.
Pre alarm: Specifies the maximum recording
-
capacity of the image before the event detection.
Post alarm: Specifies the maximum recording
-
capacity of the image after the event detection.
3. Select the Repeat type. It can be configured in 5 dif-
ferent ways, Repeat None, Daily, Weekly, Monthly and
Yearly.
4. Set the [Custom day] option. This option is available
if the repeat option is None. Here a calendar is pro-
vided to mark the event detection activity.
5. Set the Activation Time parameters (24h clock) for
the event.
NONE: No scheduled recording
-
CONTINUITY: Recording starts automatically from
-
the preset time.
VA: Recording starts automatically when the
-
object or event is detected within a designated
time.
SENSOR: Recording starts automatically when the
-
sensor input of the IP device is activated within a
designated time.
DUPLICATED (C,V): Recording starts automati-
-
cally from the preset time. When the object or
event has been detected within a designated
time, change the continuous recording mode to
VA event recording mode and recording starts
automatically.
DUPLICATED (C,S): Recording starts automatically
-
from the preset time. When the sensor input is
activated within a designated time, change the
continuous recording mode to the sensor event
recording mode and recording starts automati-
cally.
DUPLICATED (V,S): Recording starts automatically
-
when the object or event is detected or the sen-
sor input is activated within a designated time.
Summary of Contents for LVW900 series
Page 20: ...20 Connections A ...


