


Network IR PTZ Camera Owner’s Manual
11
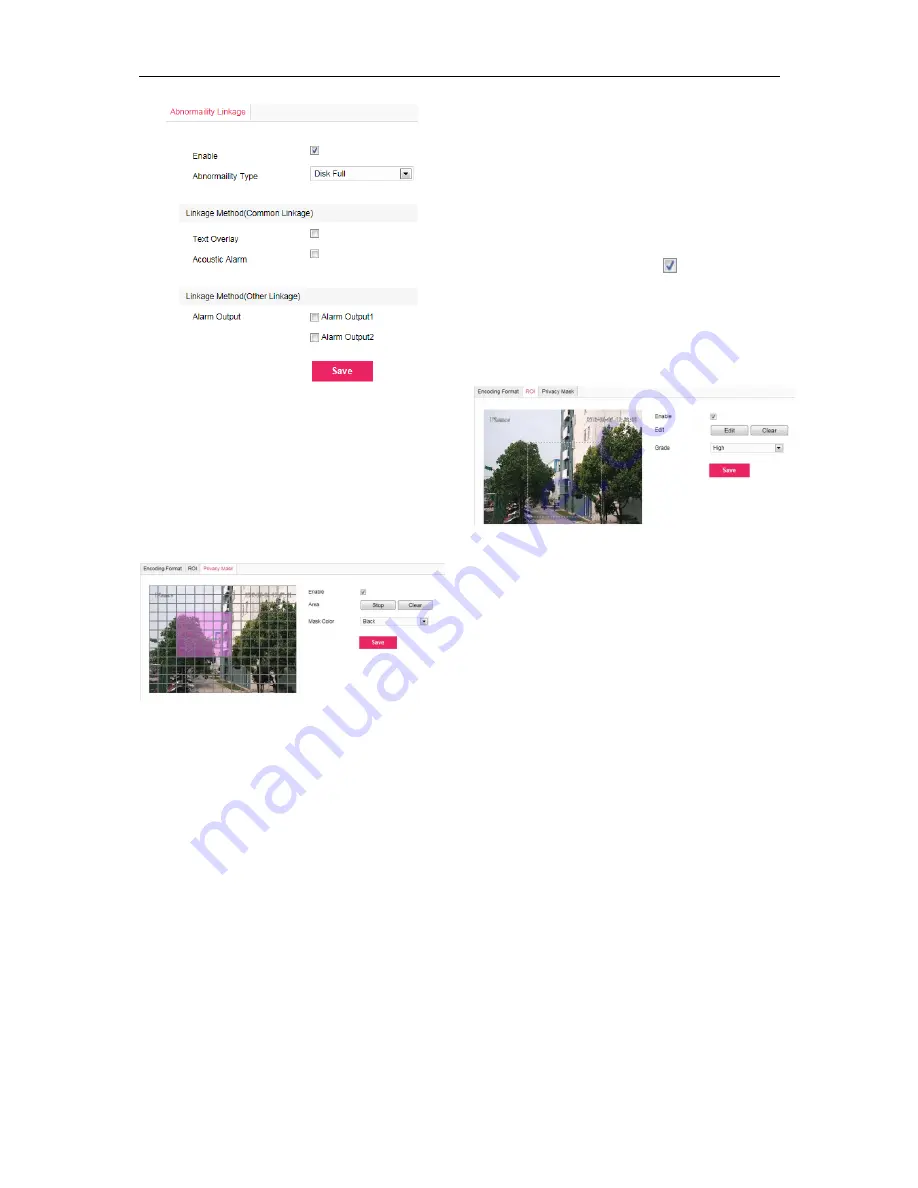
Picture 3-13 Abnormality Linkage
1) Select
Abnormality Type
from the dropdown list.
2) Check
“
Linkage Type
”.
3) Click
“
Save
”.
3.6 Privacy Mask
Mask sensitive and private part of the image so as to
keep sensitive information private.
Picture 3-14 Privacy Mask
3.6.1 Set Area
The image is divided into 16 columns and 12 rows of
small squares. The maximum number of Privacy Mask
area is 4.
1) Go
to
Settings>Camera>Video>Privacy Mask
,
and check “
Enable”.
2) Click
“
Edit
”, and the image is divided into 16
columns and 12 rows of small squares. Click any
square and drag an area from this square, then
this area is the privacy mask area, which is in
purple red.
3) Select
Mask Color
from the drop-down list.
4) Click
“
Save
” to make settings effective.
3.6.2 Clear Area
Start from an undefined square and draw an area that
contains the defined area, or click the defined squares
one by one to clear setting, or click “
Clear
” directly.
Click “
Save
” to make settings effective.
3.6.3 Disable Function
To disable this function, uncheck
Enable.
3.7 ROI
Only encode specific area to ensure normal
surveillance and constant resolution of key area under
poor network.
Picture 3-15 ROI
3.7.1 Set Area
Go to
Settings>Camera>Video >ROI
, and check
“
Enable
”. Click “
Edit
”, and drag an area as the
clipping area. Select encoding grade from the
dropdown list. Click “
Save
” to make settings effective.
3.7.2 Clear Area
Click “
Clear
” to clear edition and reset area.
NOTE:
When ROI Encode is enabled, if user modifies
image resolution or aspect ratio (standard
screen/widescreen), the device will quit ROI
Encode automatically.
3.8 Snapshot
Click
“Snapshot”
to enter snapshot management
interface. User can view or download snapshots in SD
card.
NOTE:
If the Snapshot interface is disabled, please
confirm the SD card is inserted and then login
client again.
Steps:
Summary of Contents for LNP3021R
Page 27: ......


