


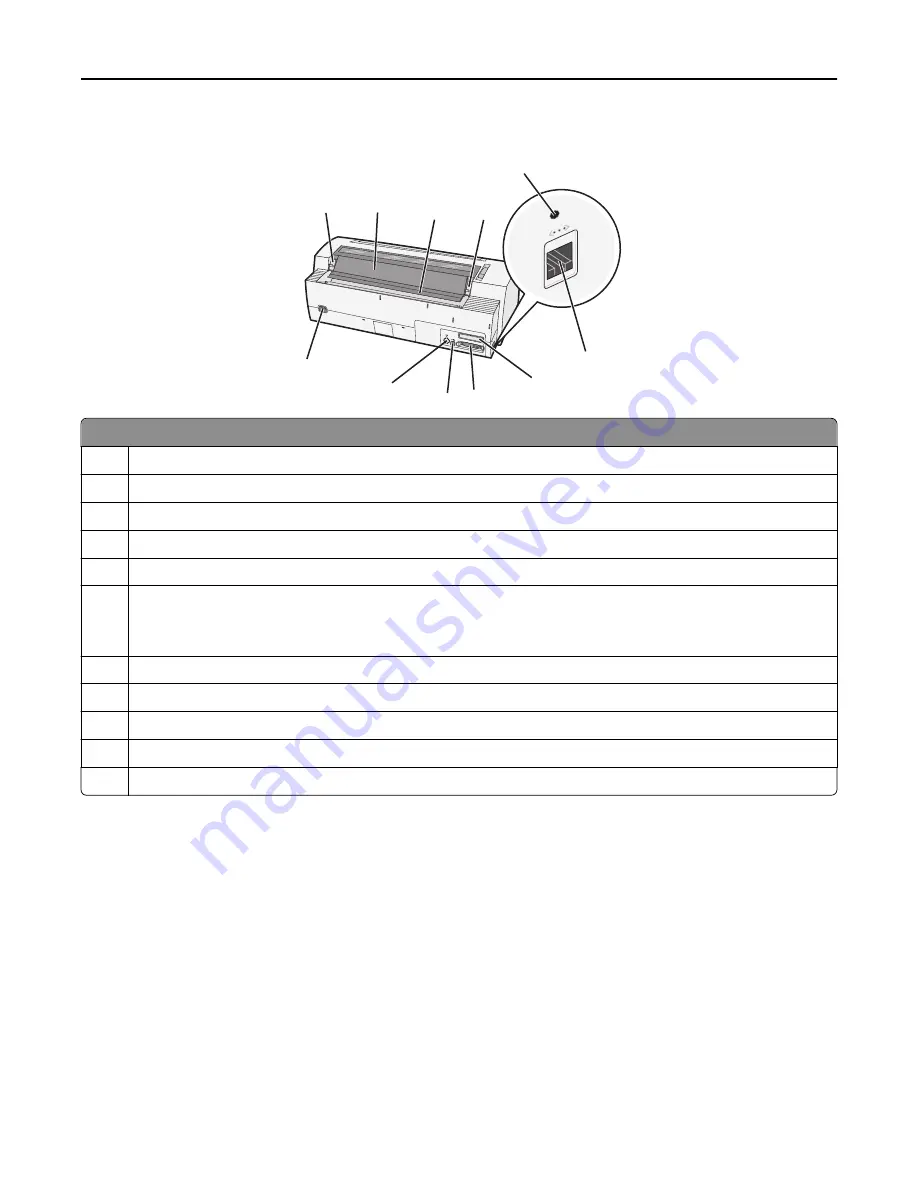
Printer back view
1
2
3
4
5
6
7
8
9
10
11
Part name
1
Ribbon access cover latch
2
Acoustic flap
3
Tear Off bar
4
Ribbon access cover latch
5
Recessed network button
6
Network connector
Warning—Potential Damage:
Do not touch the network connector except when the printer is unplugged from
the electrical outlet.
7
Optional serial interface knockout
8
Parallel connector
9
USB connector
10
Optional Tractor 2 connector knockout
11
Power cord connector
Applying control panel overlays
The Lexmark Forms Printer 2500+ Series printers have control panel overlays available in different languages.
Note:
There is an overlay label for layer 1 of the control panel and a different overlay label for layer 2 of the control
panel.
To apply an overlay in the language of your choice:
1
Peel the backing off of the layer 1 label, and then place the overlay directly over layer 1 of the control panel.
2
Open the control panel cover to access layer 2.
3
Peel the backing off of the layer 2 label, and then place the overlay directly over layer 2 of the control panel.
4
Close the control panel cover.
Learning about the printer
8


