Notes:
•
Do not load postcards, photos, small items, transparencies, photo paper, or thin media (such as magazine
clippings) into the ADF tray. Place these items on the scanner glass.
•
The ADF indicator light comes on when the paper is loaded properly.
2
If you are loading a document into the ADF tray, then adjust the paper guides.
3
From the printer control panel, press
#
on the keypad, and then enter the FTP shortcut number.
4
Touch
Scan It
.
Scanning to a computer or flash drive
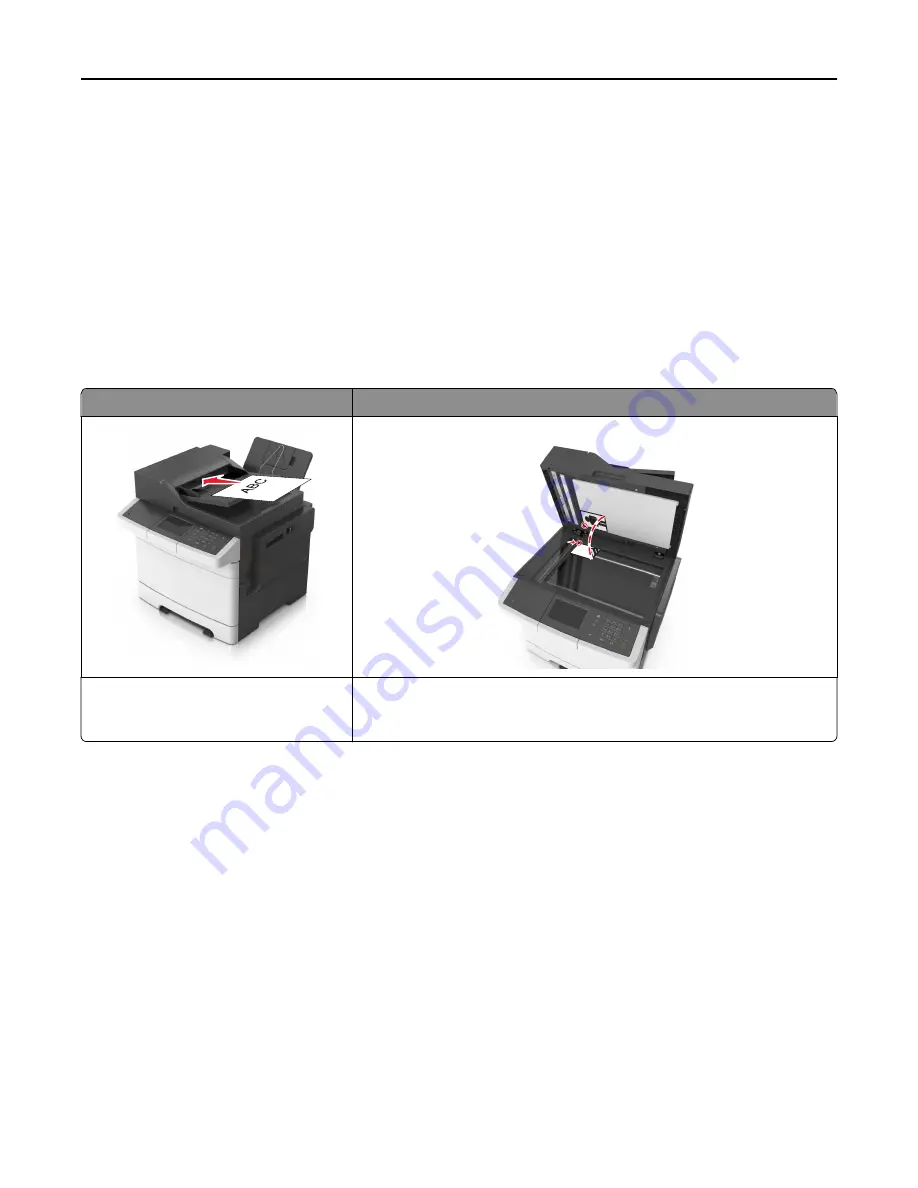
ADF
Scanner glass
Use the ADF for multiple
‑
page documents. Use the scanner glass for single-page documents, small items (such as postcards
or photos), transparencies, photo paper, or thin media (such as magazine
clippings).
The scanner lets you scan documents directly to a computer or a flash drive. The computer does not have to be directly
connected to the printer for you to receive images when scanning to a computer. You can scan the document back to
the computer over the network by creating a scan profile on the computer and then downloading the profile to the
printer.
Scanning to a computer using the Embedded Web Server
1
Open a Web browser, and then type the printer IP address in the address field.
Notes:
•
View the printer IP address on the printer home screen. The IP address appears as four sets of numbers
separated by periods, such as 123.123.123.123.
•
If you are using a proxy server, then temporarily disable it to load the Web page correctly.
2
Click
Scan Profile
>
Create Scan Profile
.
3
Select your scan settings, and then click
Next
.
4
Select a location on your computer where you want to save the scan image.
Scanning
117


